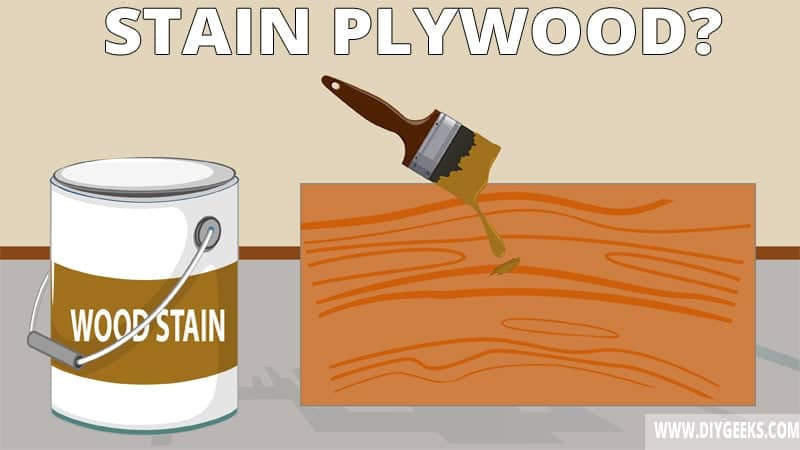
Plywood is an engineered wood made by gluing thin layers or veneers of wood and pressed together in a crisscross pattern. Its artificial structure and porosity make you wonder whether you can stain it.
You can stain plywood but you must prep its surface by sanding and applying a coat of wood conditioner. The wood conditioner will prevent the plywood from over-absorbing stains.
To stain hardwood plywood, sand the surface, apply wood stain, wipe the excess, and seal the finish.
To stain softwood plywood, sand the surface, remove the dust, apply wood conditioner, apply wood stain, and seal the finish.
Which Plywood Types Can You Stain?
You can stain hardwood and softwood plywood. Hardwood plywood accepts stains better and gives better finishes because it has a porous surface that is evenly textured. Because of its texture, it absorbs stain evenly so the finish comes out smooth.
Softwood doesn’t have an even texture because some parts of its surface are porous while others are sealed. Because of its texture, it doesn’t absorb stain evenly so the finish comes out uneven and blotchy.
To stain softwood plywood, you must apply wood conditioner (or sanding sealer) to prevent over-absorption.
Exterior plywood isn’t stainable because its surface is sealed with a water-resistant sealer. To stain it, remove the sealer first (by sanding) and then apply the stain.
Which Wood Stain Types Can You Use Over Plywood?
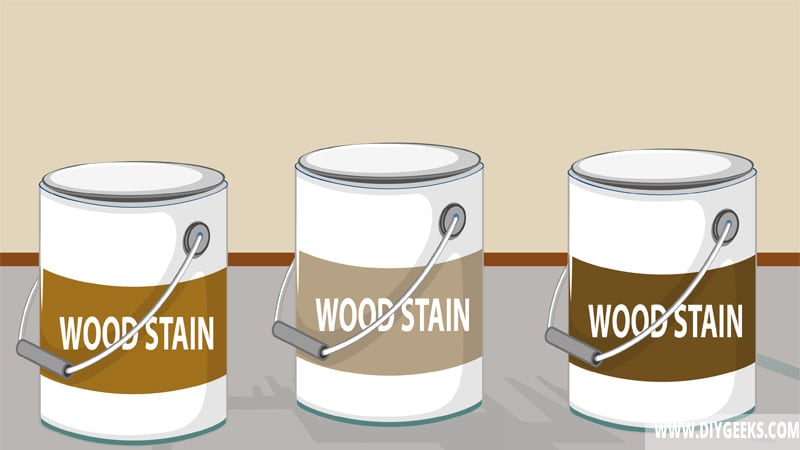
You can use water-based, oil-based, or gel-based stains over plywood. The type you use depends on the type of plywood.
For hardwood plywood, use an oil-based or water-based stain. For softwood plywood that doesn’t absorb stain evenly, use gel stain as it doesn’t penetrate the wood deeply.
Each type of wood stain has different features. For instance, oil-based stain penetrates the wood easily, gives it a deeper color shade, and semi-protects it. That’s because it contains a high amount of oils in the formula.
On the other hand, the water-based stain doesn’t penetrate wood as deeply, gives a lighter color shade, and doesn’t offer good protection.
Gel stain is a topical finish that doesn’t penetrate the surface and produces a glossy protective coating.
How To Stain Hardwood Plywood?
To stain hardwood plywood, do the following.
- Sand the Surface.
- Apply Wood Stain.
- Wipe the Excess.
- Seal the Finish.
The tools you need are listed below.
- Sandpaper.
- A paintbrush
- Paint mixer or turning stick
- Rags
- Mineral spirits
- A power sander (for large surfaces)
1. Sand the Surface
Use fine-grit sandpaper (220-grit) to remove surface imperfections, bumps, and dust, and prep the surface for wood stain absorption by creating tiny openings (holes) on the surface. The stain will penetrate or soak into these tiny holes.
While sanding, pay attention to the edges of the surface to avoid over-sanding. After sanding, remove the dust.
2. Apply Wood Stain
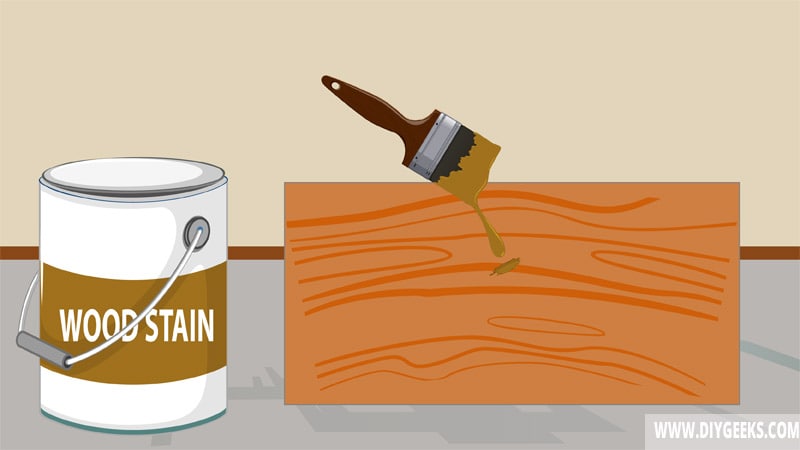
Apply three (3) gel stain coats over the hardwood plywood using a lint-free cloth. Ensure to wait until one coat dries before applying the next one.
Since hardwood plywood has textured pores, you don’t need to apply a washcoat. However, if the surface is riddled with dents, spaces, or holes, you must apply a shellac-based washcoat to seal (or fill) these spaces.
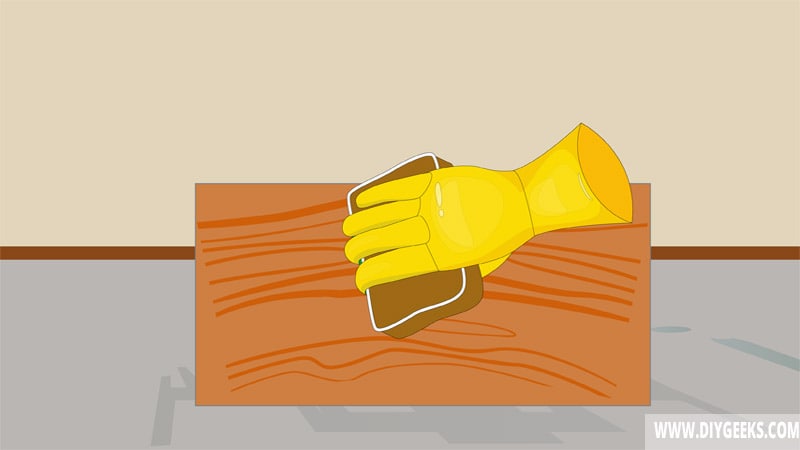
3. Wipe the Excess
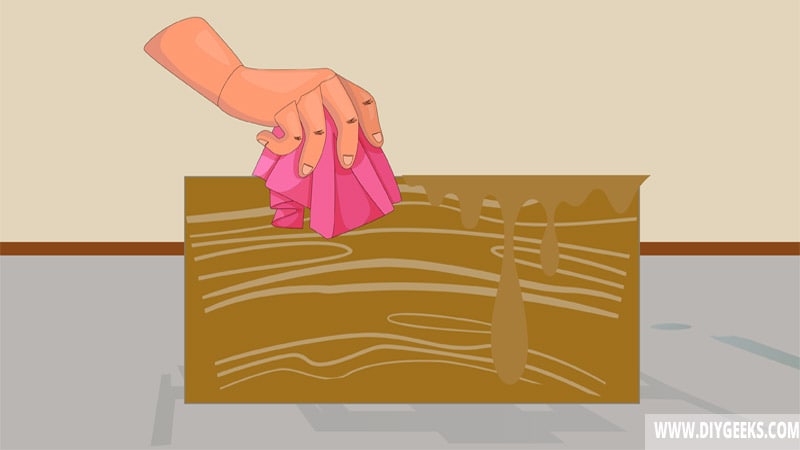
Wipe the excess gel stain from the hardwood plywood 30 minutes after applying it. Simply damp a rag with mineral spirits and wipe the surface.
4. Seal the Finish
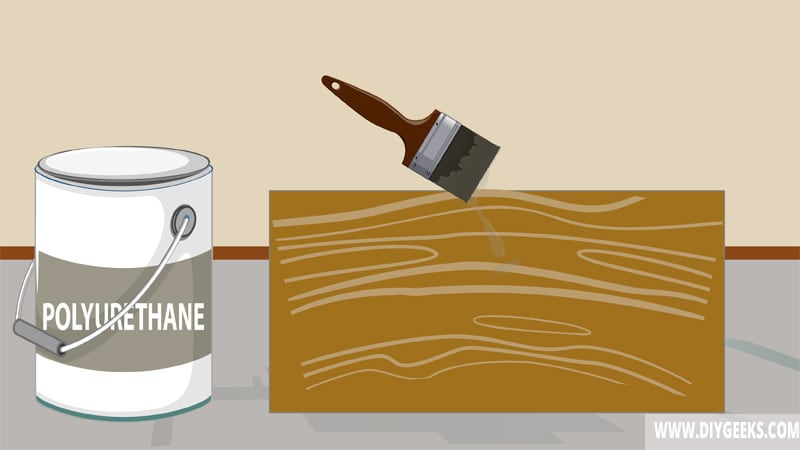
Seal the stained hardwood plywood with polyurethane, varnish, or lacquer. The sealer produces a moisture-resistant layer (barrier) that protects the plywood from moisture, water, scratches, or weather elements.
How To Stain Softwood Plywood? (Birch or Pine)
To stain softwood plywood, do the following things.
- Sand the Surface.
- Wipe off Dust.
- Apply Wood Conditioner.
- Apply the Stain.
- Wipe Off Excess Wood Stain.
- Seal the Finish.
Staining softwood plywood, such as Birch or Pine is harder because they don’t absorb stain evenly. You must apply a washcoat or wood conditioner to limit and prevent over-absorption.
The tools you need for this project are listed below.
- Sandpaper (180-grit – 24-grit)
- Wood stain
- A sealer
- Clean rags
- Wood conditioner or shellac-based washcoat
- Paintbrushes
- Mineral spirits
- A power sander
- Paint mixer or turning stick
1. Sand the Surface
Sand the surface with fine-grit sandpaper (220-grit) to create fine dust that can fill and clog the softwood pores, and control the wood stain absorption. Fine-grit sandpaper also removes imperfections and bumps from the surface.
2. Remove the Dust
Remove the dust with a line-free rag after sanding. Don’t vacuum or wash off the dust because that will remove the fine dust particles that have clogged the wood pores. For larger surfaces, use a mop.
3. Apply Wood Conditioner
Apply one (1) wood conditioner coat over the softwood plywood using a paintbrush. The wood conditioner covers the softwood pores and prevents wood stain over-absorption.
4. Apply the Wood Stain
Apply three (3) gel stain coats over the softwood plywood using a lint-free rag. Wait until one coat dries, wipe the excess gel stain from the surface, and apply the next coat.
6. Seal the Finish
Seal the stained softwood plywood surface with polyurethane or varnish to increase its durability and moisture resistance.
What Are The Benefits of Staining Plywood?
The benefits of staining plywood are as follows.
- Makes the plywood look better.
- Protects the surface from moisture, water damage, scratches, and dents.
- Prevents it from rotting.
- It’s affordable.
- Prevent dust and debris from sticking.
- Highlights detail work, carving, and designs on the surface.
- It’s easy to apply.
- It can be painted over.
- Doesn’t peel off.

