A blotchy finish refers to an inconsistent or uneven appearance of wood stain, characterized by parts that are lighter or darker than the overall finish.
To fix a blotchy wood stain, apply wood glaze or varnish over the finish, or remove the finish and re-apply it. Wood glaze or varnish will darken the light parts of the finish, making it unnoticeable.
To prevent a blotchy finish, sand with 180-grit sandpaper before applying wood stain and allow each coat to dry properly before recoating.
Why Does Wood Stain Turn Blotchy?
Wood stain turns blotchy for the following reasons.
- Wood Doesn’t Absorb Wood Stain Evenly.
- Bad Prep Work.
1. Wood Doesn’t Absorb Wood Stain Evenly
Some wood types, such as Pine or Cedar, don’t accept wood stains well. Some parts of the surface will be lighter than others if the wood doesn’t absorb wood stain evenly.
The finish will turn blotchy if the wood isn’t prepped properly before applying a wood stain or if you apply it over an existing finish.
If the wood is already painted (or sealed), the pores will be filled with paint, so there’s no space for stain to penetrate. You must prep the surface by sanding or removing the existing finish.
2. Bad Prep Work
You must clean and sand the wood with fine-grit sandpaper before staining it. Cleaning removes dirt, oils, and dust from the surface, while sanding removes imperfections and makes it ready for stain.
If you don’t prep the wood, dirt and dust will prevent the wood stain from soaking into the wood evenly, leading to a blotchy wood stain finish.
How To Fix Blotchy Wood Stain?
To fix blotchy wood stain, do the following things.
- Apply Wood Glaze or Varnish.
- Strip and Re-apply The Wood Stain.
1. Apply Wood Glaze or Varnish
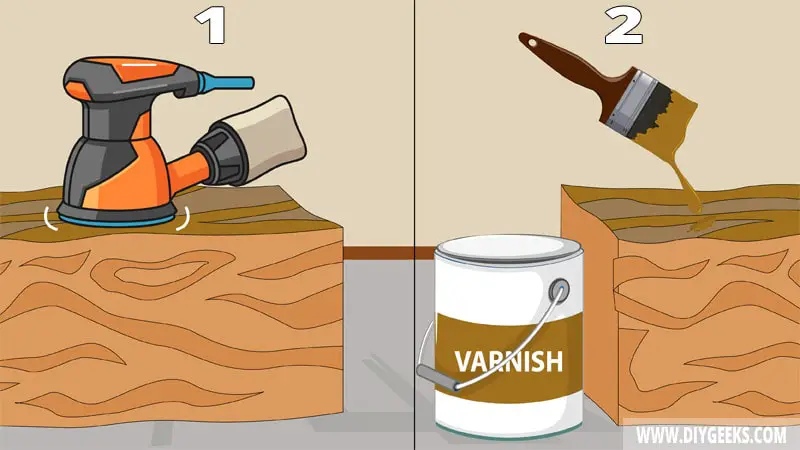
Wood glaze or varnish will fix a blotchy wood stain finish if some finish parts are lighter (or darker) than others. Touch up (apply) the wood glaze or varnish in the light areas of the finish so they appear darker and match the overall finish.
The tools you need for this project are listed below.
- A paintbrush
- Wood glaze or varnish
- Clean rags
- Fine sandpaper
- Paint thinner or mineral spirits
A guide for this method is listed below.
- Sand the affected spots with fine-grit sandpaper (220-grit).
- Remove dust with a lint-free cloth.
- Thin varnish with mineral spirits before applying it.
- Apply wood graze or thinned varnish over the light parts of the surface.
- Wait 10 minutes.
- Remove excess topcoat from the surface and leave to dry.
2. Strip and Re-apply The Wood Stain
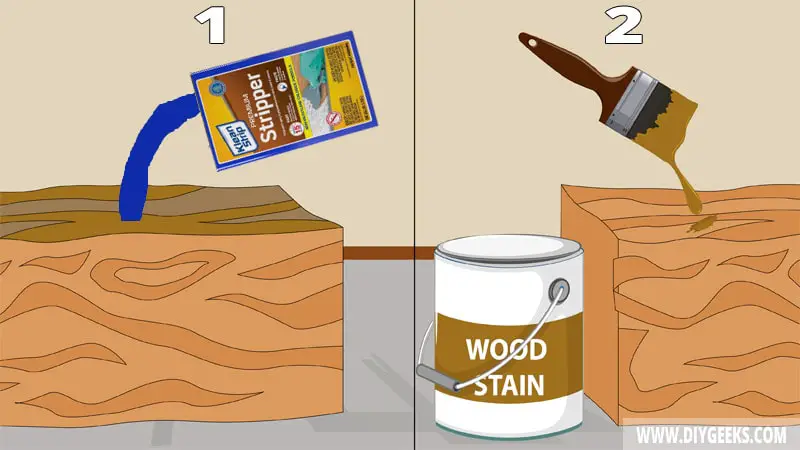
Remove the wood stain finish, sand the wood, and re-apply the stain to fix a blotchy wood stain finish.
To remove wood stain from wood sand it off with coarse-grit sandpaper (40-grit) or use a liquid-based remover.
The tools you need for this project are listed below.
- A paint scraper.
- Liquid-based remover (Paint stripper).
- Coarse-grit sandpaper.
- Wood stain.
- Rags.
- Paintbrushes.
Here is a guide for this method:
- Wipe and clean the surface.
- Apply paint stripper over the stained wood — ensure the stripping paste is thick.
- Wait around 20 minutes.
- Once the paint-stripping paste dries, scrape it off with a paint scraper (the wood stain will come off too).
- Sand the surface with fine-grit sandpaper (220-grit).
- Apply a shellac-based washcoat on the wood.
- Re-stain the wood.
How To Prevent Blotchy Wood Stain?
To prevent blotchy wood stain, do the following things.
- Sand with 180-grit sandpaper before staining.
- Don’t apply wood stain over filthy surfaces — clean the surface with mineral spirits to remove dirt.
- Apply a shellac-based washcoat.
- Strip the existing finish from the wood.
- Allow each coat of stain to dry before re-recoating.

