MDF (or Medium-density fiberboard) is a synthetic wood made from wood fibers, wax, and binder (or resins).
MDF doesn’t accept paint evenly since it has a synthetic density, where some parts absorb more paint while other parts absorb less.
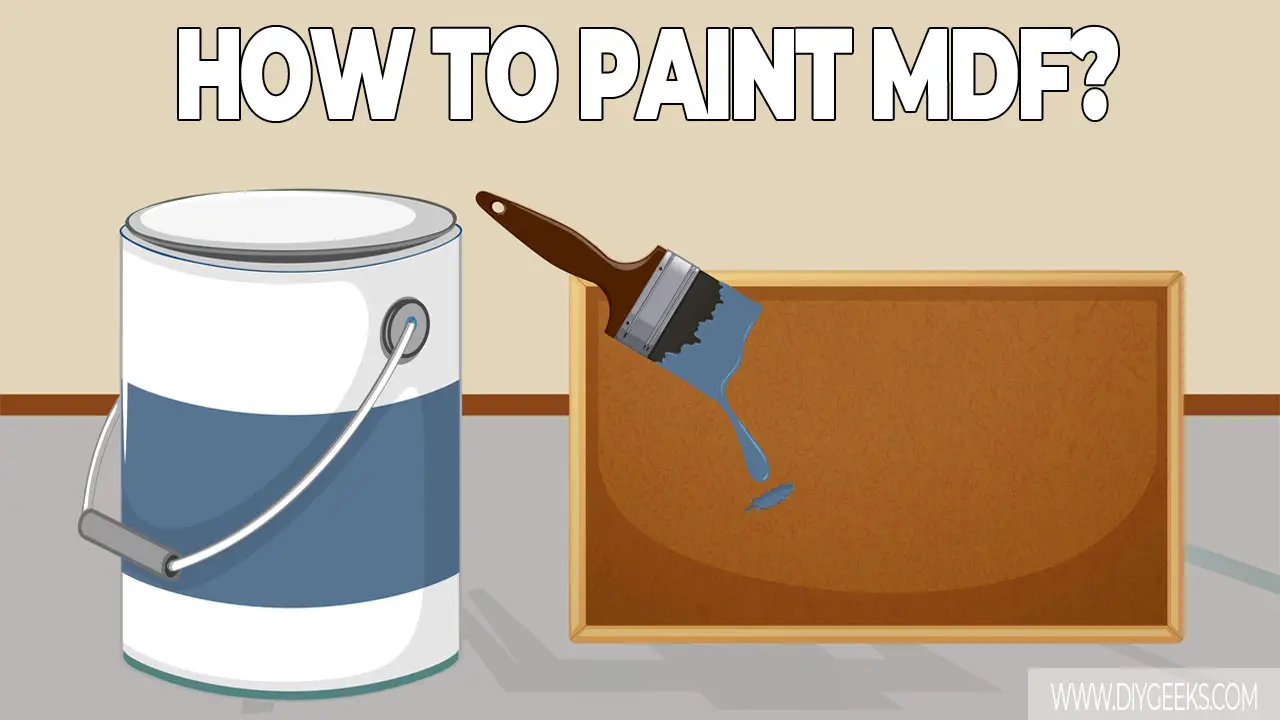
To prep MDF before painting, sand the surface, apply sanding sealer, apply wood filler to the board edges, and apply primer. To paint MDF, clean the surface, apply paint, and seal the finish.
Does MDF Accept Paint Evenly?
Medium-density fiberboard (MDF) doesn’t accept paint evenly because it’s a synthetic wooden material, doesn’t have a natural composition, and is covered with a moisture-resistant wax coating.
MDF is made from a composite of sawdust, wood fiber, and resins, and has a synthetic texture. It doesn’t have knots, rings, or a natural composition, so some parts absorb more paint while other parts absorb less paint.
Some MDF manufacturers cover its top layer with a moisture-resistant wax coating that prevents paint, stains, or other finishes from penetrating the surface and adhering over it. You must sand the sealer top coat with medium-grit sandpaper (100-grit) before applying paint.
The MDF edges are the most porous area and absorb more paint than other parts, creating a patchy or uneven finish.
To make the MDF material accept paint evenly, apply one (1) sanding sealer coat over the surface to prevent paint over-absorption. The sanding sealer covers the surface pores and creates a layer that the paint can penetrate and adhere to.
How to Prep MDF Before Painting?
To prep MDF before painting, do the following things.
- Sand the Surface.
- Apply Sanding Sealer.
- Apply Wood Filler to the Board Edges.
- Apply Primer.
Since MDF is a synthetic material, you must prep it to accept paint the same way natural wood does.
The tools you need for this project are listed below.
- Fine-grit and ultra fine-grit sandpaper.
- Acrylic polymer-based filler.
- Oil-based sanding sealer.
- Paint tray
- Plastic putty knife
- Portable vacuum
- Dust rags
- Paint roller (foam)
1. Sand the Surface
Sand the MDF surface with fine-grit sandpaper (220-grit) to remove the sealer top coat (if any), flakes, high spots, and bumpy edges. Ensure to remove dust after sanding the surface.
2. Apply Sanding Sealer
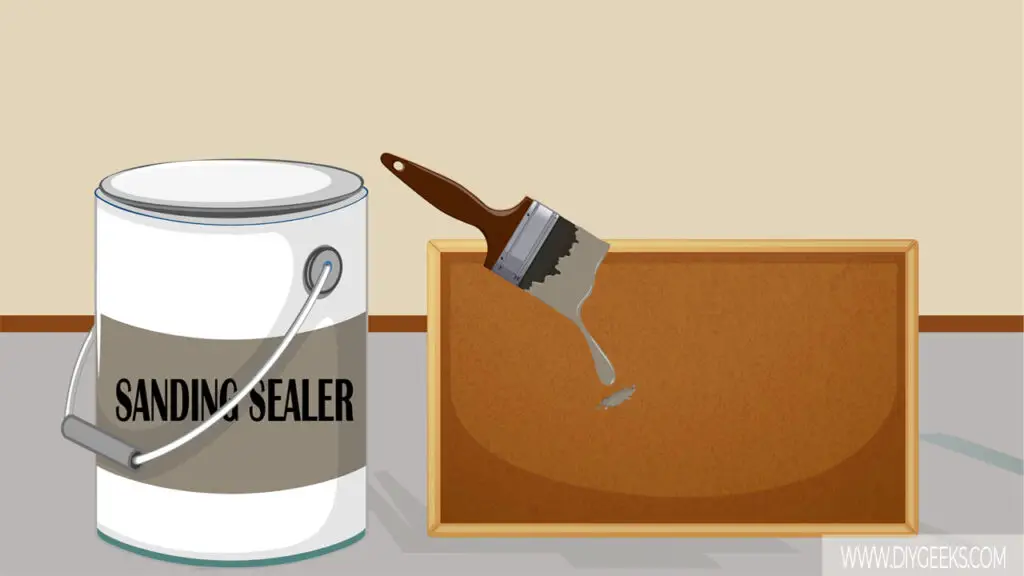
Apply two (2) sanding sealer coats over the MDF board with a paint roller. The sanding sealer covers the surface pores, prevents paint over-absorption, and ensures the surface absorbs paint evenly.
Sand the first sanding sealer coat with fine-grit sandpaper (220-grit) and apply the second coat. The first sanding sealer coat raises the MDF board surface, so you need to sand down the raised spots. You don’t need to sand the final sanding sealer coating,
3. Apply Wood Filler to the Board Edges
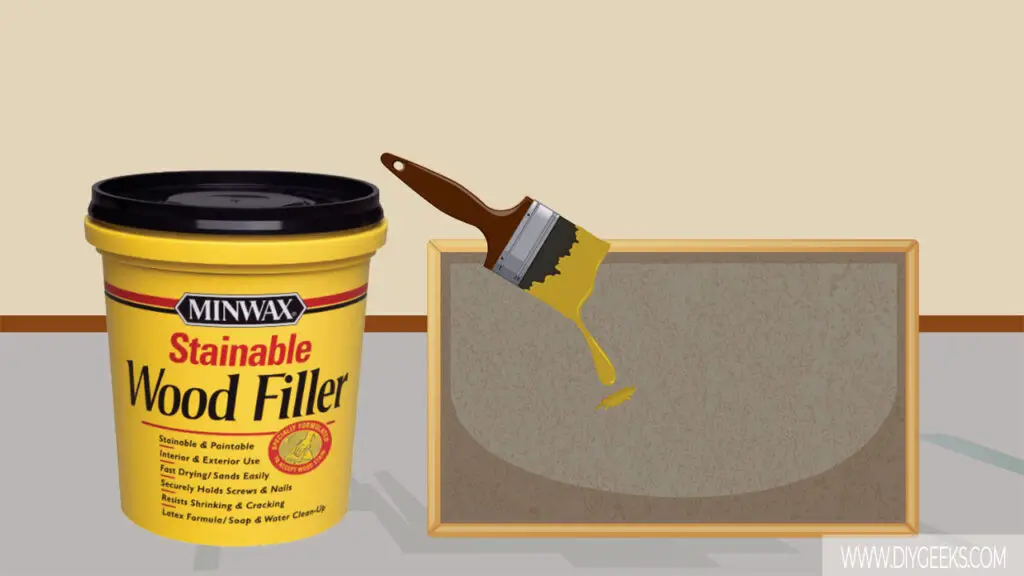
Since the MDF board edges are the most porous area, apply wood filler compound to prevent paint over-absorption. Use wood filler, such as acrylic polymer-based filler, instead of plywood or joint compound filler.
Once the wood filler compound dries, sand it with fine-grit sandpaper (220-grit) to even the surface out. Sand the whole MDF board with ultra fine-grit sandpaper (440-grit) to even out the surface and make it paint-ready.
4. Apply Primer

Apply one (1) light primer coat over the MDF board to ensure the surface absorbs paint evenly. Don’t apply a thick or too many coats as the board surface will get too thick.
How to Paint MDF?
To paint MDF, do the following things.
- Clean the surface.
- Apply Paint.
- Seal the Finish.
The tools you need for this project are listed below.
- a foam paint roller
- Drop sheets
- Painter’s tape
- Tack cloth or cleaning rags
- Work gloves
- Paint mixer
- Sealer (optional)
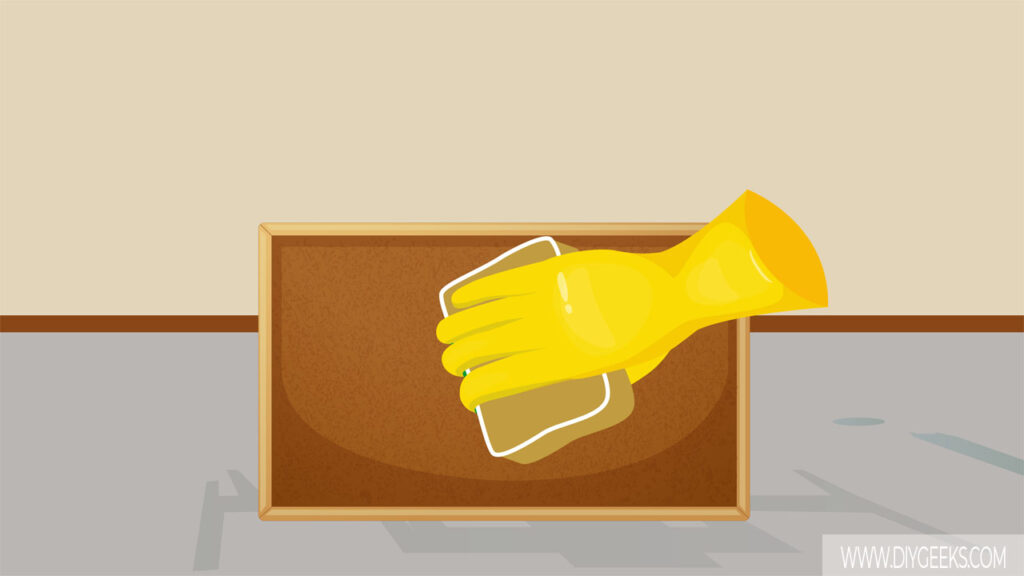
1. Clean the Surface
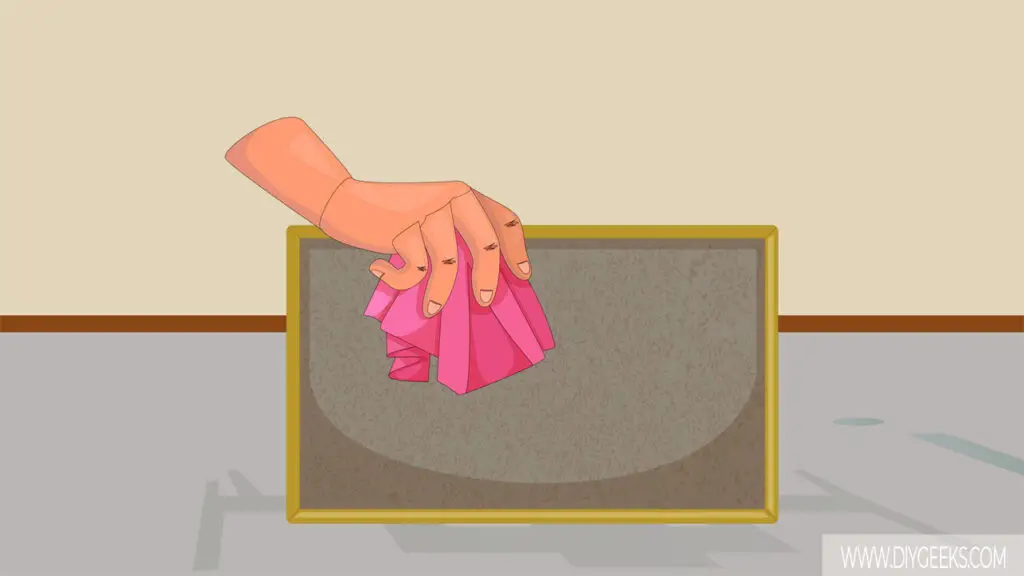
Clean the MDF board with a damped rag to remove dust, dirt, or debris that can prevent the paint from penetrating and adhering over it.
If you want to apply two different color shades, demarcate the surface with painter’s tape.
2. Apply Paint
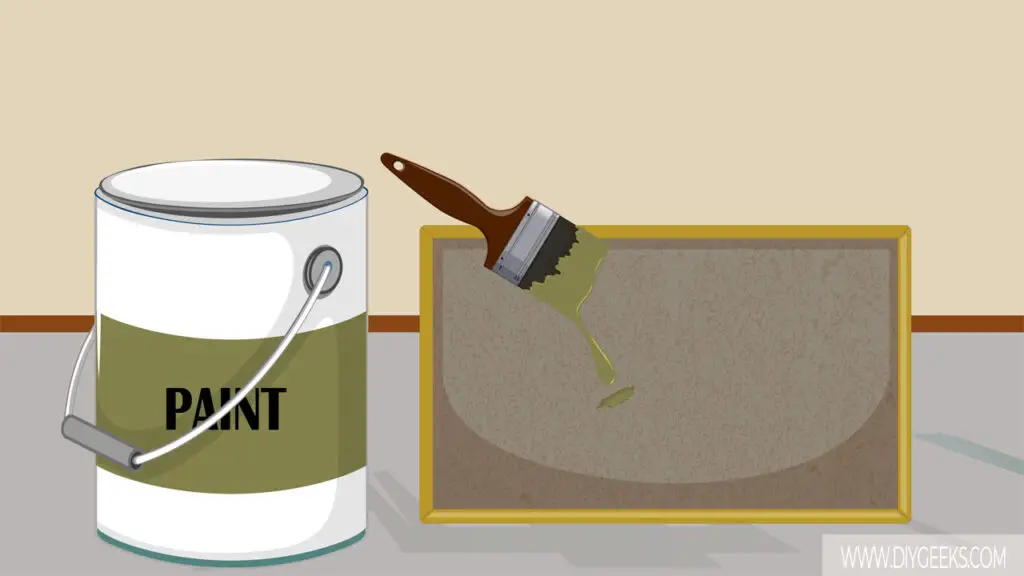
Apply two (2) oil-based paint coats over the MDF surface with a foam roller or sprayer. The foam roller applies paint and covers more surfaces faster without leaving brush strokes or marks behind. The sprayer applies light paint coats that dry faster.
3. Seal the Finish
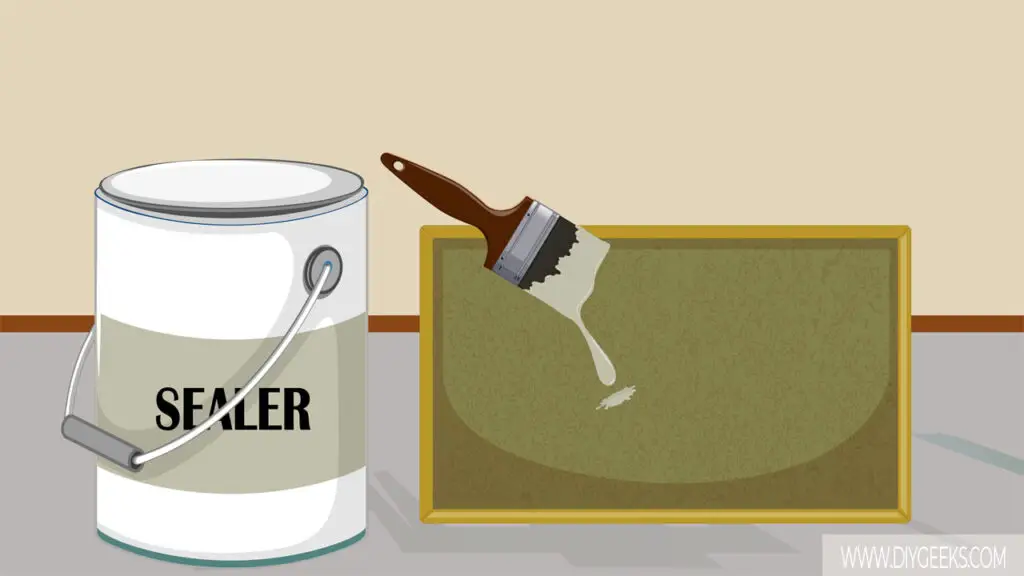
Seal the paint finish with a sealer, such as polyurethane or varnish, to protect the paint and surface from moisture, water, scratches, and weather elements.
How Long Does Paint Last on MDF Surfaces?
Paint lasts around 7-10 years over interior surfaces and around 3-5 years over exterior MDF surfaces. The exact time the paint finish lasts depends on the maintenance, the sealer and paint type, and how much the surface is exposed to water.
For instance, if the MDF board is sealed with a high-quality sealer and isn’t exposed to constant water or moisture, the paint will last longer. If the board isn’t sealed and is exposed to constant water or moisture, the paint won’t last long.
Frequently Asked Questions (FAQs)
Why is MDF Rough After Painting?
MDF is rough after painting if you don’t prep the surface properly before applying the paint or if you use water-based paint without applying sanding sealer.
Is MDF Waterproof When Painted?
MDF doesn’t become waterproof when painted unless you apply waterproofing paint or sealer. Most paint types aren’t waterproof and can’t protect the surface from moisture or water.
Can You Stain MDF?
You can stain MDF as it has a porous surface, but you must prep it by applying a washcoat or sanding sealer to prevent over-absorption.

