Danish oil is a wood finish that creates a glossy moisture-resistant coating over the wood and protects it from water, moisture, and other damage.
You need between 2 to 4 Danish oil coatings, depending on the wood type and usage. For low-traffic indoor surfaces, you need two (2) Danish oil coats, and for high-traffic outdoor surfaces, you need four (4) coats.
To know if you need another coat, inspect the finish or surface, or check the user’s guide.
Why Does The Number of Danish Oil Coats Matter?
The number of Danish oil coats matters as they determine the durability, finish type and sheen, water resistance, coverage, and dry time of the finish.
The right number of Danish oil coats will produce a durable and glossy moisture-resistant coating that covers the wood surface and protects it from moisture, water, scratches, and handling.
If you don’t apply enough coats, the finish won’t protect or cover the wood as much and will get removed if exposed to constant water and the finish won’t have a high-gloss sheen finish.
If you apply too many coats, the finish will take longer to dry, it can turn sticky or patchy, or it may peel off. Too many coats will increase the finish dry time as there’s more solvent (oil) that must evaporate from the surface.
If you apply too many Danish oil coats, wood can’t absorb it evenly and will produce a patchy finish whereas some wood areas absorb more wood oil and have a deeper finish than others.
How To Know If You Need Another Danish Oil Coat?
To know if you need another Danish Oil coat, inspect the finish or surface, and check the user’s guide. The minimum number of Danish oil coats is two (2) while the maximum is four (4).
You need another Danish oil coat if the wood oil hasn’t covered the surface properly, the finish isn’t glossy, or if the wood has absorbed the wood oil and there’s no top layer over it.
Danish oil must fully cover the wood surface, its finish must have a glossy appearance, and it must provide a topcoat (layer) over the wood to protect it from elements.
The number of Danish oil coats is determined by the surface usage. For instance, outdoor wood surfaces require more Danish oil coats as they need more protection from weather elements. Indoor wood surfaces don’t need many Danish oil coats as they aren’t exposed to constant water or weather elements.
Check the user’s guide or the Danish oil container to know exactly how many coats you need. Different manufacturers provide the right number of coats based on the formula and thickness of the wood oil.
Related Read: Danish Oil Advantages and Disadvantages?
How Long Does Danish Oil Take to Dry?
Danish oil takes around 6 hours to dry between coats. The exact dry time depends on the room temperature and humidity, number of coats, and coat viscosity.
For Danish oil to dry its solvent (oil) must evaporate and the coating must become hard (or rigid). The more coats you apply, the more solvent (oil) must evaporate, increasing the overall dry time. It’s recommended to apply thin coats so the wood oil dries faster.
If you re-coat too soon, the finish will turn sticky, tacky, or peel off because the existing coating solvent (oil) hasn’t fully evaporated and will prevent a new coating from adhering or drying. This means the coating will remain wet longer (since the solvent hasn’t evaporated yet), and the finish will turn sticky.
Does Danish Oil Get Darker With More Coats?
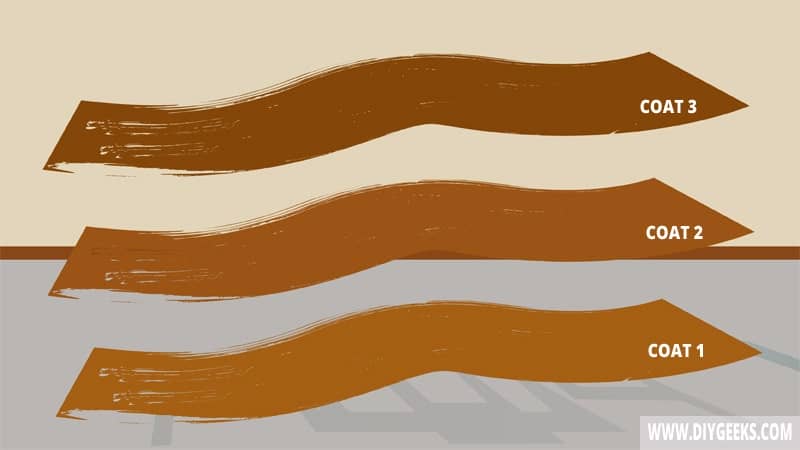
Danish oil gets darker the more coats you apply, especially after the third coat. Each additional coat increases the pigment amount on surface, creating a deeper finish.
Most Danish oils are clear finishes, but they also come in different tones — yellow/amber, gold, or orange tone. The tone is the pigment color on the formula, and once the finish dries, the tone sets and slowly tints the transparent coating and creates a rich semi-transparent finish.
The more Danish oil coats you apply, the higher to pigments or tone on the surface that create a deeper finish. The finish won’t be transparent and will have a colorful appearance if you apply too many coats.
How Many Danish Oil Coats For Different Surfaces?
Oakwood
You need around 3-4 Danish oil coats on Oakwood. Oakwood is a hardwood with large pores and will absorb more Danish oil than most wood types.
The first two (2) coats are absorbed by the Oakwood, while the third and fourth (3-4) coats produce a water-resistant coating and protect the wood.
Seal the Oakwood with a shellac washcoat before applying the wood oil to reduce the number of wood oil coats you need to apply.
Pine
You need two (2) Danish oil coats on Pinewood. Pinewood is a softwood with small pores and can’t absorb more than two (2) coats.
Table Countertop
You need four (4) light Danish oil coats for table countertops. Countertops need more protection as they are exposed to constant handling, water, and other elements that damage them.
Guitar Neck
You need three (3) Danish oil coats on a guitar neck for proper protection, or two (2) coats if you want the designs or carvings of the guitar neck to show.

