Danish oil is a water-resistant wood finish that protects wooden surfaces from water, moisture, scratches, and other damage.
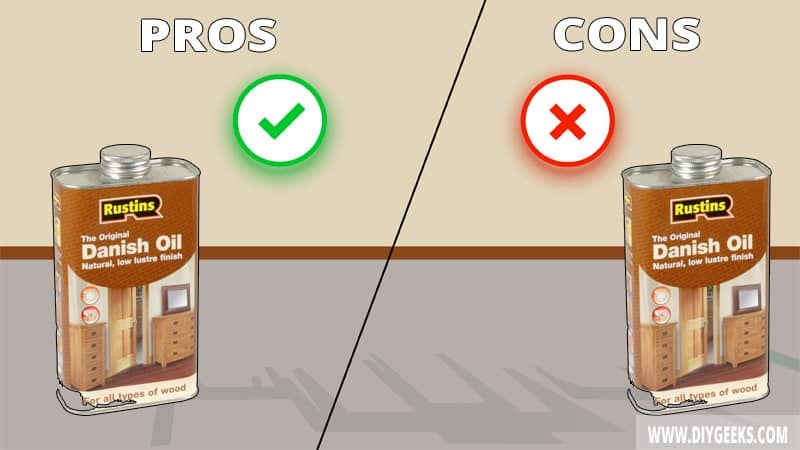
The advantages of Danish oil are fast dry time, water-resistant coating, and flexible coating.
The disadvantages of Danish oil are that it’s hard to apply, its weak finish, and poor wood protection.
What is Danish Oil?
Danish oil is a hybrid wood oil finish known to enhance the appearance and protection of wooden surfaces. Its purpose is to protect wood surfaces from moisture, water, scratches, and other damage.
There is no specific formula to make Danish oil as the ingredients range from brand to manufacturer. But, most Danish oils contain Linseed oil, Tung oil, and mineral spirits.
Danish oil is thick and can be applied by wiping it with rags or clothes on bare wood surfaces. It soaks into the wood pores and forms a glossy topcoat.
You can use Danish oil for the following scenarios.
- To protect kitchen wood from moisture damage.
- To improve the sheen and looks of household furniture.
- To highlight and reveal the texture of the wood grain.
- Danish wood oil can be used to coat and protect wood tool handles.
What Are Danish Oil Advantages?
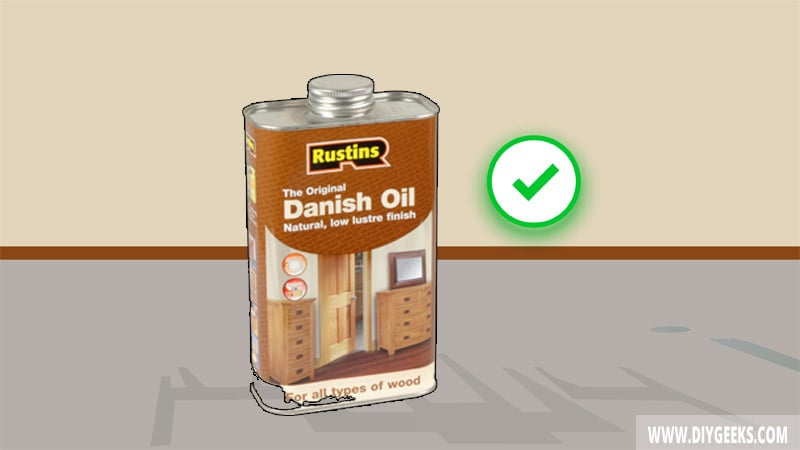
Danish oil advantages are listed below.
- Fast dry time.
- Water-resistant coating.
- Flexible Coating.
- Doesn’t Yellow.
- Good Adhesive Qualities.
- Affordable.
- Accepts Topcoats.
1. Fast Dry Time
Danish oil takes around 4-6 hours to dry. The exact dry time depends on the room temperature, room humidity, and number of coats.
It’s one of the fastest-drying wood oils even though it has a thick viscosity. In comparison, Tung oil takes around 24 hours to dry.
2. Waterproof Coating
Danish oil produces a water-resistant coating over the wood and protects it from water damage. However, the wood oil must cure (fully dry) for the coating to be water resistant.
Contrary to people’s belief, Danish oil is only water-resistant and not waterproof.
3. Flexible Coating
Danish oil finish is flexible (or elastic) which allows it to contract or expand based on temperature changes and reduce the chances of finish cracks.
4. Doesn’t Yellow
Danish oil doesn’t yellow and retains its clear coat (transparent) finish for years.
6. Good Adhesive Qualities
Danish oil has good adhesive qualities because it penetrates the wood pores deeply. The good adhesive qualities help the wood oil to last longer.
7. Affordable
Danish oil is affordable.
8. Accepts Topcoats
Danish Oil accepts top coats, so you can paint or seal it. However, you must lightly sand the wood oil finish before painting or sealing to remove its moisture-resistant coating.
What Are Danish Oil Disadvantages?
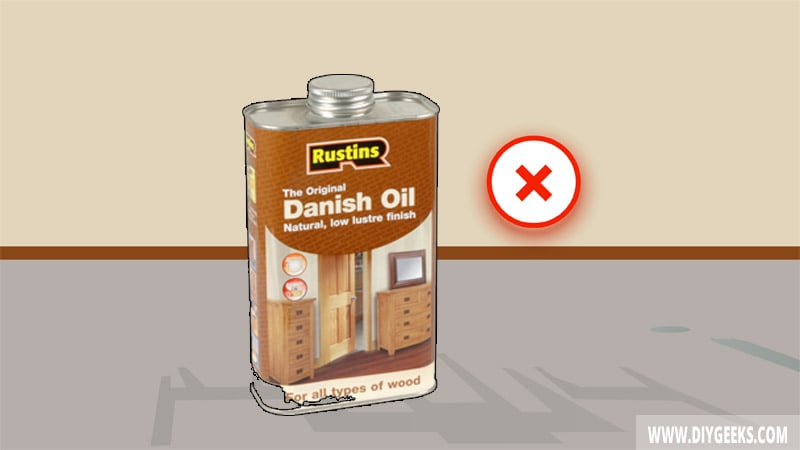
Danish oil disadvantages are listed below.
- Hard to apply.
- Weak finish.
- Poor wood protection.
- Doesn’t adhere to painted surfaces.
- Hard to clean and maintain.
1. Hard to Apply
Danish oil is hard to apply because you must apply more coats as it doesn’t have good surface coverage. You must wait around 6 hours for each coat to dry before applying the next one — this increases the time to complete the project.
You need around 2-4 Danish oil coats, which take around 12-24 hours to apply.
2. Weak Finish
Danish oil has a weak finish and will wear off if exposed to constant water or handling, especially on busy wood surfaces. It lasts around 2 years before you need to touch up the finish with a new coating.
To increase Danish oil durability, seal it with a water-resistant sealer, such as polyurethane.
3. Poor Wood Protection
Danish oil offers poor wood protection because it can’t withstand constant water, moisture, handling, scratches, or dents and will expose the wood surface to these elements.
4. Doesn’t Adhere To Painted Surfaces
Danish oil adheres to bare wood surfaces only as it needs to penetrate the wood pores (or fibers) to adhere. If the wood is painted or sealed, Danish oil won’t adhere as it can’t penetrate the wood pores.
5. Hard to Clean and Maintain
Danish oil is hard to clean and maintain as you must clean it regularly. You must touch up the finish every two (2) years which requires extra work.
Best Tips to Apply Danish Oil
- Before applying Danish oil sand the wood with medium-grit sandpaper (100-grit) to remove surface imperfections.
- Remove the existing paint finish from the wood.
- Before re-coating Danish oil wait around 6 hours.
- Sand between the coats with extra fine-grit sandpaper (440-grit). But, don’t sand the final coating.
- Clean the wood oil before re-coating it.
- Wait until Danish oil cures (fully dries) before using the surface or exposing it to water.
- Always follow the manufacturer’s instructions or user’s guide while applying it.
Things To Know
How Long Does Danish Oil Last?
Danish oil lasts around 2 years before you need to touch up the finish with a new coat. If the surface isn’t exposed to constant water or handling, the finish lasts longer.
How Many Coats of Danish Oil?
You need around 2-4 Danish oil coats for proper coverage and durability on a wooden surface.
Do You Need to Seal Danish Oil?
You need to seal Danish oil with a water-resistant sealer for outdoor high-traffic surfaces. You don’t need to seal Danish oil for indoor low-traffic surfaces.
Do You Need To Sand Between Danish Oil Coats?
You need to sand between Danish oil coats to improve adhesion and remove imperfections and bumps from the coating. But, you don’t need to sand the final coating.

