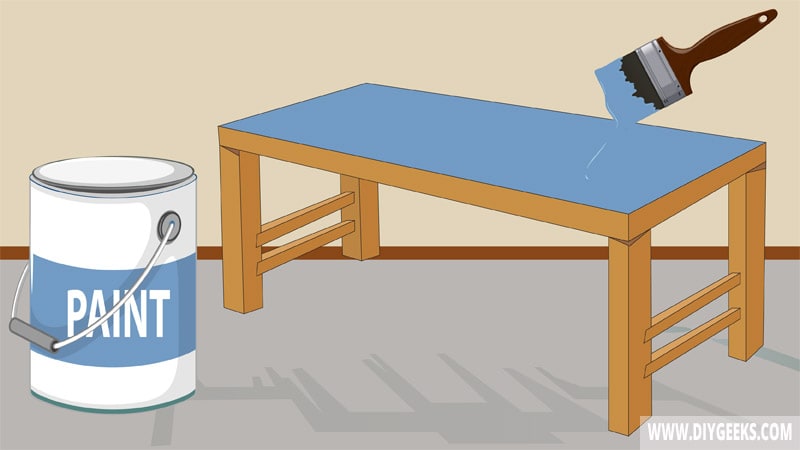
Tabletops are exposed to moisture, stains, and dirt — while polyurethane protects surfaces from these elements.
To finish a tabletop with polyurethane, sand and clean the surface, prep the polyurethane, apply an undercoat (optional), and apply the finish.
Optionally, you can buff the finish to make it glossier and more beautiful.
Does Polyurethane Protect a Table Top?
Polyurethane does protect tabletops from moisture (water), scratches, dents, and other damage. When dry, it forms a glossy moisture-resistant layer that prevents liquid from penetrating its surface.
This synthetic sealer is reinforced with additives, solvents, synthetic resins, and urethane compounds. Urethane, the key ingredient, is a plastic-like compound that is flexible, durable, and weather-resistant when dry.
However, polyurethane has no pigments on its formula, meaning it has a transparent finish. The transparent finish will highlight the surface underneath, such as wood grain or paint, but it will also highlight the imperfections on the surface.
Which Polyurethane Types Can You Use on a Tabletop?
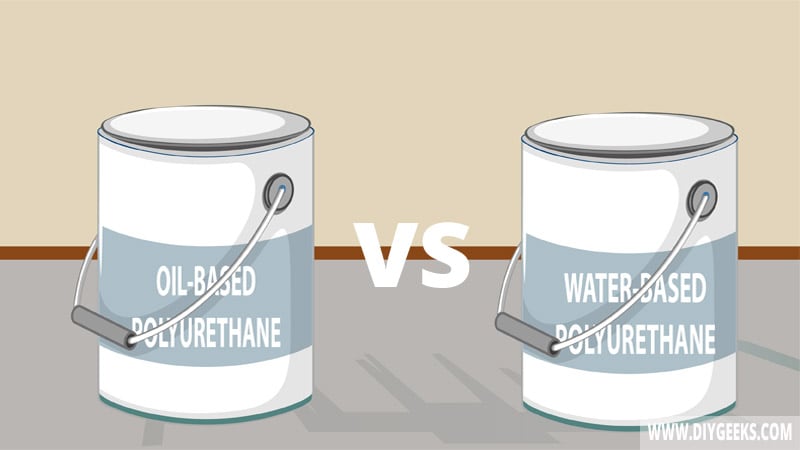
Use oil-based or water-based polyurethane for indoor tabletop surfaces. Use exterior polyurethane for outdoor tabletop surfaces.
Exterior polyurethane is formulated with extra additives, such as UV-blockers, that make its finish withstand weather elements better.
Water-based polyurethane will stick better if used over an undercoat or washcoat, while oil-based polyurethane will stick better when used over bare wood.
Oil-based polyurethane is stronger and more durable because it has a higher level of additives in its formula, and takes longer to dry so the particles have more time to harden and become stronger.
Water-based polyurethane dries faster, is easier to apply, and maintains its clear finish for longer, while oil-based polyurethane tends to turn yellow over time.
How To Finish a Tabletop With Polyurethane?
To finish a tabletop with polyurethane, do the following.
- Sand the Surface.
- Wipe And Clean The TableTop.
- Prep the Polyurethane.
- Apply An Undercoat (Optional).
- Apply Polyurethane.
- Buff The Finish
The tools you need for this project are listed below.
- Sandpaper of different grits
- Polyurethane
- Bristled paint brushes
- Rags
- Mineral spirits
- 4f pumice powder
- A vacuum or duster
- A drop sheet or nylon cover
- A paint or wood stain as an undercoat (optional)
- A shellac-based washcoat (optional)
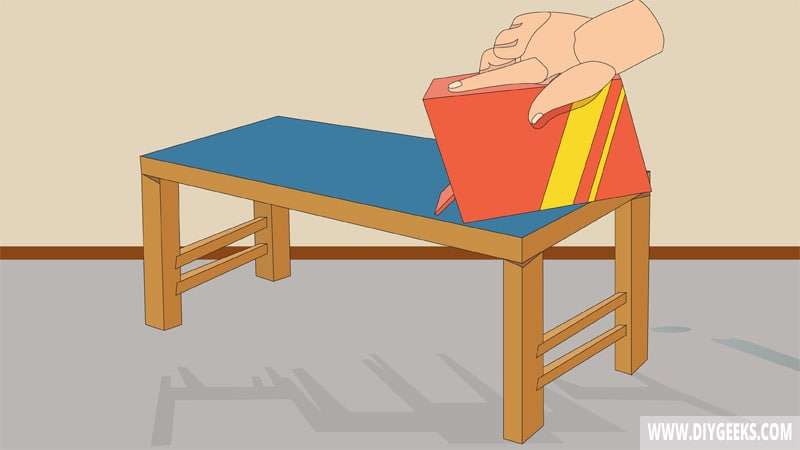
1. Sand the Surface

Sand the tabletop surface to remove existing finishes (if any), imperfections, and dirt, and smoothen the surface so the sealer sticks better.
To remove existing finishes, sand with 150-grit sandpaper. To sand bare wood, use 180 or 220-grit sandpaper until the surface is smooth.
Clean the surface after sanding to remove dust.
Note: If the surface is sealed with varnish (or another sealer), use a paint stripper to remove it.
2. Wipe And Clean The TableTop
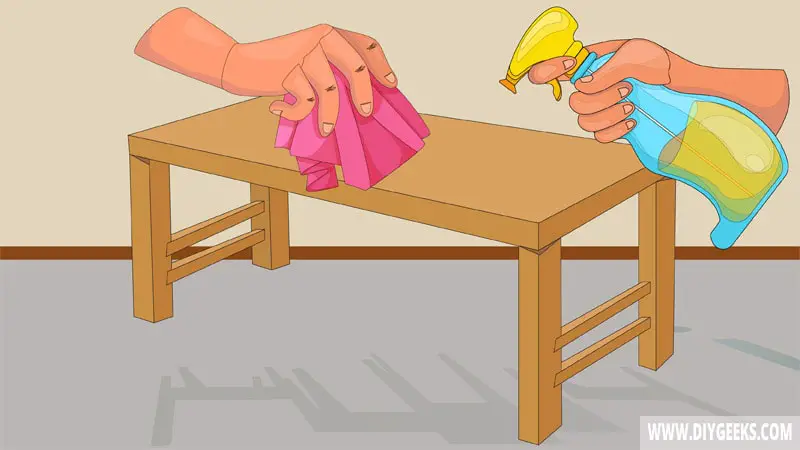
Clean the tabletop to remove dust, dirt (if any), and stubborn stains from the surface.
To remove stubborn stains, do the following things.
- Damp a rag with mineral spirits.
- Use the dampened rag to clean the wood.
- Wait a few minutes.
- Remove the residue of the mineral spirit using soapy water.
- Allow the wood to dry.
3. Prep the Polyurethane
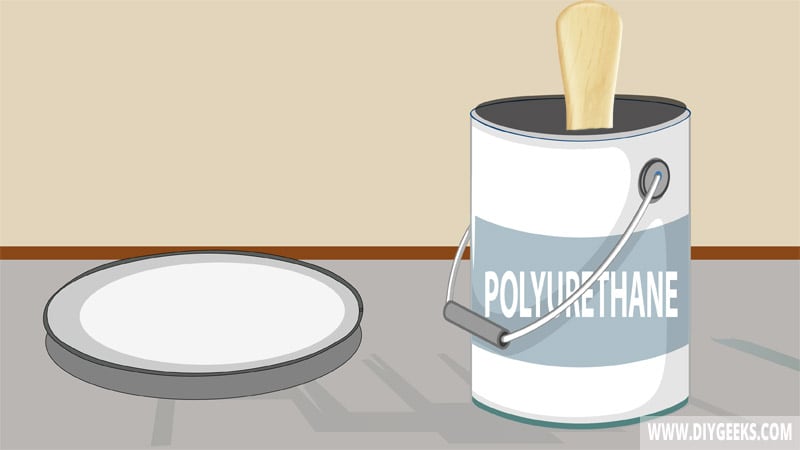
To prep polyurethane, follow the manufacturer’s instructions or user’s guide.
For instance, shake the container for spray polyurethane or stir the container with a paint mixer (or turning stick) for liquid polyurethane.
Optionally, you can thin oil-based polyurethane with mineral spirits if the flow is too thick. You don’t have to thin water-based poly.
4. Apply An Undercoat (Optional)
Polyurethane is a clear coat (with no color); if you use it over bare wood, the wood grain and wood will show.
Mix water-based polyurethane with acrylic, use tinted polyurethane, or apply an undercoat first (paint or primer), if you want a colored finish.
Seal the tabletop with a shellac-based washcoat if it’s made of hardwood such as Oak. Oak is a porous wood with large pores and you must apply a washcoat to prevent over-absorption.
5. Apply Polyurethane
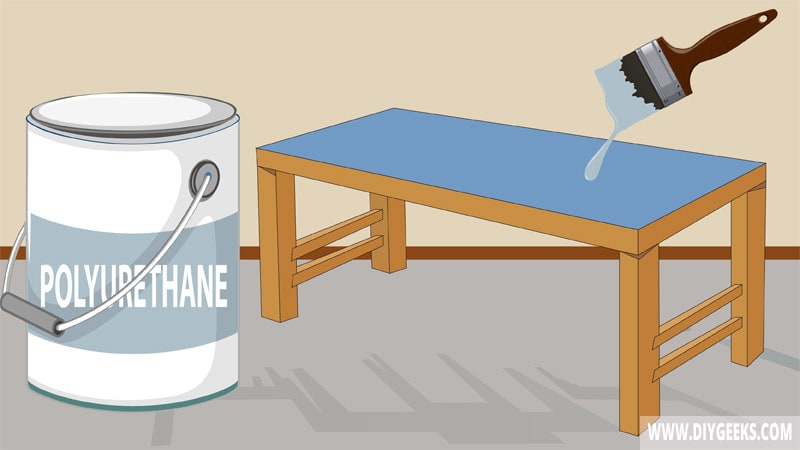
To apply polyurethane over a tabletop, use a bristled paintbrush or sprayer. You can apply up to 3 coats — wait until one coat dries before applying the next.
You can sand between coats of polyurethane, except for the final coat.
On average, it takes water-based polyurethane 6-8 hours to dry for re-coat and oil-based poly 24 hours.
6. Buff The Finish
You can make the finish glossier and more beautiful by buffing it.
To buff a finish, do the following things.
- Sprinkle 4F pumice powder on the finish.
- Apply light oil.
- Use a clean and soft rag to buff the finish.
How Long Does Polyurethane Last On Table Tops?
Polyurethane will last up to 10 years on tabletops, on average. Maintenance routine, exposure to water and dirt, surface type, and the number of coats all determine how long the finish will last.
The finish will last longer if the tabletop surface isn’t exposed to contestant water or isn’t used as much. The finish will last less if it’s exposed to constant water or outdoor weather elements (sun, rain).
You can touch up the finish by adding more coats of polyurethane after a few years.
To make the finish last longer, do the following things.
- Wipe and clean stains off the finish immediately after they occur.
- Don’t expose the surface to constant water or moisture.
- Use waterproof padding.
- Buff or repair polyurethane scratches with a PU Scratchfix pen.
- Don’t use harsh cleaners while cleaning it.

