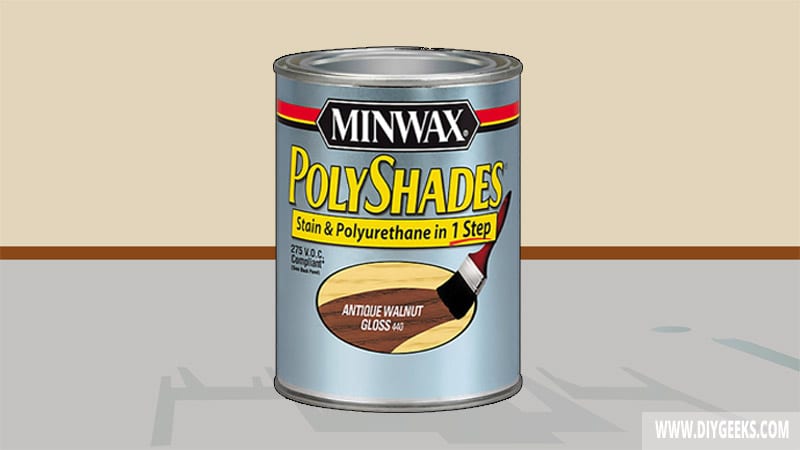
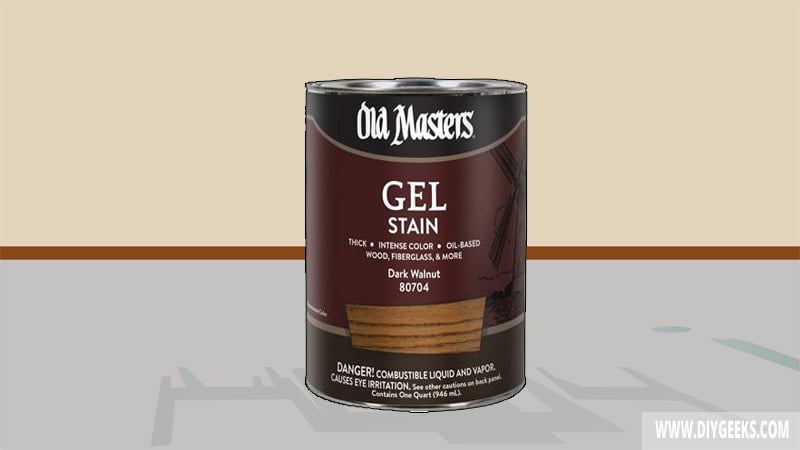
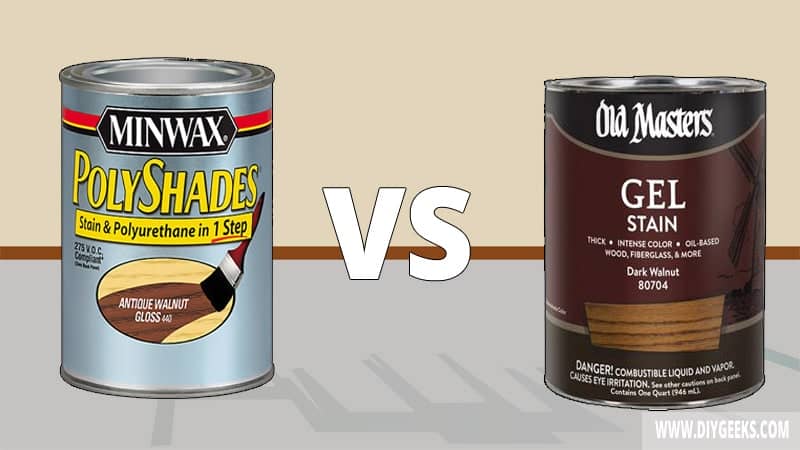
Polyshades is a wood finish that is created by mixing wood stain and polyurethane. Gel stain is a wood stain type that has a thick jelly-like viscosity.
Polyshades offers better durability, dries faster, and protects surfaces better than Gel Stain. Gel stain offers a more colorful finish that depends on the surface color shade.
What is Polyshades?

Polyshades is wood finish produced by mixing wood stain and polyurethane. It produces a semi-transparent finish that enhances the wood appearance and protects it from moisture, water, scratches, and weather elements.
The term “Polyshades” comes from the Minwax Polyshades brand. It’s used by people who want to save time when applying a wood finish.
Polyshades advantages are listed below.
- You can use it as the final coat.
- You can apply it over a top coat.
- It’s easy to apply.
- Enhances the wood appearance.
- Protects wood from moisture, water, and scratches.
Polyshades disadvantages are listed below.
- The finish isn’t as colorful as wood stain and less durable than polyurethane.
- You don’t have full control over the finish color shade.
Use polyshades for the following things.
- To lighten or modify already stained wood.
- If you need a quick finish as it gives a colorful and durable finish within a few hours.
- For indoor surfaces.
- To get a colorful finish — you can pick the color you want.
- If you want a satin or glossy finish.
What is Gel Stain?

Gel stain is a wood stain type that has a thicker jelly-like viscosity and can be applied over all surface types. Its thick viscosity allows gel stain to be applied over vertical surfaces without dripping.
Gel stain is a topical finish and doesn’t need to penetrate a surface to adhere. It creates a high-gloss finish that deepens the surface color shade.
Gel Stain advantages are listed below.
- It can darken stained wood.
- You can use it on vertical surfaces since it doesn’t drip.
- Good coverage.
The polyshades disadvantages are listed below.
- Gel stain isn’t waterproof or durable. You need to seal it.
- It has a slow dry time.
- You must wipe excess wood stain after application.
- Sometimes, you must thin it before applying.
Gel Stain vs Polyshades
The differences between Gel Stain and Polyshades are listed below.
Durability
Polyshades is more durable than Gel stain as it’s formulated with polyurethane that repels moisture, water, and stains better.
Gel stain finish isn’t as durable and can’t withstand high water amounts.
The Use
Polyshades is used to enhance the wood’s appearance and protect it from moisture, water, scratches, and weather elements. It’s a combination of wood stain and polyurethane.
Gel stain is used to enhance the wood’s appearance by deepening the surface color shade and providing minimal protection.
Dry Time
Polyshades dries faster than Gel stain as it has a thinner viscosity and is formulated with extra additives that enhance its drying time.
Polyshades takes around 6 hours to dry, while Gel stain takes around 12 hours to dry between coats.
Interior or Exterior Use
You can use polyshades for interior and exterior surfaces as it’s formulated with polyurethane that creates a durable finish.
You can use Gel stain for interior and low-traffic exterior surfaces as its finish can’t withstand constant water exposure.
Finish Sheen
Polyshades creates different finish sheens including satin and high-gloss. Gel stain creates only a high-gloss finish.


