To paint over Thompson’s water sealer, sand the sealer finish, apply primer, prep the paint, apply the paint, and seal the finish.
Paints don’t adhere directly over Thompson’s water sealer coating unless you remove the sealer or sand it. The water sealer creates a hydrophobic finish that prevents paint penetration and adhesion.
Sanding creates tiny pores (holes) that the paint can penetrate and adhere to.
Do Paints Adhere Over Thompson’s Water Seal?
Paints don’t adhere over Thompson’s water seal as the sealer has a water-resistant finish that prevents paint penetration or adhesion. If you apply paint directly over it, the paint won’t penetrate or adhere and will peel off.
Paints must penetrate the surface pores to adhere — but since Thompson’s water sealer produces a water-resistant layer over the surface, paints can’t penetrate the surface and won’t adhere to it.
You must sand the Thompson’s water seal coating to create tiny pores (holes) that the paint can penetrate or remove the sealer finish before applying the paint.
How To Paint Over Thompson’s Water Seal?
To paint over Thompson’s water seal, do the following things.
- Sand the Sealer Finish.
- Apply Primer (Optional).
- Prep the Paint.
- Apply the Paint.
- Seal the Finish.
The tools you need for this project are listed below.
- Sandpaper (180-320 grit)
- A pair of gloves
- A power sander
- Rags
- Paint
- A primer coat
- A paint mixer or turning stick
- Paintbrush or sprayer
- A vacuum or duster
- Polyurethane (optional)
- Chemical-based paint stripper (optional)
Note: Painting over Thompson’s water sealer isn’t recommended as you will remove the protective layer from the wood. However, if you do paint over it, ensure to seal the finish with a new sealer coating.
1. Sand the Sealer Finish
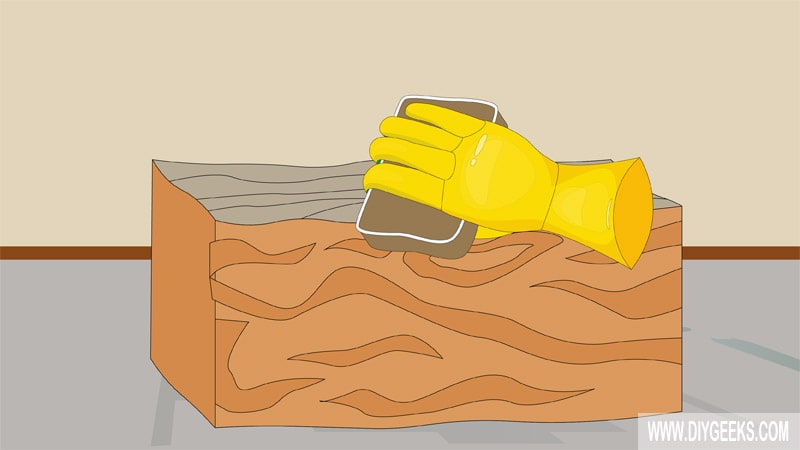
Sand the sealer finish with medium-grit sandpaper (100-grit) to remove the water-resistant coating and create tiny pores (holes) that the paint can penetrate.
The sandpaper removes the Thompson’s water sealer finish and makes the surface paint-ready.
After sanding off the sealer coating, use extra fine-grit sandpaper (440-grit) to smooth out the wooden surface.
Note: Ensure to remove dust after sanding.
2. Apply Primer
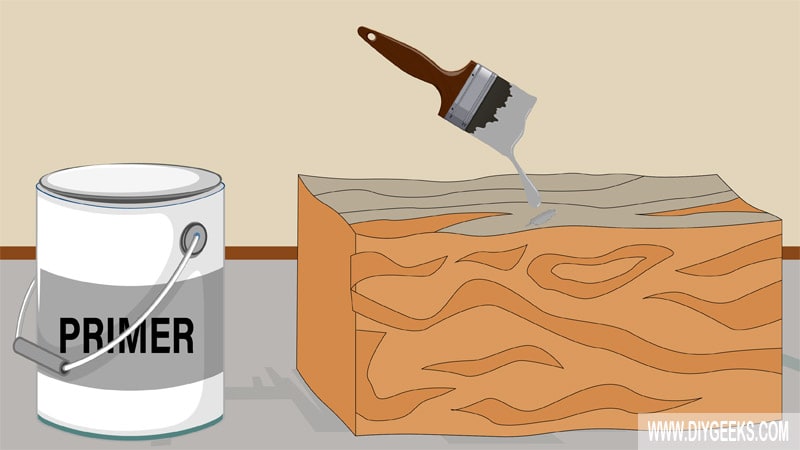
A primer coating helps to improve the paint adhesion to the surface by creating a smooth coating that the paint can penetrate and adhere to.
Apply one (1) primer coat using a paintbrush.
3. Prep the Paint
Prep the paint by stirring or shaking it before application. If the paint is too thick, thin it with water or mineral spirits, depending on its type (water or oil-based).
4. Apply the Paint
Apply 2-3 paint coats with a paintbrush, roller, or sprayer over the surface. If you use a sprayer, you must thin the paint (especially for oil-based types).
Ensure to wait until one paint coat dries before applying the next one. Optionally, sand between paint coats, except for the final coat.
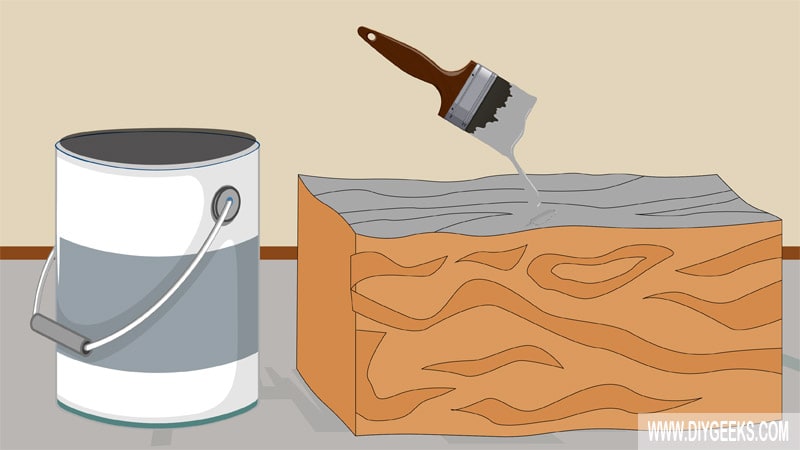
5. Seal the Finish
Seal the paint finish with polyurethane, varnish, or Thompson’s water sealer to improve durability and water resistance.
Can You Paint over Thompson’s Water Seal Without Removing it?
You can’t paint over Thompson’s water sealer without removing or sealing it. If you paint directly over the water sealer, the paint won’t adhere and will gradually peel off the surface.
The Thompson’s water sealer produces a hydrophobic layer over the surface that prevents paint penetration or adhesion. Since paint can’t penetrate the surface, it won’t dry or adhere.
You must either remove the Thompson’s water sealer finish or sand it before painting over it.
Things To Know
What Happens If You Paint Over Thompson’s Water Sealer Too Soon?
If you paint over Thompson’s water sealer too soon, the sealer finish won’t dry properly and will peel off, removing the paint coating too.
Are There Types Of Water Sealers That You Can Paint Over?
No, there aren’t types of water sealers that you can paint over.

