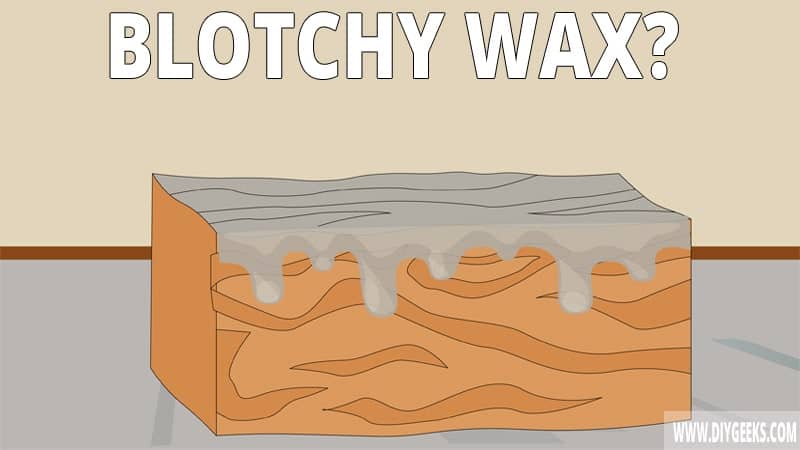
You must seal chalk paint with wax to increase the finish’s durability and water resistance. But, sometimes the wax will turn blotchy, so how to fix it?
To fix blotchy wax on chalk paint, use a buffing pad, touch up the blotchy wax, or remove the finish and re-apply it.
To avoid a blotchy wax finish, apply it only when the chalk paint cures (fully dries), wipe the excess 30 minutes after applying it, and don’t apply too many coats.
Why Does Wax Over Chalk Paint Turn Blotchy?
Wax over chalk paint turns blotchy if you apply too much of it, you don’t wipe off the excess, you didn’t prep the chalk paint finish properly, or if the drying conditionals are optimal.
1. You Applied Too Much Wax
If you apply too much wax, the chalk paint finish won’t absorb it evenly — some parts of the finish will absorb it less than others, creating an uneven and blotchy appearance.
2. You Didn’t Wipe Off The Excess
Wipe off the excess wax that hasn’t penetrated the finish 30 minutes after applying it over chalk paint. It takes chalk paint 30 minutes to absorb wax coatings.
If you don’t wipe the excess, there will be too much wax on the surface that will create a blotchy finish.
3. You Didn’t Prep Chalk Paint Properly
Chalk paint must cure (fully dry) and be clean and sanded with extra fine-grit sandpaper (440-grit) before applying wax. The wax coating won’t be absorbed evenly if any of these requirements aren’t met.
For instance, if the chalk paint finish is still wet and you seal it with wax, the finish will turn sticky and peel off. If the paint finish is dirty or filthy, the wax coating won’t adhere properly and might peel off.
4. The Drying Conditions Aren’t Optimal
The room temperature must be above 50°F (10°C) and the humidity level must be lower than 50% before applying wax or a paint coating.
If the temperature is lower than 50°F (10°C) the coating will take longer to dry and might turn blotchy or tacky.
How To Fix Blotchy Wax On Chalk Paint?
To fix blotchy wax on chalk paint, do the following things.
- Use a Buffing Pad.
- Touch up the Blotchy Wax.
- Remove the finish Re-apply it.
The tools you need for this project are listed below.
- Wax
- Clean lint-free rags
- Safety goggles.
- A vacuum or duster
- Buffing pads
- Mineral spirits or vinegar
- Wire sponges
- Drop sheets
- A portable sander (for large surfaces)
1. Use a Buffing Pad
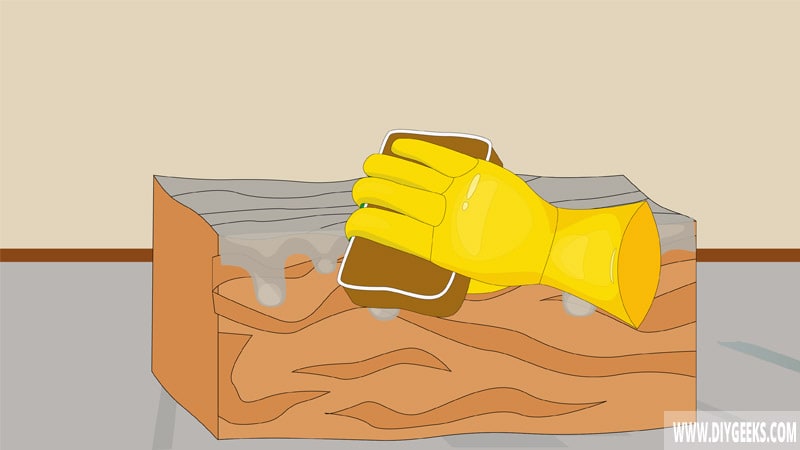
A buffing pad (or rag) will buff the wax coating and gradually wear off its blotchy appearance and create a smooth finish.
Use a buffing pad after the blotchy wax dries which takes 24 to 48 hours. Don’t use a buffing pad of the blotchy wax is still wet as it will get clogged.
To fix blotchy wax with a buffing pad, do the following things.
- Wait until the wax coating is dry.
- Use a clean rag to wipe off dust and dirt from the finish.
- Use a budding pad recommended for a wax surface to buff the finish in circular motions while applying small pressure.
- Buff the finish until the blotchy appearance is removed.
- Wipe the surface with a clean rag and let the finish settle.
Tip: Try a different method if you buff the finish for 5 minutes and the blotchy finish doesn’t start to change or disappear.
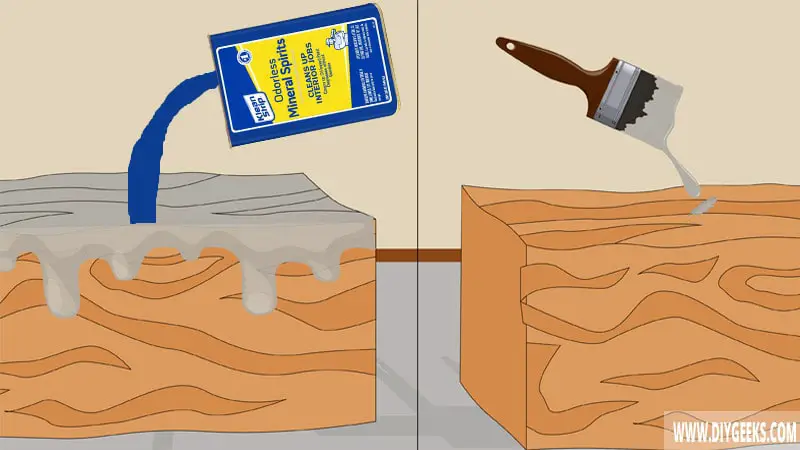
2. Touch up the Blotchy Wax
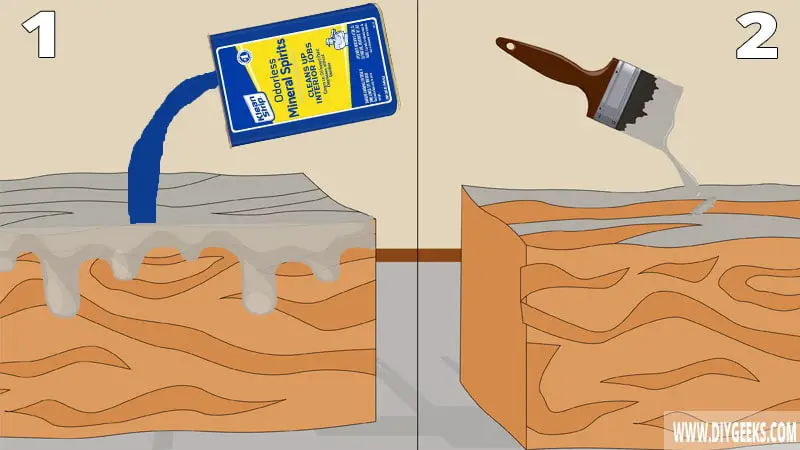
Remove the excess and touch up the wet blotchy wax by applying a new wax coat. The new wax coat will blend with the wet existing coats and create an even finish.
If the wax coating has died, damp a rag with mineral spirits and wipe the finish, wait 15-30 minutes, remove the mineral spirits residue, and apply a new wax coating.
Here is a guide for this method:
- Inspect the finish to know if it’s wet or dry.
- If the wax finish is dry, use a dampened rag with mineral spirits to wipe it. If the finish is wet, don’t use mineral spirits.
- Wait 15-30 minutes.
- Wipe the excess wax and remove the mineral spirits residue with a clean rag.
- Touch up the finish by applying a new wax coating.
- If there’s excess wax, remove it 30 minutes after application.
- Wait for the finish to dry.
- Buff the finish with a buffing pad.
- Remove dust and allow the finish to settle.
Tip: Use a mixture of vinegar and warm water (1:1) if you don’t have vinegar.
3. Remove and Re-apply The Wax
Remove the entire finish, find and fix the cause of the blotchy appearance, and re-apply the finish. To remove a waxed chalk paint finish, use mineral spirits, vinegar mixed with warm water, acetone, or a paint-stripping compound.
To remove a waxed chalk paint and re-apply the paint, do the following things.
- Pour mineral spirits over the finish.
- Wait 30 minutes or until the finish liquefies.
- Use a paint scraper to scrape the finish.
- Re-apply mineral spirits for the leftovers and scrape again after 30 minutes.
- Clean the surface.
- Sand the surface with medium-grit sandpaper (100-grit).
- Remove dust.
- Re-apply chalk paint and wait 24 hours for it to cure (fully dry).
- Sand chalk paint with extra fine-grit sandpaper (440-grit) to remove imperfections.
- Re-apply wax and wipe off the excess after 30 minutes.
- Buff the finish with a buffing pad.
How To Avoid Blotchy Wax Over Chalk Paint?
To avoid blotchy wax over chalk paint, do the following.
- Apply the wax only when the chalk paint cures (fully dries) – This takes about 24 hours after applying it.
- Always wipe off the excess wax 30 minutes after application.
- Don’t apply more than the required number of wax coats.
- Wax and paint must be applied only if the temperature is higher than 50°F (10°C) and the humidity levels are lower than 50%.
- Follow the manufacturer’s instructions.
- Prep the chalk paint by cleaning and sanding it before sealing it.
- Apply thin coats because thicker coats will not be absorbed evenly.
- Do not re-coat the wax unless the existing coat has dried.
- Use the right type of wax on the chalk paint – Annie Sloan wax is a good choice.

