You can paint over wood stain if its finish isn’t sealed with a moisture-resistant sealer. You must remove, sand, or prime the finish if the wood stain is sealed or has a glossy moisture-resistant layer.
To paint over stain, find the wood stain type, remove the stain (optional), sand the finish, apply primer, and apply the paint.
You can’t paint over Gel stain or sealing stains as they create a moisture-resistant layer (barrier) that prevents paint adhesion.
Do Paints Adhere to Wood Stain?
Paints do adhere to water-based and oil-based wood stains, but they don’t adhere to gel, lacquer, or varnish stains.
Sealing stains have moisture-resistant coatings that prevent the paint from penetrating or adhering to them.
You must remove the sealed stain finish before applying paint as the finish won’t allow the paint to adhere.
Related Read: Can You Stain Over Paint?
Can You Paint Over Wood Stain Without Sanding or Priming?

You can paint over water-based wood stain without sanding or priming. You can’t paint over oil-based wood stain without sanding or priming, as its finish prevents proper adhesion.
The water-based wood stain has low levels of chemicals, resins, and additives, so its finish isn’t glossy and you can paint over it directly without sanding or priming (although both can help improve the finish quality).
The oil-based wood stain has additives and resins that make its finish glossy and can prevent proper paint adhesion– the paint does adhere over it but it can peel off eventually.
Sanding removes the dust, grime, dents, imperfections, and the glossy top layer of the surface. Priming seals holes, cracks, and imperfections, and creates a base layer for paint to adhere to. Both will help you get an even, smooth, and high-quality finish.
Related Read: Paint vs. Stain
Do You Have To Remove Wood Stain Before Painting?
You don’t have to remove wood stain before painting unless its finish prevents proper adhesion. For instance, water-based wood stain has a dry textured finish that doesn’t prevent paint from penetrating or adhering to it.
On the other hand, lacquer stain has a moisture-resistant top coat that prevents proper adhesion, so you must either remove or sand it with medium-grit sandpaper (100-grit) before applying paint.
Sanding will create tiny pores (or holes) on the finish that the paint can stick to.
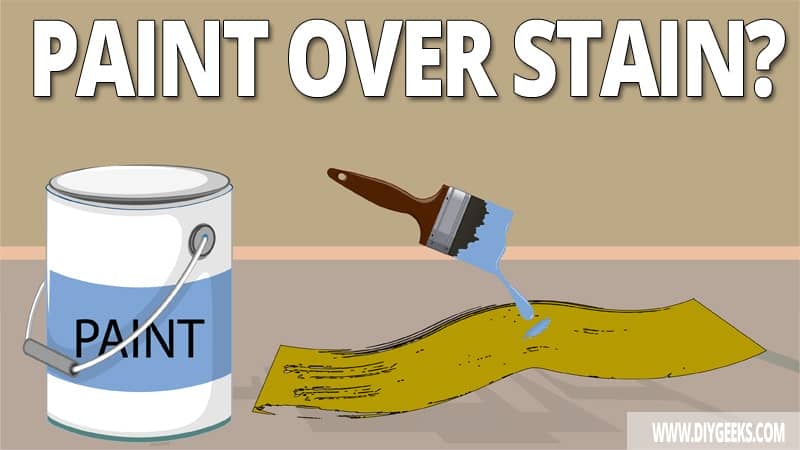
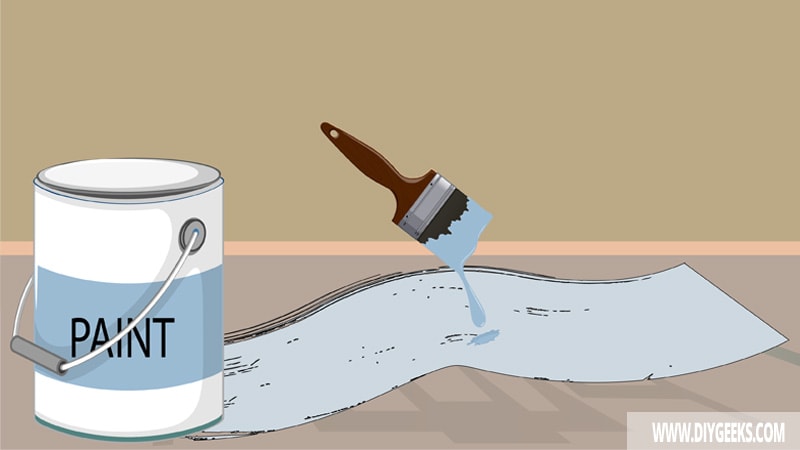
How To Paint Over Stain?
To paint over stain, do the following things.
- Find the Wood Stain Type.
- Remove the Stain (Optional).
- Sand the Finish.
- Apply Primer.
- Apply Paint.
The tools you need for this project are listed below.
- Medium-grit sandpaper
- A scraper
- Paint stripper
- Rags
- A mixer or turning stick
- A bucket
- Portable vacuum
- Brush
1. Find the Wood Stain Type

To find the wood stain finish type, pour rubbing alcohol over the finish. The wood stain is water-based if the finish gets removed, and the stain is oil-based or sealed if the finish doesn’t get removed.
Rubbing alcohol is a paint remover that can remove water-based finishes only.
2. Remove the Stain (Optional)
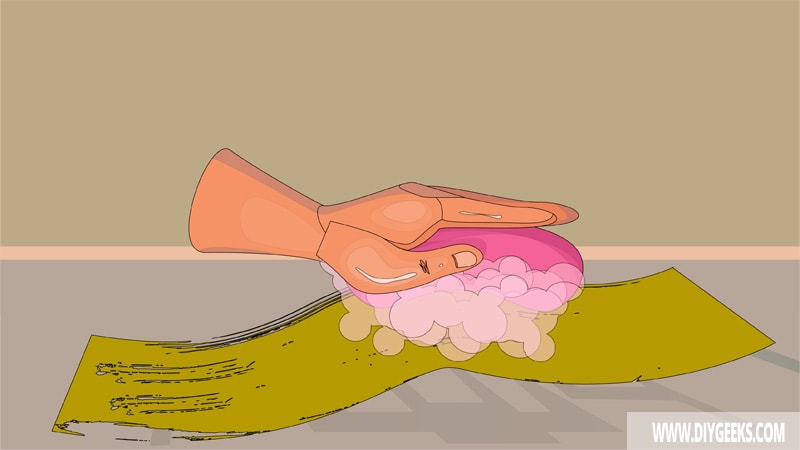
If the wood stain is oil-based or sealed, remove the finish as their glossy layer can prevent paint from properly penetrating and adhering.
To remove an oil-based or sealed wood stain, use a paint-stripping paste or coarse-grit sandpaper. The paint-stripping paste penetrates the finish, dissolves the binder, and liquefies the coating, making it easier to wipe it off.
3. Sand the Finish
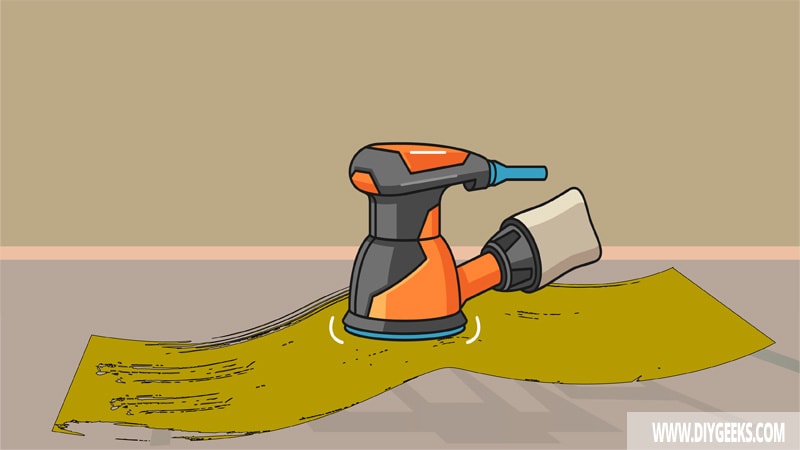
Sand the finish (or surface) with fine-grit sandpaper (220-grit) to remove imperfections and bumps, and create a textured layer for the paint to adhere to.
Ensure to clean the surface and remove the dust with a damp rag after sanding.
4. Apply Primer
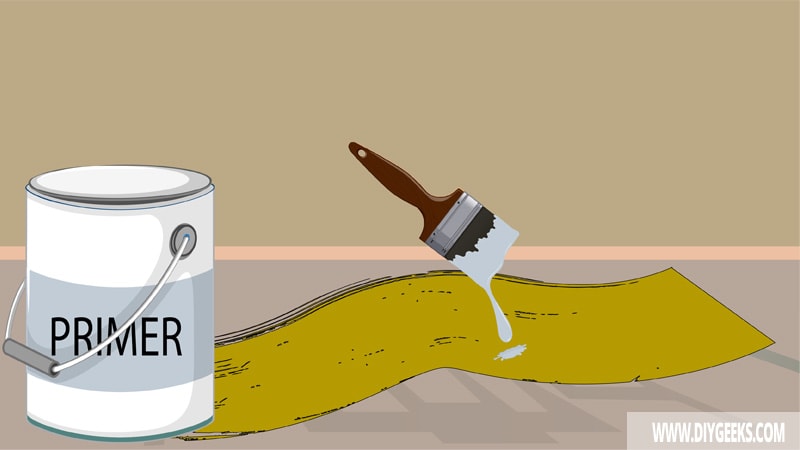
Apply (one) 1 primer coat over the stained wood if you want to cover the existing finish or change the color shade. Use a primer type compatible with the paint type you will apply.
If you don’t want to change the finish color shade, you don’t need to apply a primer.
5. Apply the Paint
Apply 2-3 paint coats over the stained wood using a paintbrush, roller, or sprayer. Wait until one coat dries, sand between coats, and apply the next coat.
Once the final paint coat dries fully (cures), seal the finish with polyurethane or varnish to protect it from moisture, water, or scratches.
Which Wood Stain Types Can You Paint Over?
The wood stain types you can paint over are listed below.
Water-Based Wood Stain
You can apply paint over water-based wood stain as the finish doesn’t have a glossy layer that prevents paint penetration or adhesion.
Oil-based Wood Stain
You can apply paint over oil-based wood stain, but you must sand the finish with fine-grit sandpaper (220-grit) to improve paint adhesion.
Minwax Stain
You can paint over Minwax stain if you sand and prep the finish first.
Concrete Stain
You can apply paint over concrete stain if you sand and prime the finish first.
Which Wood Stain Types You Can’t Directly Paint Over?
The wood stain types you can’t directly paint over are listed below.
- Exterior stains.
- Gel Stain, Varnish Stain, and Lacquer Stain.
- Sealed Stains.
- Gel Stain: You can’t paint over gel stain as it has a moisture-resistant finish that prevent paint penetration and adhesion.
- Deck Stain: You can’t paint over deck stain as its finish is reinforced with protective additives that prevent paint penetration and adhesion.

