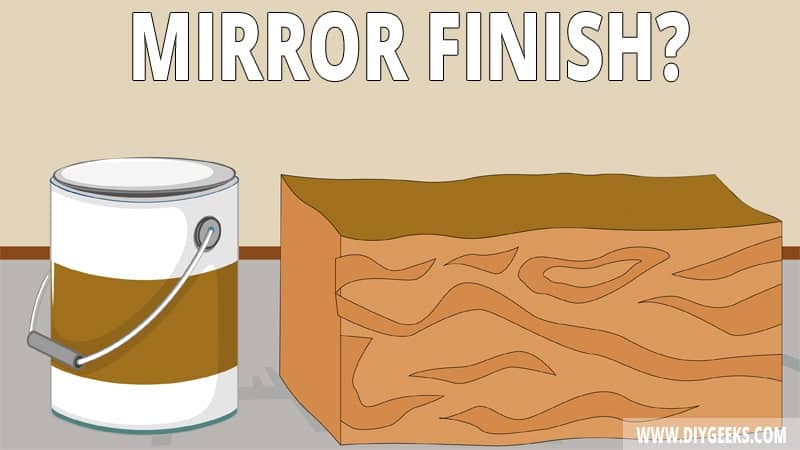
A wood mirror finish is a highly polished and reflective finish that reflects objects and light.
To get a mirror finish on wood, clean and sand the wood, use wood filler, apply a transparent sealer, wet-sand the finish, and buff the finish.
To maintain a wood mirror finish, don’t allow dust or dirt accumulation, clean the finish every few days, and touch up the finish every few years.
What Sealer Types Create a Mirror Finish?
High-gloss and transparent sealers create a mirror finish due to the high amount of sheen (gloss) and colorless finish. This includes high-gloss lacquer, polyurethane, and varnish.
Semi-gloss paint sheens can create a mirror-like finish, but it won’t reflect light as much as high-gloss sheens.
Don’t use high-gloss colored sealers as they can’t produce a clear mirror-like finish. Don’t use flat, eggshell, or satin paint sheens as they don’t have enough sheen (or gloss) to produce a mirror (or reflective) finish on wood.
How To Get a Mirror Finish on Wood?
To get a mirror finish on wood, do the following things.
- Clean the Wood.
- Sand the Wood.
- Use Wood Filler.
- Apply a Transparent Sealer.
- Wet-sand the Finish.
- Buff the Finish.
The tools you need for this project are listed below.
- Mineral spirits
- Dish soap and a bucket of water
- Sandpaper
- Lint-free rags
- A power sander (optional)
- A power buffer
- A transparent top coat – Lacquer or polyurethane varnish
- Bristled paint brushes
- A vacuum
- 4F pumice powder
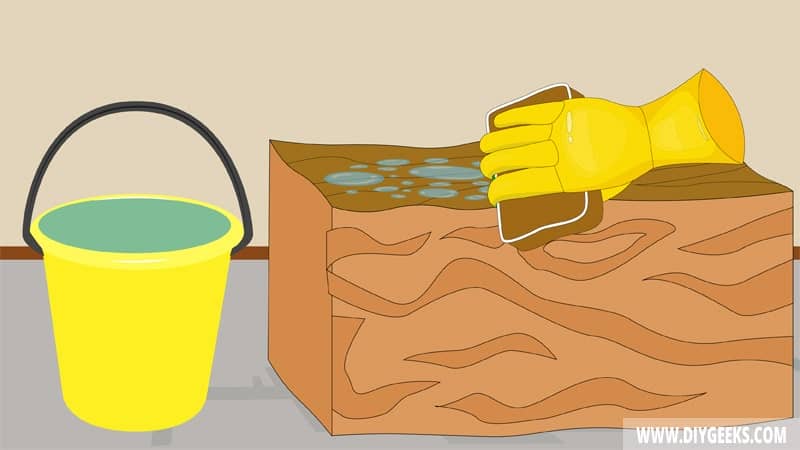
1. Clean the Wood

Clean the wood with warm soapy water to remove dust, dirt, debris, or stains that can prevent the sealer from adhering or can show once the sealer dries. For stubborn stains, use a soft brush.
2. Sand the Wood
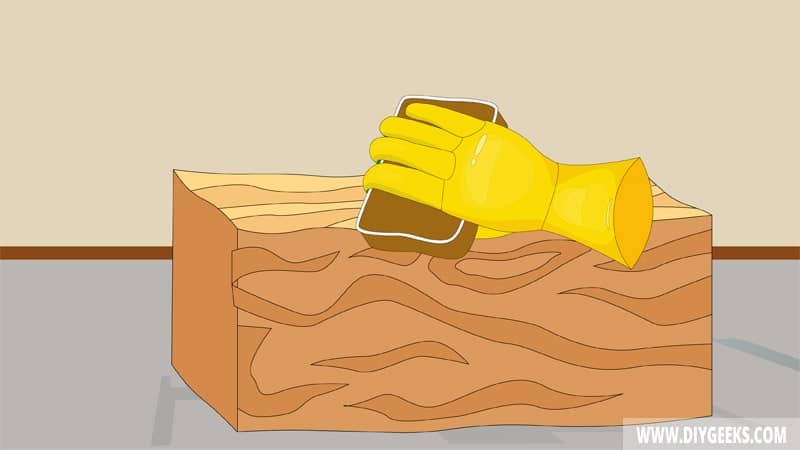
Sand the wood to remove imperfections, bumps, and splinters, and create a smooth and flat surface. If you don’t sand the wood, you can’t get a good mirror finish as imperfections will show once the sealer dries.
To sand the wood, start with medium-grit sandpaper (100-grit) to remove imperfections and finish with fine-grit sandpaper (220-grit) to smooth the surface.
Clean the wood and remove the dust after sanding.
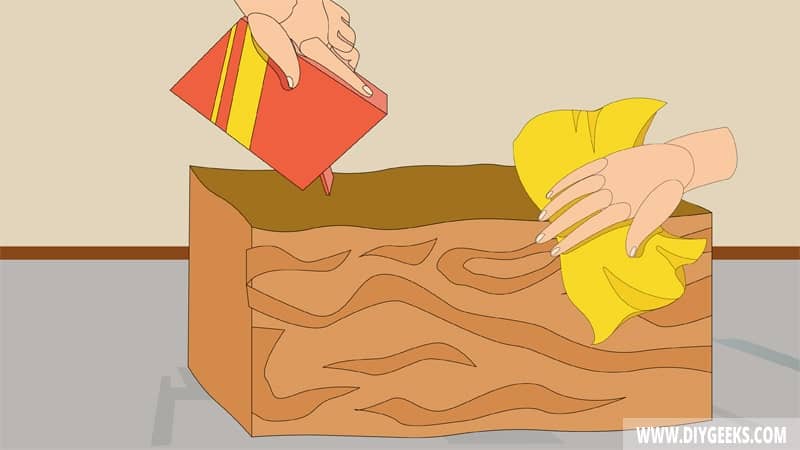
3. Apply Wood Filler
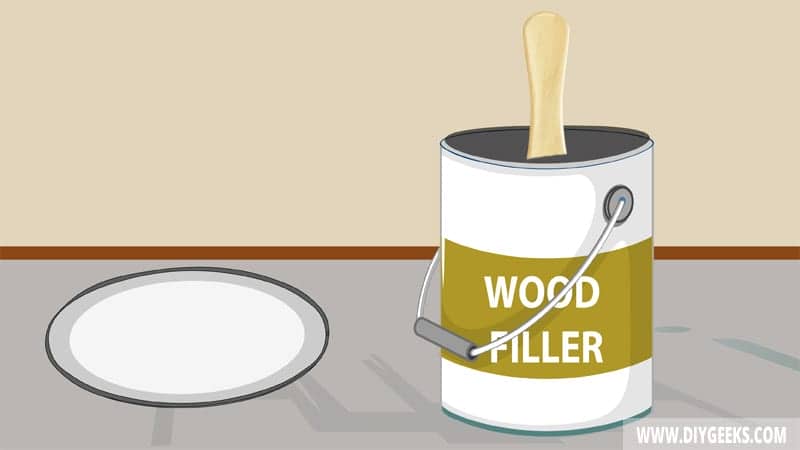
If the wood surface is riddled with holes or cracks, or is uneven, apply wood filler. The wood filler will fill the holes and cracks and create a smooth and flat layer.
To apply wood filler, do the following things.
- Mix the wood filler with water.
- Use a paintbrush to apply the wood filler.
- Apply the wood filler inside the surface holes or cracks.
- Remove excess wood filler.
- Allow it to dry based on the manufacturer’s instructions.
- Sand the wood to flatten its surface with fine-grit sandpaper (220-grit).
- Remove the dust.
4. Apply a Transparent Sealer
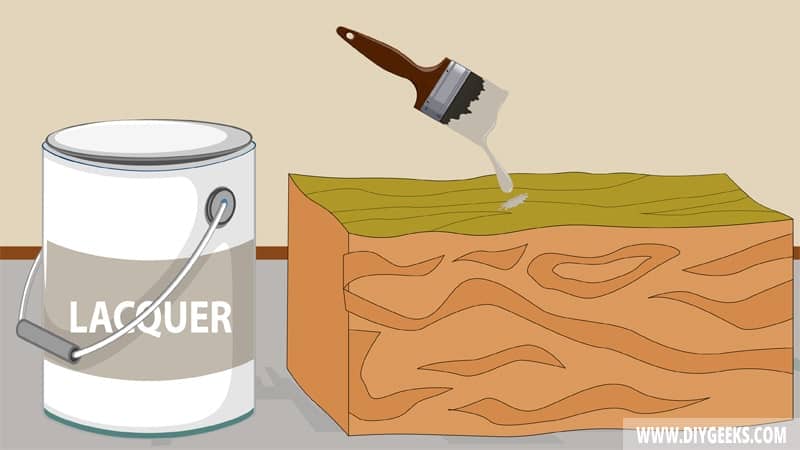
To get a mirror-like and reflective finish, use a high-gloss transparent sealer, such as lacquer, varnish, or polyurethane. The high-gloss transparent sealer creates a reflective glossy colorless finish that looks like a mirror finish.
You need to apply four (4) lacquer coats, or three (3) polyurethane or varnish coats with a paintbrush or sprayer. Wait until one coat dries before applying the next one.
Don’t apply too many coats as transparent sealers can produce a blurry finish.
5. Wet-Sand the Finish
Once the high-gloss transparent sealer cures (dries fully) wet-sand it with extra fine-grit waterproof sandpaper (440-grit).
Dip the waterproof sandpaper into a water bowl, and use it to sand the sealer finish repeatedly.
6. Buff The Finish
To get a perfect mirror finish on wood, buff the finish.
To buff the finish, do the following things.
- Sprinkle 4F pumice powder over the sealer finish.
- Douse it with rubbing oil.
- Rub the mixture into the wood fibers using a cotton cloth.
- Leave it to dry.
How To Maintain a Wood Mirror Finish?
To maintain a wood mirror finish, do the following things.
- Don’t allow dust or dirt accumulation.
- Clean the finish every few days.
- Touch up the finish every few years.
Mirror wood finishes are easier to maintain than normal finishes as they repel dirt, dust, stains, and moisture better. The high-gloss clear coat forms a moisture-resistant coating that prevents moisture penetration.
Even if dirt or stains adhere over the wood finish, it’s easier to wipe them off because of the slick finish. You can use solvent-based cleaners to clean the mirror-like finish without risking on damaging or removing it.
However, mirror-like finishes will highlight surface imperfections more. It’s important to remove all surface imperfections before applying the high-gloss transparent sealer.
Varnish vs. Lacquer (For A Mirror Finish)
- Finish Clarity: High-gloss lacquer produces a better finish clarity because varnish tends to turn yellow after a while.
- Number of Coats: You need more lacquer coats as it has a thin viscosity. On the other hand, you don’t need many varnish coats as it has a thick viscosity.
- Dry Time: Lacquer dries faster than varnish.
- Application Method: You can use a bristled paintbrush to apply varnish because it has a thicker viscosity and can’t be applied (unless thinned). On the other hand, you can apply lacquer with a brush and sprayer.

