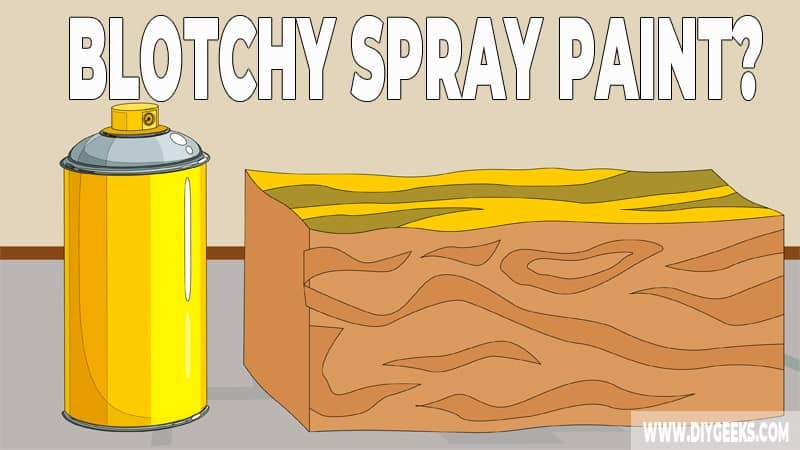
A blotchy finish refers to the uneven or patchy appearance of the coating after it dries. In simple words, some parts of the coating are lighter while some are darker.
Blotchy spray paint is caused by improper handling and positioning of the sprayer while using it, moisture, and bad surface preparation.
To fix blotchy spray paint, touch up the areas with more coats of paint, sand the finish, or remove it and re-apply it. The right fix depends on the cause and extent of the problem.
Why Does Spray Paint Turn Blotchy?
Spray paint turns blotchy if you don’t hold the sprayer correctly while using it, because of moisture, bad surface preparation, or an existing finish.
1. You Don’t Hold the Sprayer Correctly
Blotchy spots will appear on the surface if you don’t hold the sprayer correctly as the coating won’t be even. If you spray the same spot for too long, you will over-apply paint and create an uneven finish.
Also, if you keep the spray gun nozzle too close to the surface, the paint will bounce off the spot to other parts of the surface, leading to a splotchy appearance.
2. Moisture
Moisture (or water) can cause the finish to appear blotchy. If the humidity levels are high, the water (in the atmosphere) will mix and dissolve the particles, making the coating lighter than it is.
So, when the coating dries, it will develop light or faded spots.
2. Bad Surface Preparation
The surface must be clean, sanded, and primed before you apply spray paint. Sanding and cleaning the surface will improve the adhesion between the surface and the paint. So, if you don’t prep the surface, the finish will appear blotchy because the surface won’t absorb the coating properly.
3. Existing Finish
If there’s an existing sealer on the surface, such as polyurethane, and you apply a coating over it, the finish will turn blotchy.
That’s because the waterproof sealer will repel the spray paint coating. Since the coating won’t stick well, some parts would appear darker than others.
How To Fix Blotchy Spray Paint?
To fix blotchy spray paint do the following.
- Touch up the Finish.
- Sand the Finish.
- Remove the Entire Finish.
Note: Fixing this problem isn’t hard, but you must find the cause of it. If it’s caused because you applied too much paint on the surface, then you can wipe off the excess.
If it was caused by improper surface preparation, then you must remove the entire finish and re-apply it.
1. Touch up the Finish
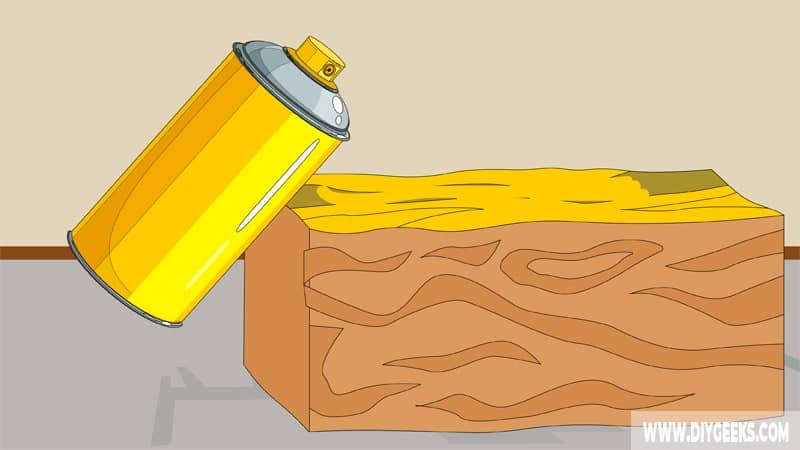
You can touch up the finish by applying a new coating. This works if the blotches spots aren’t many. To do this, apply more spray paint to the lighter areas so they can blend with the remaining finish. This method is a quick fix and is guaranteed to work.
The tools you need for this project are listed below.
- A spray gun
- The coat of paint that you applied
- A flashlight
- Hairdryer
- Rags
- A pair of gloves
Here is a step-by-step guide for this method:
- Wipe the finish with a clean rag.
- Inspect the finish and mark out the areas that appear lighter than the rest (the blotchy areas).
- Use paper (or a clean rag) to cover the dark areas of the surface.
- Apply a light coat of spray paint over the lighter areas of the surface.
- Allow the coating to dry.
2. Sand the Finish
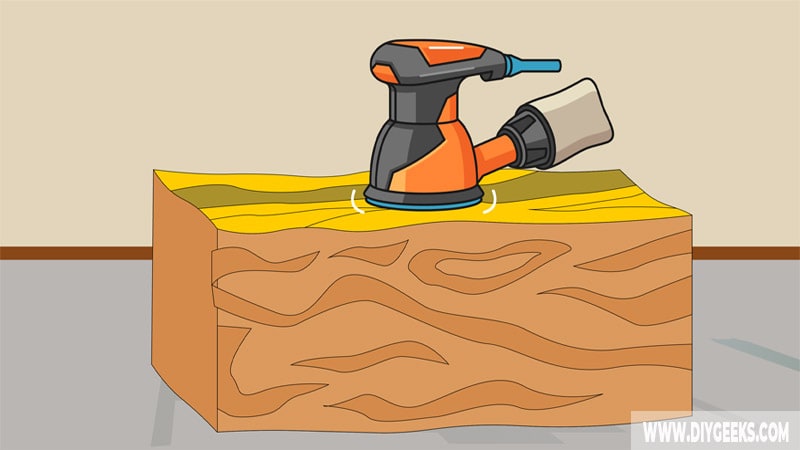
Sanding will fade out the spray paint coating, making the blotches spots appear even with the surface. This method works for mild to medium cases, and only when the finish has dried.
The tools you need for this project are listed below.
- Fine-grit sandpaper (use 320-grit upwards)
- A vacuum or duster
- A pair of gloves
- Paint (optional)
Here is a step-by-step guide for this method:
- Clean the finish after it dries.
- Sand the dark areas using fine-grit sandpaper.
- While sanding, vacuum the dust to see if the blotches spots have reduced.
- Once the surface is smooth and even, stop sanding.
- If needed, apply one more coat of paint.
Usually, sanding down the affected spots fixes the problem. However, there are extreme cases where sanding can’t fix the problem.
In such cases, the coating is often damp. The damp texture makes it impossible to touch up the blotched areas or sand down the wood. When this happens, you must remove and re-apply the finish.
3. Remove the Entire Finish

If nothing works, then remove the finish, find and fix the cause, prep the surface, and re-apply the finish.
The tools you need for this project are listed below.
- Paint stripper
- Scraper
- Rags
- Paintbrushes
Here is a step-by-step guide for this method:
- Use a scrapper or trowel to scrape off as much paint as possible.
- Apply paint stripper over the finish, and wait 20 minutes.
- Scrape the stripping compound (the paint will come off too).
- Re-apply the stripping compound for leftovers.
- Remove the stripping compound residue from the surface.
- Dry the surface (or fix what was causing the blotchiness).
- Sand and clean the surface.
- Re-apply the finish.
Tip: Apply a sealer over it to increase the durability of the coating. You can use wax for this.
How To Prevent Blotchy Spray Paint?
To prevent blotchy spray paint do the following.
- Prep The Sprayer Properly– Always prep and test the spray paint and equipment before using them. If the paint is thick, it won’t flow evenly through the spray nozzle. So, you must thin it before spraying it. Also, you must prep the equipment by priming the spray pump.
- Prep Your Surface – The surface must be clean, smooth, sanded, and primed. If the surface is smooth and perfect, the finish will be too.
- Don’t Over Apply The Paint – Don’t spray the same spot for too long, as you can over-apply it on certain surface spots. This will lead to an uneven finish. Move the sprayer from side to side without stopping, so the surface is covered with one spray.
- Use Paint Shields – A paint shield will prevent paint from splashing over unwanted areas. This will prevent a blotchy finish.
- Allow Enough Dry Time – You must wait until one coat dries fully before re-coating it.
- Wipe Off Drips And Runs – Wipe off paint runs and drips so they don’t form blotchy lines. You must do this immediately as they occur.
- Touch-Up Taped Areas – You must use painter’s tape to demarcate surface areas. After removing the tape from the surface, touch up the tape lines with a light coating. You can use an angled brush for this.
- Use Filling And Joint Compound – You must fix imperfections on the surface first. If the surface has holes or cracks in it, fill and seal the holes with a filling compound. For wood surfaces, use wood filler and for concrete surfaces, use concrete paste. If you don’t fill (or seal) these holes, the spray paint will be sucked into these holes and create an uneven layer.
- Use The Sprayer Properly – The sprayer nozzle shouldn’t be closer than 8 inches to the surface. If the nozzle is too close, it will cause splashes. Also, you must move your arm, not your wrist, while spraying.
- Fix Errors Immediately – Streaks, lines, or splashes must be wiped off the surface before they dry.

