
To apply acrylic paint over wall surfaces, prep the workspace, clean the wall surface, remove the existing finish, sand and prime the surface, and apply the paint.
Acrylic paint lasts between 5 and 15 years on wall surfaces, depending on whether the wall is outdoors or indoors.
Does Acrylic Paint Adhere to Wall Surfaces?
Acrylic paint does adhere to wall surfaces as the paint has good bonding qualities and adheres to most surfaces. The paint is made from a combination of stabilizers, polymer emulsions, and plasticizers, which improve its adhesion qualities.
The wall surface must be cleaned and sanded before applying acrylic paint. Cleaning removes dust, dirt, and filth that prevent paint adhesion. Sanding removes previous paint finishes, smoothens the surface, and creates tiny pores (holes) that the paint can penetrate.
The finish will peel off if you apply acrylic paint directly over wall surfaces without priming or sanding, or if the wall surface is already finished with an oil-based paint or sealer.
Related Read: Is Acrylic Paint Washable With Water?
How To Apply Acrylic Paint Over Wall Surfaces?
To apply acrylic paint over wall surfaces, do the following things.
- Prep the Workspace.
- Clean the Wall Surface.
- Remove the Existing Paint Finish.
- Sand the Wall Surface.
- Apply Paint Primer.
- Apply Acrylic Paint.
- Seal the Finish.
The tools you need for this project are listed below.
- Rags
- Cleaning Agent (such as Rubbing Alcohol or TSD)
- Sandpaper
- Paint Stripper
- Putty Knife
- Acrylic Paint
- Water-Based Primer
- Paint Roller
- Drop cloth
- A Sealer or Clear Topcoat
- Painter’s Tape
1. Prep the Workspace
Prep the workspace by removing nearby furniture and objects, and placing a large dropsheet to prevent paint spills. The dust, dirt, and paint spills that come off the wall surface will land on the dropsheet and not on the floor.
2. Clean the Wall Surface
Clean the wall surface to remove dirt, dust, debris, and filth that prevent paint adhesion. Wall surfaces hide dust and dirt well, so clean them regardless if they look dirty or not.
To clean wall surfaces, do the following things.
- Mix warm water with soap.
- Damp a soft brush with warm soapy water and scrub the surface.
- Scrub the surface until the dirt is off.
- Leave the wall surface to dry.
To remove stubborn stains, use rubbing alcohol.
3. Remove the Existing Paint Finish
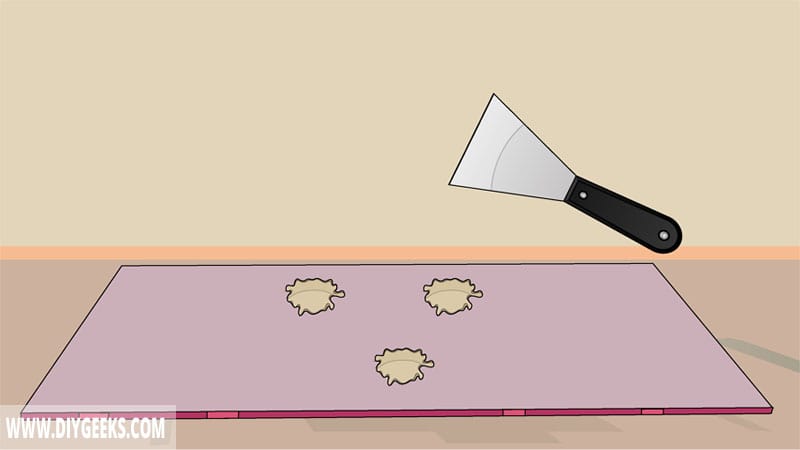
If the wall surface is already painted or sealed with an oil-based paint, remove the paint finish. Oil-based paint or sealers have a glossy moisture-resistant coating and will prevent acrylic paint from adhering to them.
The paint will peel off if you apply acrylic paint directly over an oil-based finish.
To remove paint or sealer from wall surfaces, do the following things.
- To remove oil-based paint finishes, use a solvent-based paint remover, paint-stripping compound, or mineral spirits. To remove water-based paint finishes, use rubbing alcohol or white vinegar.
- Damp a rag with solvent-based paint remover and use the dampened rag to wipe the wall surface.
- Wait 10-15 minutes.
- The solvent-based paint remover will break the paint particles’ bond and liquefy the paint coating.
- Use a paint scrape or lint-free cloth to remove the liquefied paint from the wall.
- Re-apply the solvent-based paint remover to leftover paint.
- Clean the wall with water to remove the paint remover residue from it.
- Allow the wall surface to dry.
You can use coarse-grit sandpaper (40-grit) to remove paint from wall surfaces, too.
4. Sand the Wall Surface
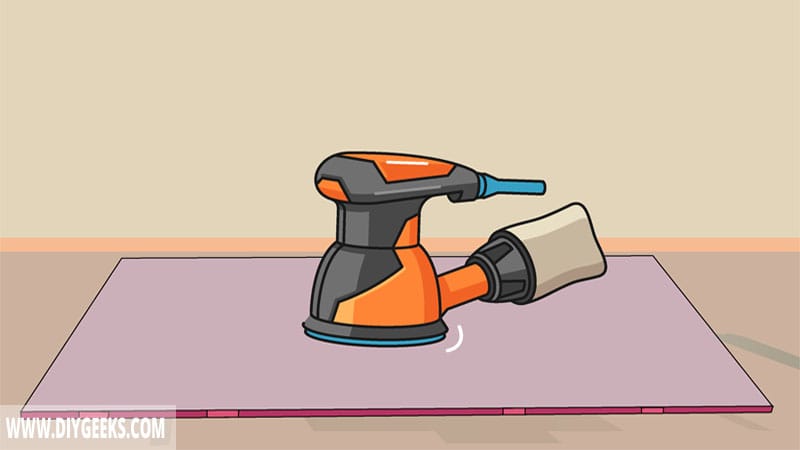
Sand the wall surface with medium-grit sandpaper (100-grit) to remove imperfections and bumps. Use fine-grit sandpaper (220-grit) to smoothen the surface and make it ready for paint.
Sanding will also create tiny pores (holes) in the wall surface that the paint can penetrate and adhere to.
5. Apply Paint Primer
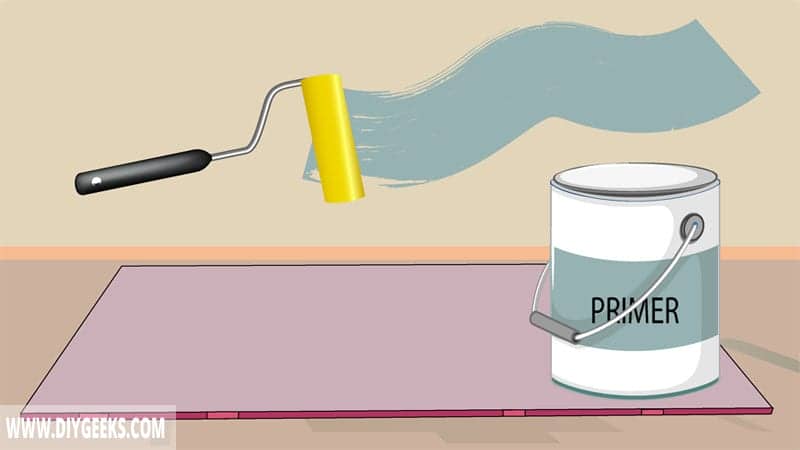
Apply two (2) stain-blocking primer coats on wall surfaces using a paint roller, brush, or sprayer. Wait until one coat dries before applying the next one.
The paint primer will cover imperfections on the surface and create a dry textured layer for the next paint coating to stick to. It will improve the adhesion between the paint and the wall surface.
6. Apply Acrylic Paint
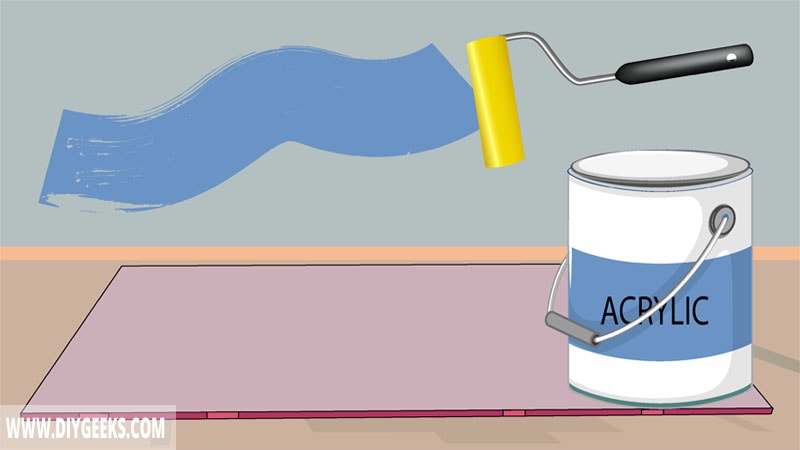
Apply 2-3 acrylic paint coats on wall surfaces using a paint brush or sprayer. Wait until one coat dries before applying the next one.
Acrylic paint takes around two (2) hours to dry between coats. The exact dry time depends on the room temperature and humidity levels, and the thickness of the paint coat.
7. Seal The Finish
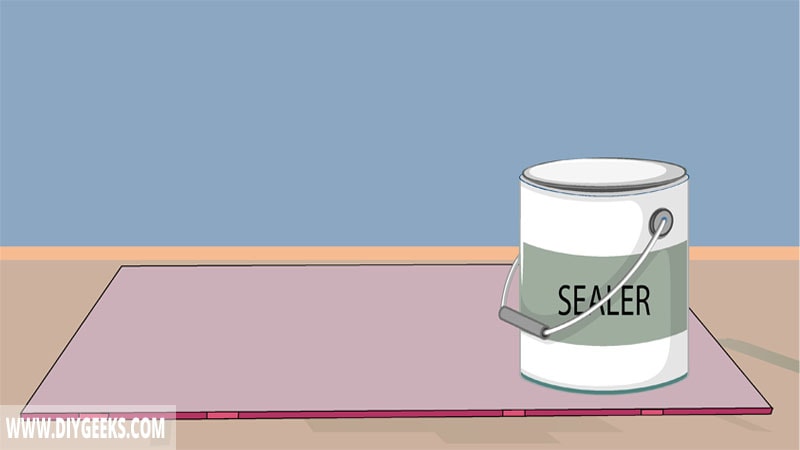
If the acrylic paint is applied on outdoor wall surfaces, seal the finish with a sealer. The sealer will produce a glossy moisture-resistant coating and protect the paint from water, moisture, scratches, and outdoor weather elements.
You don’t have to seal indoor wall surfaces as they aren’t exposed to constant water or weather elements.
How Long Does Acrylic Paint Last on Walls?
Acrylic paint lasts between 5 and 15 years on wall surfaces, depending if the surface is outdoor or indoor and whether the paint finish is exposed to water or not.
Sealed acrylic paint will last around 15 years on indoor wall surfaces, while unsealed acrylic paint will last around 5-7 years. Indoor wall surfaces aren’t exposed to weather elements or constant water, so the paint finish lasts longer.
Unsealed acrylic paint will last around 5 years on outdoor wall surfaces, while sealed acrylic paint will last around 15 years. Outdoor wall surfaces are exposed to constant rainfall, water, dust, and dirt which remove the paint finish faster.
FAQ’s
Can You Paint Over Acrylic Paint on Walls?
You can paint over acrylic paint on walls as the paint is water-based and doesn’t prevent paint penetration or adhesion.
However, if the acrylic paint is sealed, you must remove the sealer first before applying a new paint.
Can You Mix Acrylic Paint With Latex Paint?
You can mix acrylic paint with latex paint as both paints are water-based and compatible. A mixture of both paints will produce a colorful and flexible finish.
How Long Must Acrylic Paint Dry on Walls Before Hanging Pictures?
Acrylic paint must cure (fully dry) for around 24 hours before handing pictures over it.

