Polyurethane is a sealer that protects wood from moisture and water, while shellac is a waxed finish known for its smoothness and color.
You can apply polyurethane over shellac if the finish isn’t waxed or sealed before. A polyurethane coating will protect shellac from moisture, water, scratches, and weather elements.
To apply polyurethane over shellac, cover nearby objects, dewax shellac, sand the shellac, and apply the polyurethane.
On the other hand, you can’t apply shellac over polyurethane. That’s because polyurethane forms a glossy finish that repels moisture, so shellac will slide off the finish and won’t stick over it.
Does Polyurethane Adhere to Shellac?
Polyurethane adheres to unwaxed shellac because it doesn’t need to penetrate a surface to stick. Also, unwaxed shellac doesn’t have a topcoat that prevents paint from sticking.
Shellac is obtained from natural secretions, so there are no extra additives in its formula that repel liquids.
Polyurethane doesn’t stick well to waxed shellac as the wax will prevent it from penetrating or sticking. To apply polyurethane over waxed shellac, sand the finish with medium-grit sandpaper or remove the wax first.
How Long Must Shellac Dry Before Applying Polyurethane?
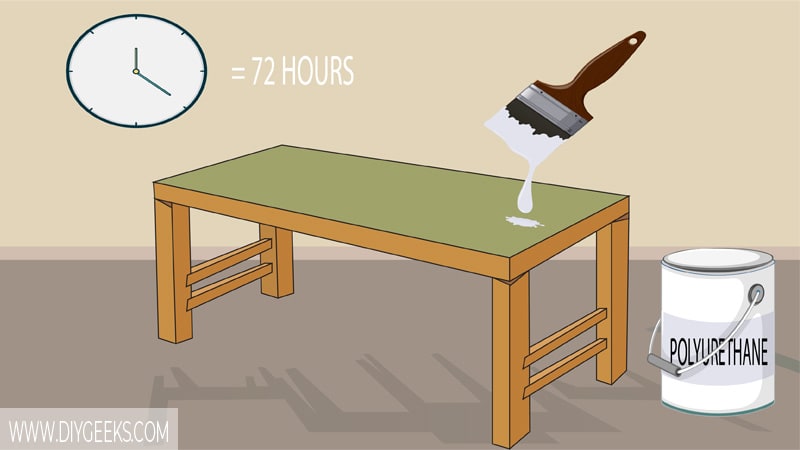
Shellac must fully dry (cure) for 72 hours (3 days) before apply polyurethane. Curing time refers to the time it takes the solvent to evaporate and the particles to harden.
It takes shellac 30 minutes to dry enough for a re-coat; this means it’s a quick-drying finish. But, it takes it longer to fully dry (cure).
For shellac to cure (fully dry), the paint solvent (oil or water) must evaporate and the particles must harden. Since it cures through polymerization, it needs 72 hours (3 days) to cure.
The exact dry and cure time depends on the humidity levels, room temperature, and thickness of the coat.
Sealing shellac too soon will the make finish sticky as polyurethane has a plastic-like finish and will prevent the solvent from evaporating. The finish won’t dry and will turn sticky (or tacky) if the solvent can’t evaporate and remains on the coating.
How to Apply Polyurethane Over Shellac?
To apply polyurethane over shellac do the following things.
- Cover Nearby Objects – If you are spraying polyurethane, cover nearby objects and the floor. This is to prevent any paint spills or unwanted spray on your furniture.
- Dewax Shellac – Polyurethane won’t stick well to waxed shellac. So, you must dewax (remove the wax) or sand it. Sanding will remove the wax’s glossy finish and allow it to stick. To sand waxed shellac (for dewaxing), use 150-grit sandpaper.
- Sand The Shellac – If the finish isn’t waxed, sand it with fine-grit sandpaper (220-grit). Fine-grit sandpaper will smooth the coating allowing the sealer to adhere better. Don’t use coarse sandpaper as it can remove the finish. After you sand it, remove the dust.
- Apply the Polyurethane – Once the finish is clean and sanded, seal it. For outdoor shellac surfaces, use oil-based or exterior polyurethane. For indoor surfaces, use water-based polyurethane. Apply 2-4 coats of polyurethane on shellac using a paintbrush or sprayer. Wait until one coat of poly dries before applying the next one.
Can You Mix Shellac and Polyurethane?
You can’t mix shellac and polyurethane as they have different formulas and aren’t compatible. A mixture of them will produce a finish that has an inconsistent flow and color.
Polyurethane is obtained from petroleum residue and thinned with mineral spirits, which are also obtained from petroleum distillates.
Shellac is obtained from the natural secretion of the female ‘lac-bug’ and thinned with alcohol.
If you mix both finishes they will separate from each other – one part of the finish will dry while the other will remain wet. This leads to an inconsistent dry time and paint cracks.
Also, polyurethane is a topcoat, while shellac is used as an undercoat. So, by design, they are different.
Can You Apply Shellac over a Polyurethane Finish?
You can’t apply shellac over a polyurethane finish because the sealer forms a thick glossy finish that prevents moisture from penetrating the finish.
Shellac needs to penetrate the wood grain (surface) to stick, but the glossy finish of polyurethane doesn’t allow that, so it won’t stick.
You must sand off the glossy finish of polyurethane or remove the entire finish before applying shellac. Sanding will remove the glossy layer and create tiny ridges (holes) in the finish that shellac can penetrate.
But, the adhesion won’t be good so it’s best to remove the entire finish first.
Wax vs Polyurethane (For Shellac)
The differences between Wax and Polyurethane for Shellac are listed below.
- For a Clear Finish – If you want a clear finish, use polyurethane because it doesn’t have paint pigments, and the finish is transparent. On the other hand, the wax tends to darken (deepen) the color of the finish. Also, wax is thicker, and it blurs the finish.
- Indoor Surfaces – For indoor surfaces, use wax. That’s because indoor surfaces don’t need protection.
- Outdoor Surfaces – For outdoor surfaces, use polyurethane because it’s more durable than wax and will protect the surface better. Also, the wax tends to bleed through the coating and remain tacky for days.

