
To stain hardwood floors darker without sanding, clean and degrease the surface, use a floor buffer (optional), apply dark wood stain, and seal the finish.
It’s recommended to use gel stain over an existing finish as it’s a topical stain and doesn’t need to penetrate the surface to stick. Its thick flow will prevent light from reflecting, making the floor look darker.
Do You Need To Sand Hardwood Floors Before Staining?
You don’t need to sand hardwood floors before staining, but you will get many benefits if you do. Sanding will remove bumps, and imperfections, and create tiny holes (pores) for the wood stain to penetrate and stick to.
According to many floor experts, you can sand and re-finish hardwood floors up to 10 times without damaging them.
But, you can damage hardwood floors if you use the wrong sandpaper. A rough sandpaper (coarse-grit) will remove the protective layer off the floor and expose the planks to water and other elements.
To sand hardwood floors, use medium or fine-grit sandpaper (80-grit and higher) and only sand across the wood grain.
Can You Refinish Wood Floors Without Sanding?
You can refinish wood floors without sanding if the floor isn’t damaged or sealed. The purpose of sanding is to help wood stains stick better and remove imperfections off the surface.
Sanding isn’t needed if the floor doesn’t have top coats (or sealer) that prevents wood stain from sticking or imperfections (such as holes or bumps). In this case, just clean the boards (with a degreaser) and apply a darker wood stain.
Sanding isn’t needed if the floor is new or freshly installed as its surface will be smooth enough to accept a new top coat.
In summary, you can stain hardwood floors darker without sanding if their surface is clean (or smooth) and doesn’t have a topcoat (or sealer) or imperfections.
You can replace sanding by using a store-bought chemical abrasion kit. The abrasion kit has everything you need to stain a floor darker without sanding. It contains a paste-like product known as a chemical etcher. The etcher will abrade the planks and allow the wood stain to penetrate and stick more easily.
How To Stain Hardwood Floors Darker Without Sanding?
To stain hardwood floors darker without sanding, do the following things.
- Clean and Degrease the Surface.
- Use a Floor Buffer (Optional).
- Apply Dark Wood Stain.
- Seal the Finish.
The tools you need for this project are listed below.
- Clean rags
- A degreaser or acetone
- 1 x soft brush
- 1 x paintbrush
- A can of a dark stain
- A vacuum
- A sealer (optional)
1. Clean and Degrease the Surface
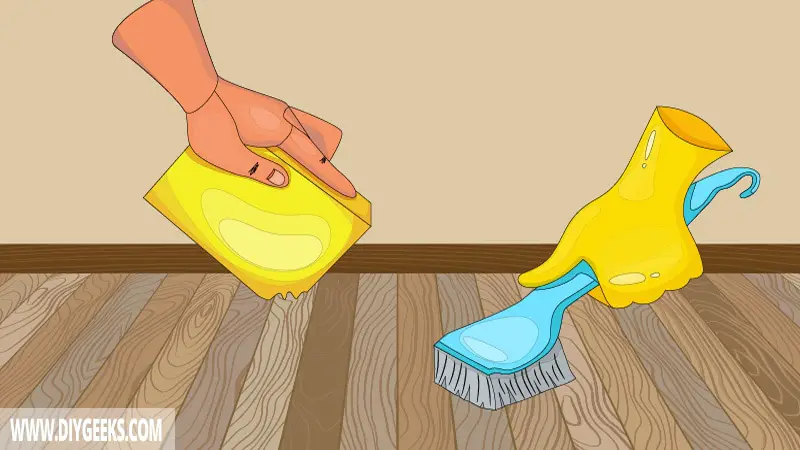
Clean and degrease the floor surface with TSP to remove dirt, dust, debris, or oils that can prevent the wood stain from penetrating or adhering.
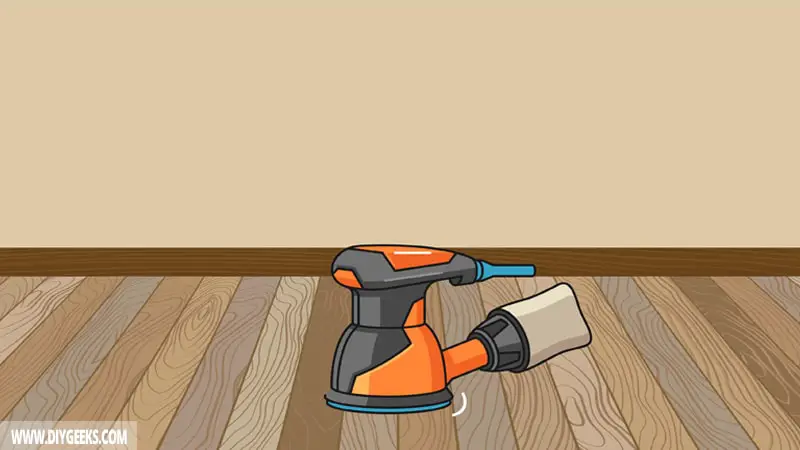
2. Use a Floor Buffer (Optional)
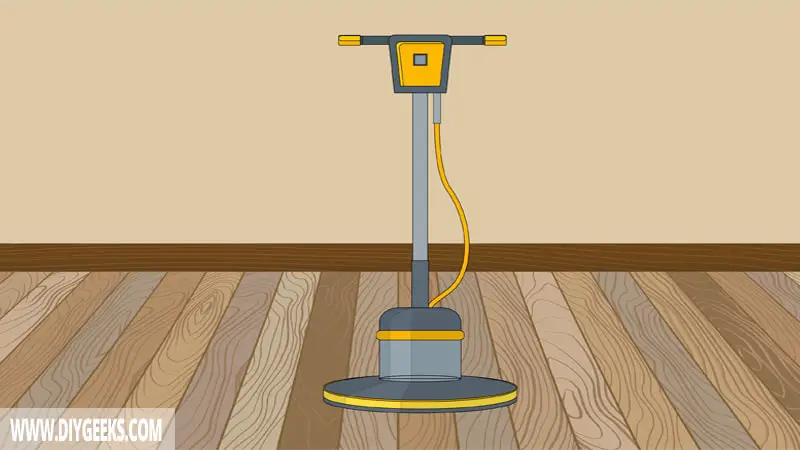
Use a floor buffer (or sander) to remove surface imperfections and bumps, and create a smooth (and even) layer that the wood stain can adhere to.
Floor buffers can smoothen and remove the existing finish from the hardwood without reaching the wood or timber underneath.
After buffing, remove the dust nibs from the surface with a rag.
3. Apply Dark Wood Stain
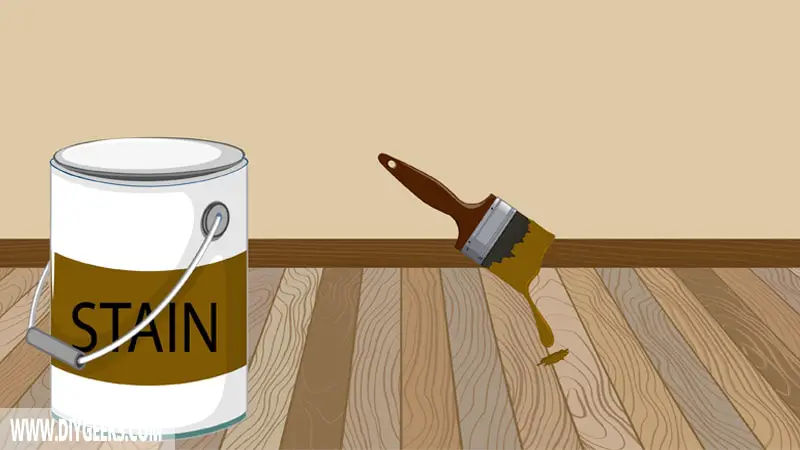
Apply 2-3 wood stain coats over the hardwood floor using a paintbrush or sprayer. The more coats you apply the darker the finish color shade will be.
Wait until one coat dries, wipe the excess, and apply the second or third coat.
4. Seal the Finish
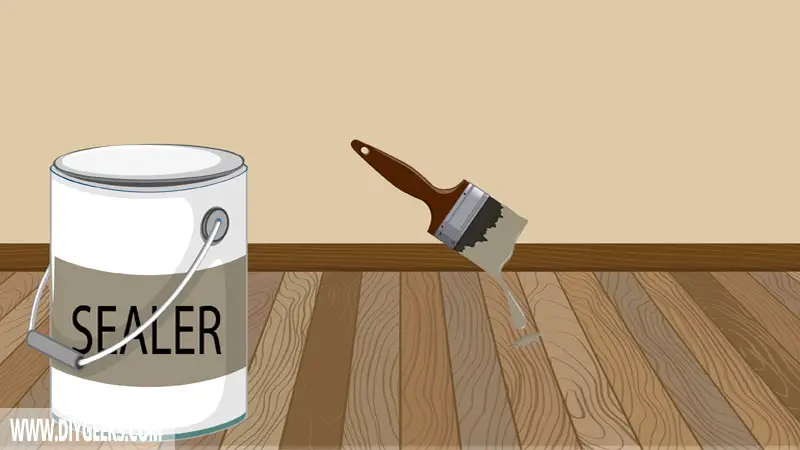
Wood stain isn’t a protective finish and won’t protect the floor from water, moisture, or other damage. So, you must seal the finish to increase its durability and protect the boards.
To seal a wood stain finish, apply two (2) polyurethane or gel stain coats and don’t use the floor until the final coating fully dries (cures). The sealer forms a moisture-resistant layer (barrier) over the floors and protects them from water, scratches, and other elements.
FAQs
Which Wood Stain Type Can You Use Over an Existing Floor Finish?
You can use gel stain over an existing floor finish to darken the color shade. Gel stain is a topical finish and doesn’t need to penetrate a surface to adhere.
How Long Does Wood Stain Last Over Hardwood Floors?
Sealed wood stain lasts around 5 years over hardwood floors before the finish starts to peel and blister off. Unsealed wood stain doesn’t last more than 6 months over a floor surface.
How Much Does it Cost To Refinish Hardwood Floors?
According to different floor renovation specialists, the average cost of refinishing hardwood floors is $1,098 to $2,598.
So, it’s cheaper to refinish hardwood floors than it’s to replace them. Plus, refinishing takes less time than replacing them.

