Sanding sealer is often a shellac or lacquer formula applied over uneven wood before a top coat.
You can apply sanding sealer over stained wood, but you can’t leave it as the final coat. You must always apply a sealer or topcoat over as sanding sealer isn’t designed to be the final coat.
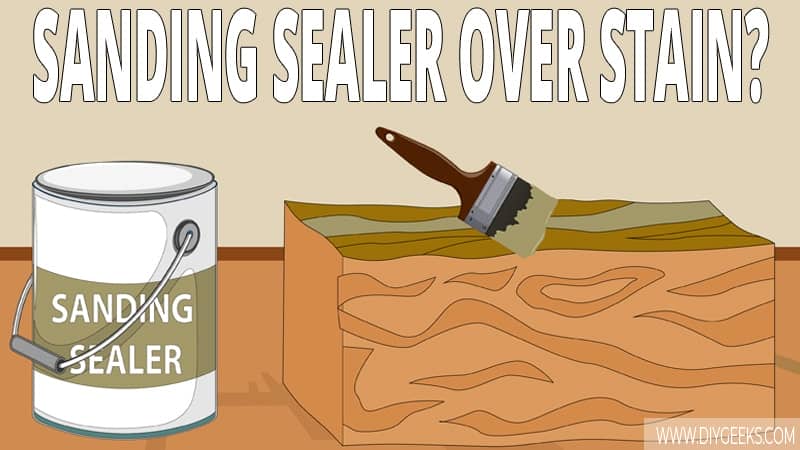
To apply sanding sealer over stain, inspect the finish, sand the existing finish, and apply the sanding sealer.
Does Sanding Sealer Adhere Over Wood Stain?
Sanding sealer does adhere over wood stain because it’s formulated with extra binders that improve its adhesion.
Sanding sealer is designed to adhere to poor surfaces, so it will stick well regardless of the surface type. Also, wood stain doesn’t have a finish that repels it.
However, the sanding sealer doesn’t stick well to oil-based wood stain as it has a glossy finish that is difficult to stick to. You must lightly sand the oil-based wood stain with fine-grit sandpaper before applying the sanding sealer.
Should You Apply Sanding Sealer Before or After Stain?

You should apply sanding sealer before applying wood stain to cover surface imperfections and improve the adhesion. You can apply it over wood stain if you are planning on applying additional paint or stain coats over the finish.
The sanding sealer purpose is to help wood stain (or other types of finishes) adhere on rough, porous, or uneven surfaces. It seals porous wood and prevents over-absorption.
You must use it on bare wood, especially if the surface has patches, large pores, or imperfections. Two (2) coats of sanding sealer will smooth the surface and create a base coat for additional coats.
You can also apply sanding sealer over stained wood, but only if you are planning to seal or paint over it. Sanding sealer isn’t designed to be the final coating as it doesn’t have a protective layer. It is designed to be applied between coats.
Don’t use sanding sealer before applying oil-based wood stain as it will prevent it from penetrating the surface pores. Oil-based wood stain is thicker and needs more space to penetrate.
How To Apply Sanding Sealer Over Stain?
To apply sanding sealer over stain, do the following things.
- Inspect the Finish.
- Sand the Existing Finish.
- Apply the Sanding Sealer.
Here are a few tips you must remember before doing this.
- Don’t use sanding sealer as the final coating.
- Wait until the finish is dry enough.
- Don’t apply a sanding sealer over an oil-based wood stain without sanding.
- Avoid using sanding sealer if you are planning to apply penetrating wood oil over it.
The tools you need for this project are listed below.
- Fine-grit sandpaper
- Clean rags
- Paintbrushes
- A pair of work gloves
- A petroleum-based solvent like mineral spirits
1. Inspect the Finish
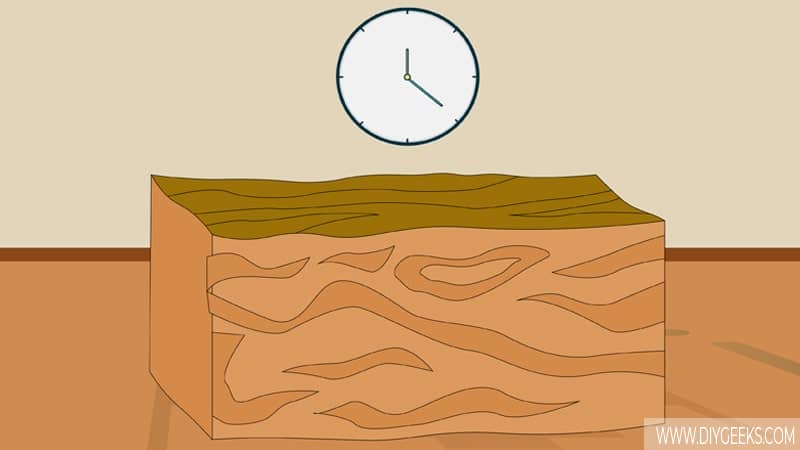
The wood stain finish must be dry fully (cured) before applying sanding sealer. If the wood stain finish isn’t dry, sanding sealer won’t adhere to it and can turn sticky.
To know if the wood stain finish is dry enough, swipe 320-grit sandpaper over it. If the sandpaper doesn’t move freely, the finish isn’t dry enough. If the sandpaper moves freely, the finish is dry enough.
If you don’t have sandpaper, wait at least 4 hours for the finish to dry.
2. Sand the Existing Finish
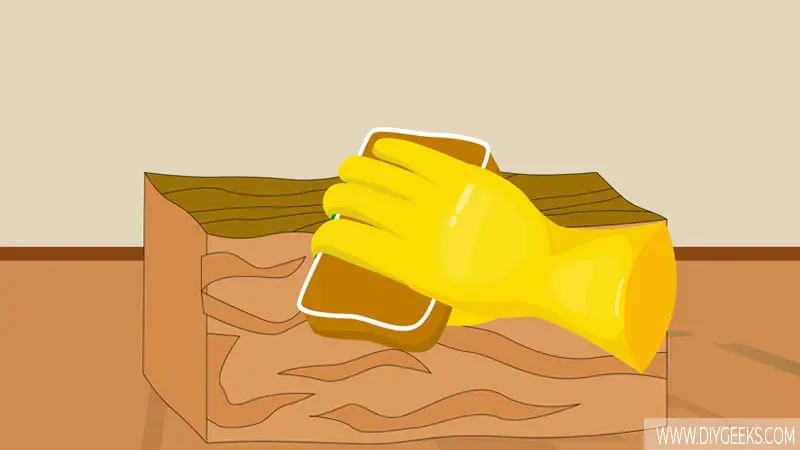
Sand the existing wood stain finish with fine-grit sandpaper (220-grit) to remove small surface imperfections and bumps.
3. Apply the Sanding Sealer
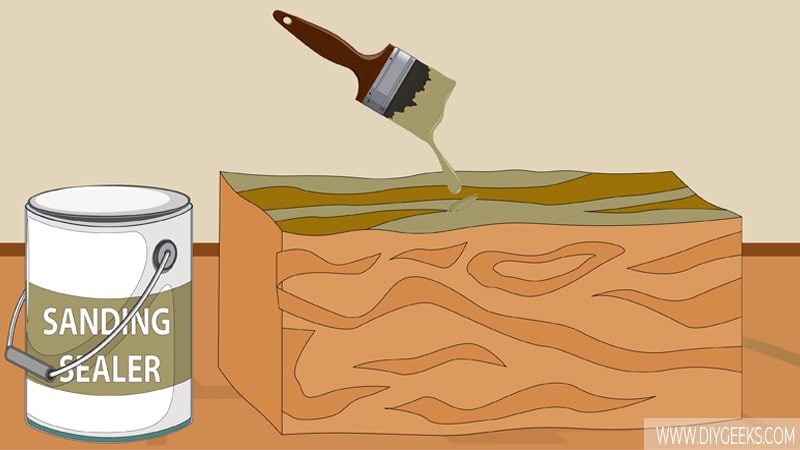
Apply one (1) sanding sealer coating over the stained wood using a paintbrush. The sanding sealer will cover the stained finish and create a texture layer that the new paint or stain coating can adhere to.
If the stained wood is riddled with imperfections, cracks, holes, or bumps, or you want to change the finish color shade apply two (2) sanding sealer coatings to it.
When the sanding sealer coating dries, sand it with fine-grit sandpaper (220-grit) to remove small imperfections and bumps, and create a uniform coating.
How Long Must Wood Stain Dry Before Sanding Sealer?
Water-based wood stain takes less than 30 minutes while oil-based wood stain takes around 1 hour to dry before applying sanding sealer over it.
The exact dry time depends on the type of stain, room temperature, thickness of the coat, and humidity levels. For the stain to dry, its solvent (water or oil) must evaporate from the coating.
If you apply sanding sealer before the wood stain dries, the finish will turn sticky as none of the finishes will dry properly. The new coating will prevent the solvent of the old coating from evaporating, so the whole finish will remain wet.
Can You Stain Over Sanding Sealer?
You can stain over sanding sealer with gel stain or water-based wood stain, but not with oil-based wood stain.
Oil-based wood stain is thicker and needs more space to penetrate the surface pores. Since the sanding sealer will fill most of the surface pores, the oil-based stain doesn’t have enough space to penetrate and won’t stick.
On the other hand, topical stains (such as gel stains) don’t need to penetrate a surface to stick, so they will stick regardless.
Can You Mix Wood Stain with Sanding Sealer?
You can’t mix wood stain with sanding sealer as they have different formulas and ingredients that aren’t compatible.
Both finishes have different purposes. Wood stain is designed to penetrate the surface and change (alter) its color while sanding sealers are designed to create a base coat and prevent over-absorption.

