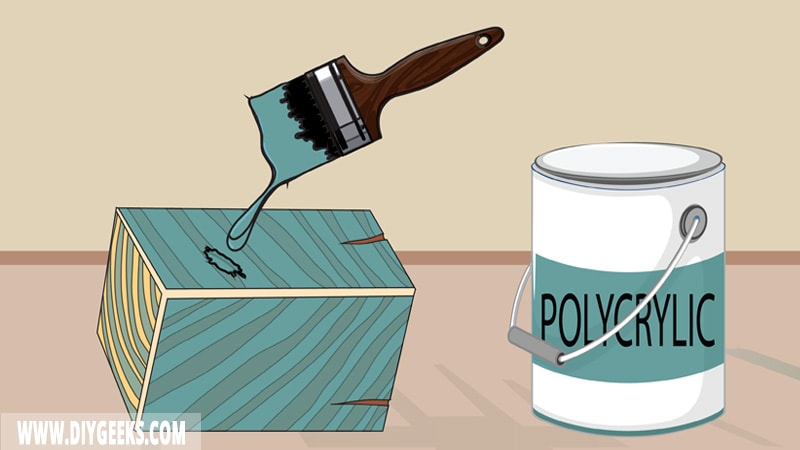
Polycrylic is a wood sealer that protects surfaces from moisture, water, scratches, and other damage. But, do you need to sand between polycrylic coats?
You need to sand between polycrylic coats to improve the adhesion between coats and remove imperfections, dust, dirt, and the glossy sheen of the existing coat.
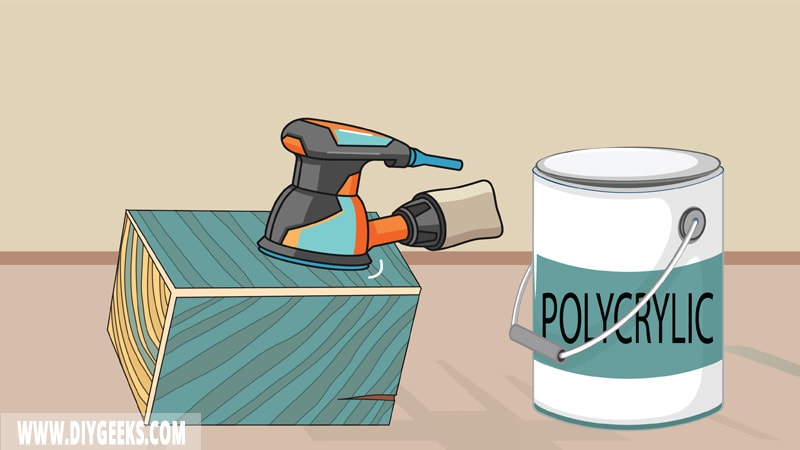
To sand before applying polycrylic, use coarse or medium-grit sandpaper. To sand between polycrylic coats, use fine-grit sandpaper (220-grit).
What Happens If You Don’t Sand Between Polycrylic Coats?
If you don’t sand between polycrylic coats, the additional coats won’t adhere properly and may peel off, and the imperfections will show once the final coating dries.
While the polycrylic coat dries, it attracts lots of dust, debris, and dirt that prevent proper adhesion. Sanding removes imperfections, dust, dirt, and debris from the polycrylic coats and creates tiny holes (pores) that the next coat can penetrate and adhere to.
Sanding between high-gloss polycrylic coats is necessary as the high-gloss sheen will prevent additional coats from adhering. You must lightly sand off the high-gloss finish then apply additional coats.
Do You Need to Sand Before Applying Polycrylic?
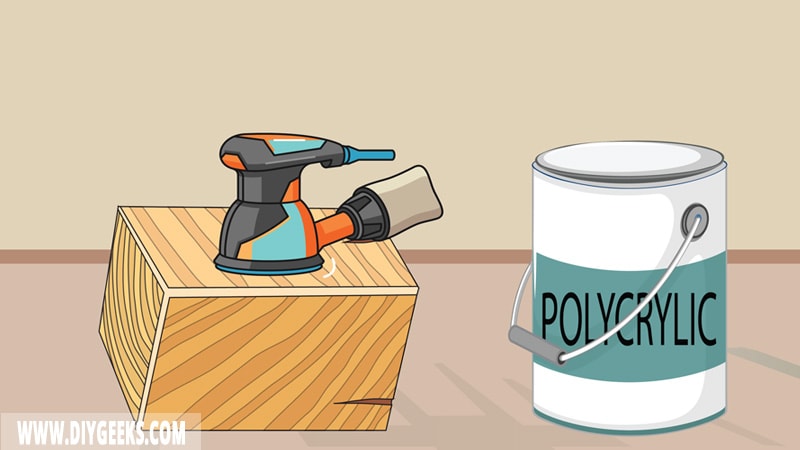
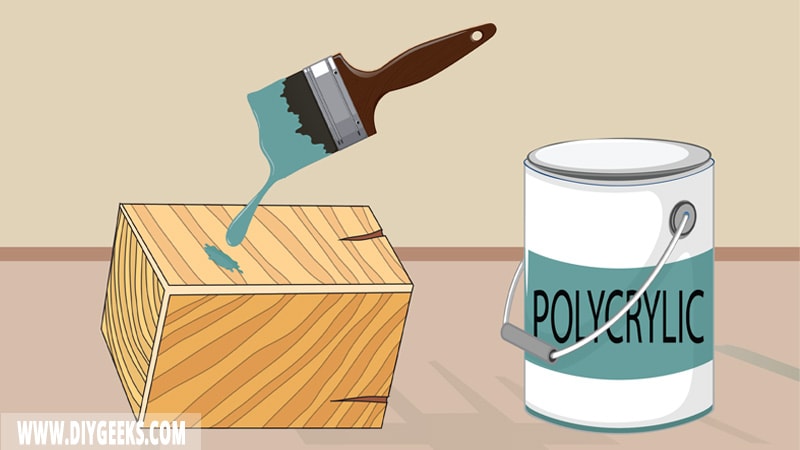
You need to sand before applying polycrylic to remove imperfections, bumps, dust, dirt, and debris that may prevent polycrylic from adhering properly.
Polycrylic sealer has a thin coating and will highlight (show) imperfections on the surface if you don’t remove them.
Sanding before applying polycrylic over non-porous or slick surfaces is necessary as sanding creates tiny pores (holes) on the surface that the sealer can penetrate and adhere to.
You don’t need to sand before applying polycrylic if the surface doesn’t have imperfections, bumps, or dirt, and is perfect (new).
Do You Need To Sand Polycrylic Final Coat?
You don’t need to sand polycrylic final coat as it will remove the glossy finish and expose the surface underneath to water and moisture. If the top layer of polycrylic finish is removed, the surface underneath won’t be protected.
Polycrylic is a wood sealer that protects surfaces from moisture, water, scratches, and weather elements by producing a glossy moisture-resistant layer over the surface. If the glossy moisture-resistant layer is removed, the surface underneath won’t be protected.
You can sand the final polycrylic coating with extra fine-grit sandpaper (440-grit or higher) to remove small imperfections. Extra fine-grit sandpaper will smoothen the finish but isn’t rough (or strong) enough to remove it.
How Many Polycrylic Coats To Apply?
You must apply 2-3 polycrylic coats for high-traffic outdoor surfaces and 1-2 polycrylic coats for indoor surfaces.
Wait until one coat dries before applying the next one. Polycrylic takes around two (2) hours to dry between coats.
Don’t apply more than three (3) polycrylic coats as it will create a thick and uneven finish that can peel off.
Polycrylic will create a glossy moisture-resistant finish that protects the surface underneath from water, moisture, or scratches.
How To Sand Polycrylic Between Coats?
To sand polycrylic between coats, do the following things.
- Wait until the coat dries (2 hours).
- Clean the coat with a dry clean rag.
- To sand between polycrylic coats, use fine-grit sandpaper (220-grit).
- Remove dust with a dry clean rag.
- Apply the next polycrylic coat.
- Do the same for all coats (except for the final coat).
To know if the polycrylic is dry enough for sanding, swipe sandpaper over the coating. The coating isn’t dry enough if the sandpaper gets clogged. If the sandpaper moves smoothly over the coating, it’s dry enough.
Can You Paint Over Polycrylic Without Sanding?
You can’t paint over polycrylic without sanding as polycrylic has a glossy moisture-resistant coating that prevents paint adhesion.
Paint must penetrate into a surface to adhere, but a cured polycrylic coating prevents paints (or liquids) from penetrating its coating. So, the paint won’t adhere and will peel off if you paint directly over polycrylic.
Sanding polycrylic will create tiny scratches on the finish that the paint can soak into. But, the adhesion between the paint and the surface won’t be good. So, the best way to apply paint over it is to remove the top layer or the entire finish.

