Danish oil is a type of wood finish that produces a glossy moisture-resistant layer and protects wood from water, moisture, or scratches.
To remove Danish oil, sand the finish off, or use a solvent-based paint remover or a wood oil remover.
Is Danish Oil Hard to Remove?
Danish oil is hard to remove as it penetrates the wood pores deeply and has good adhesive qualities. It has a glossy moisture-resistant finish that repels most solvent-based removers.
To remove a Danish oil finish, the solvent-based remover must penetrate the finish and wood pores and dissolve the binder and particles so the wood oil loses its bond to the surface.
Since Danish oil penetrates the wood pores deeply, you must use coarse or medium-grit sandpaper to remove it. However, coarse or medium-grit sandpaper (40 / 100-grit) also removes small wood parts.
Can You Remove Danish Oil From Wood Without Sanding?
You can remove Danish oil from wood without sanding by using a solvent-based paint remover or wood oil remover. Common solvent-based paint or wood oil removers are acetone, lacquer thinner, or rubbing alcohol.
The solvent-based paint remover penetrates the Danish oil coating, dissolves the binder and particles, and liquefies the coating so you can remove it easier.
You must remove the solvent-based paint remover residue from the wood and wait until the wood dries before re-painting it.
However, sanding is the best way to remove Danish oil as it’s fast and smoothens the wood, and makes it paint-ready too.
How To Remove Danish Oil From Wood?
To remove Danish oil from wood, use one of the following methods.
- Sand the Finish Off.
- Use Solvent-based Paint Remover.
- Use Wood Oil Remover.
1. Sand the Finish Off
Sand the finish with coarse or medium-grit sandpaper to remove Danish oil. The sandpaper abrasive side will wear (remove) the finish gradually and reveal the bare wood.
The tools you need for this method are listed below.
- Coarse-grit sandpaper (40-grit).
- Medium-grit sandpaper (100-grit).
- Fine-grit sandpaper (220-grit).
- Power Sander (for large surfaces).
- A pair of gloves
- Rags
To sand Danish oil off the wood, do the following things.
- Clean the Finish. Clean the wood oil finish to remove dirt, dust, or debris that can prevent the sandpaper from moving freely.
- Use Medium-grit Sandpaper. Start sanding the wood oil finish with medium-grit sandpaper (100-grit) for 5 minutes. If the medium-grit sandpaper can’t remove the Danish oil, use coarse-grit sandpaper (40-grit). The lower the sandpaper grit, the more abrasive it is.
- Inspect the Finish. Inspect the finish every 5 minutes to see if the Danish oil finish is removed.
- Smooth the Surface. After you remove the Danish oil finish, smooth the wooden surface with fine-grit sandpaper (220-grit).
- Remove Dust.
2. Use Solvent-based Paint Remover
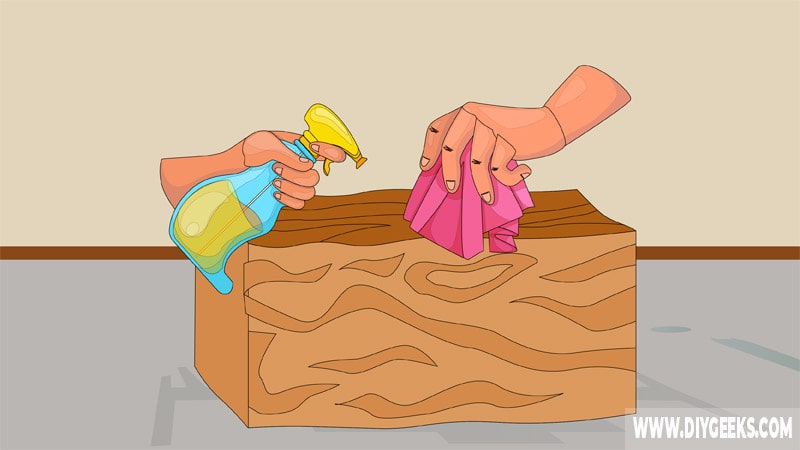
Solvent-based paint removers penetrate the Danish oil finish, dissolve the binder and particles, break the bond between the wood oil and surface, and liquefy the finish so you can remove it.
Danish oil is water-resistant, so it takes the solvent-based paint remover longer to penetrate and dissolve it. You can lightly sand off the glossy topcoat before applying the paint remover.
The tools you need for this method are listed below.
- Solvent-based Paint Remover (Acetone, Lacquer Thinner, Rubbing Alcohol).
- Rags
- A pair of gloves
- A putty knife, trowel, or paint scrapper.
Here’s a step-by-step guide:
- Clean the Finish. Use a wet rag to clean the finish to remove dust or dirt that can prevent the solvent-based paint remover from penetrating.
- Wipe the Finish. Damp a rag with solvent-based paint remover and wipe the finish. You can use acetone, lacquer thinner, or rubbing alcohol.
- Wait Around 10 to 15 Minutes. Wait 10 to 15 minutes until the solvent-based paint remover penetrates the Danish oil coating and dissolves it.
- Wipe the Finish Off. Once Danish oil coating liquefies, use a rag to wipe it off. For leftover Danish oil, re-apply the paint remover and scrape it off with a plastic scraper.
- Remove the Paint Remover Residue. Remove the solvent-based paint remover residue from wood with warm soapy water. If you don’t remove the residue, it can discolor or damage the wood.
3. Use Wood Oil Remover
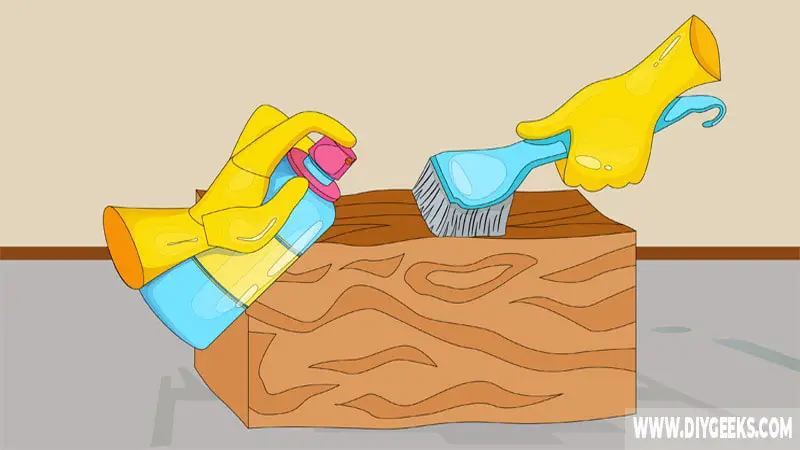
Wood oil remover refers to products (such as Aquanett) that remove new or old wood oil finishes.
The tools you need for this method are listed below.
- Wood finish remover (Aquanett).
- Paint scraper or putty knife
- A plastic bag or nylon
- A pair of gloves
- Painter’s tape
- Medium and fine-grit sandpaper
- Vinegar
- Rags
Here is a detailed guide:
- Clean the Finish. Clean the finish to remove dust or dirt that can prevent the wood oil remover from penetrating the Danish oil finish.
- Apply the Wood Finish Remover. Following the manufacturer’s instructions, apply the wood finish remover over the finish.
- Wait 30 minutes.
- Scrape the Finish. Once the oil remover is dry, scrape the finish off with a plastic paint scraper.
- Sand the Finish. Use medium-grit sandpaper to remove stubborn Danish oil.
- Clean The Wood. Mix vinegar with warm water and apply the mixture to wood to remove the wood oil remover residue.
How Soon Can You Re-paint Wood After Removing Danish Oil?
You can re-paint wood immediately if you remove Danish oil with sandpaper. The sandpaper will remove the wood oil finish, smoothen the wood surface, and make it paint-ready immediately.
You must wait until the wood surface completely dries before re-painting it if you remove Danish oil with a solvent-based paint remover or wood oil remover.
Solvent-based removers are liquids that wet the surface, and you must remove their residue with clean water, so you must wait until the wood dries before re-painting it.

