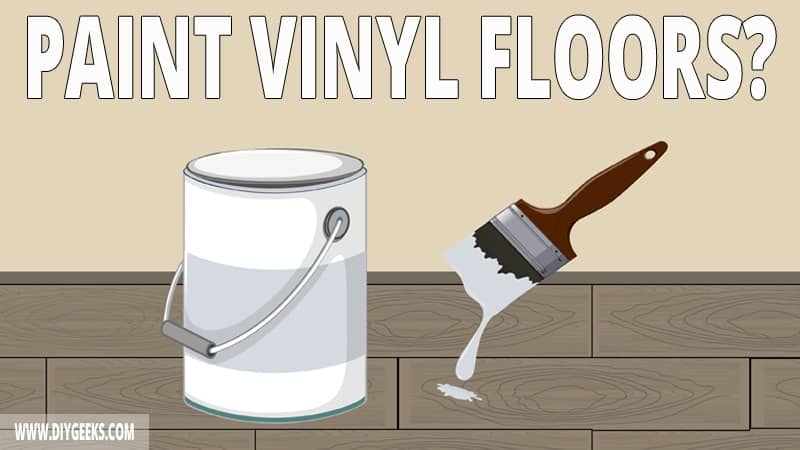
You can paint over vinyl floors if you remove the floor’s protective top layer that prevents paint penetration and adhesion.
To paint vinyl floors, prep the floor, remove the floor’s protective top layer, use painter’s tape, apply primer, and apply paint.
Use enamel floor paint over vinyl planks as the paint is formulated with special additives that create a high-sheen protective layer.
Can You Paint Over Vinyl Flooring?
You can paint over vinyl flooring if you remove the floor’s protective top layer. The protective top layer is a moisture-resistant barrier made from recycled PVC that prevents paint from penetrating.
Use medium-grit sandpaper (100-grit) to remove the floor’s protective top layer before applying the paint. The sandpaper gradually removes the top layer and reveals the bare vinyl planks underneath.
The paint can’t penetrate or adhere to the surface if you apply it directly over vinyl planks without removing the protective top layer.
What Paint Types To Use over Vinyl Planks?
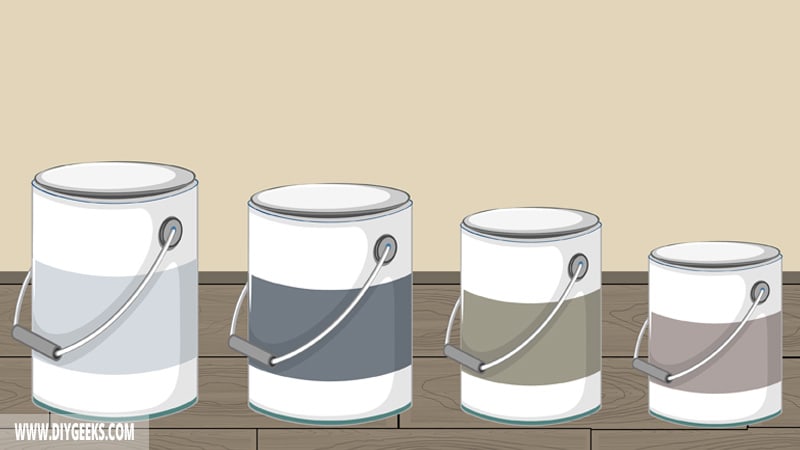
Use enamel floor paint over vinyl planks as it’s reinforced with special additives and creates a high-sheen protective layer over the surface.
Enamel floor paint has an oil-based formula and protects the underlying planks from constant traffic, pressure, water, moisture, and scratches.
Floor paints aren’t designed to be too bright or colorful as most of their formula contains protective additives. So, to improve the paint color shade, mix it with acrylic paint or add pigments.
Don’t use regular paint types over vinyl floors as they aren’t protective enough to withstand constant foot traffic, water exposure, or scratches. Regular paint types adhere over vinyl floors, but they will peel off gradually.
How to Paint Vinyl Flooring?
To paint vinyl flooring, do the following things.
- Prep the Floor.
- Remove the Floor’s Protective Top Layer.
- Use Painter’s Tape.
- Apply Primer (Optional).
- Apply Paint.
The tools you need for this project are listed below.
- Floor paint
- A sander
- Sandpaper
- A mop
- Floor brush
- An angled paintbrush
- A paint roller
- A bucket
- Painter’s tape
- Wall or floor primer
- Caulk or wood filler
- A bucket of warm water and some detergent
1. Prep the Floor
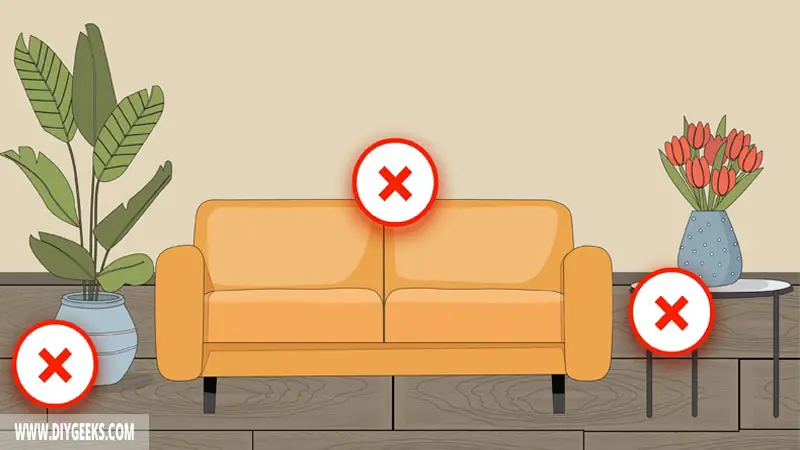
Remove all nearby furniture and items from the floor. If the vinyl floor is damaged or cracked, use wood filler or caulk to repair it before painting.
Clean the floor to remove dust, debris, or dirt that can prevent proper paint adhesion.
2. Remove the Floor’s Protective Top Layer
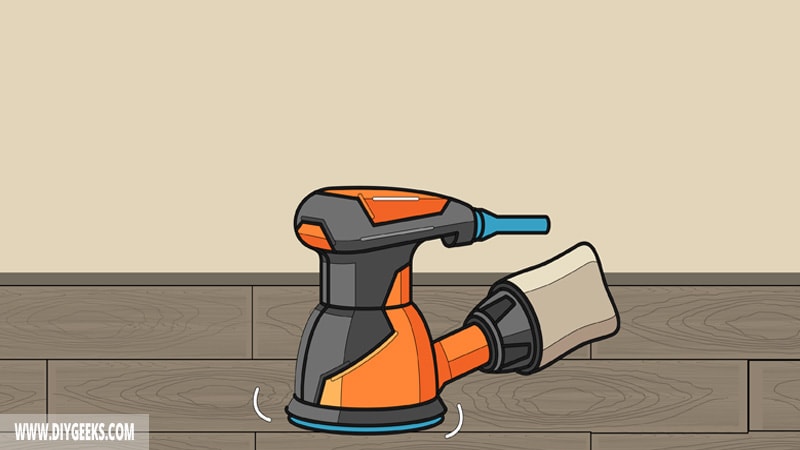
Use medium-grit sandpaper (100 grit) to remove the vinyl floor protective layer. The protective top layer is the moisture-resistant barrier over the vinyl planks that protects it from moisture, water, or scratches.
Don’t use coarse-grit sandpaper (40-grit) as you can damage the vinyl plank surface.
Clean the vinyl planks after sanding to remove the dust, dirt, or debris that can prevent proper paint penetration or adhesion.
To clean vinyl planks before painting, do the following things.
- Mix water with detergent.
- Apply the mixture over the floor surface.
- Use a mop to clean the floor.
- Rinse the surface with clean water.
- Allow the floor planks to dry.
3. Use Painter’s Tape
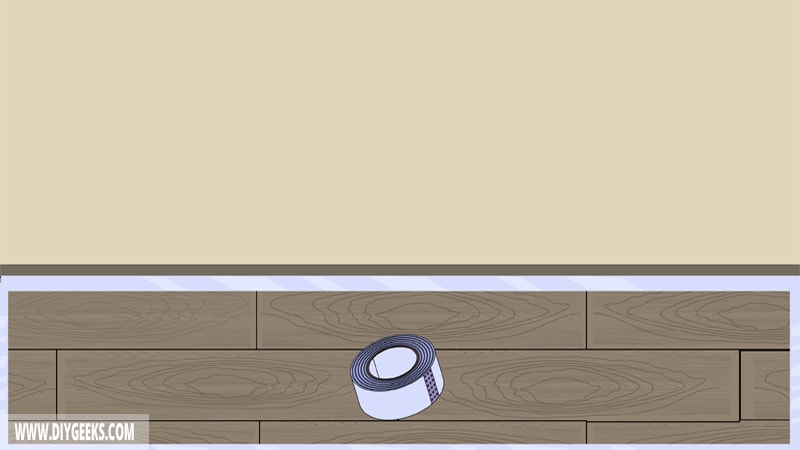
Use painter’s tape to cover the low area of walls, wood trims, and surfaces you don’t want to paint. The tape prevents paint spills on wood trims and walls and makes cleaning up easier.
4. Apply Primer
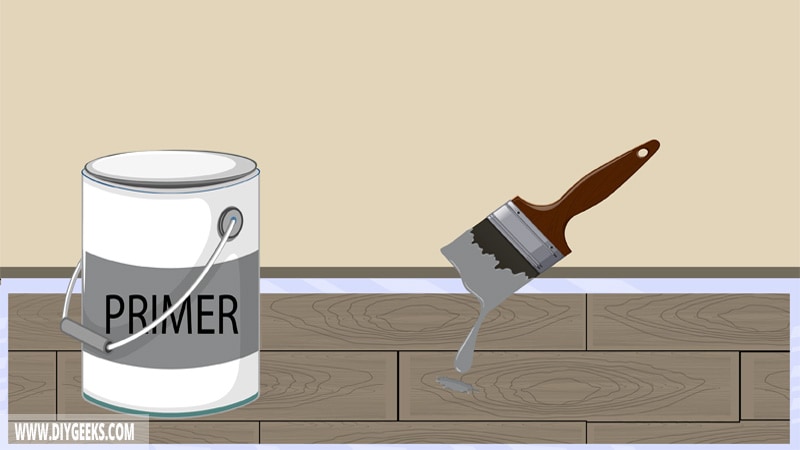
Apply one (1) stain-blocking primer coat over the vinyl floor to enhance the paint adhesion.
Applying a primer is optional as it covers the vinyl plank’s natural look.
5. Apply Paint
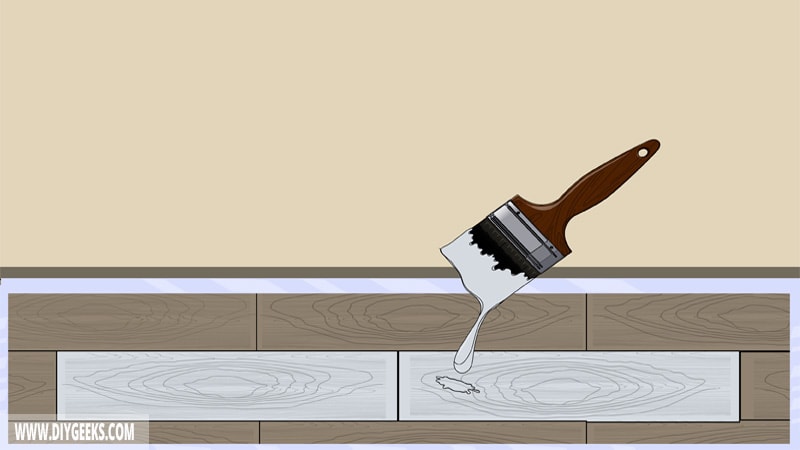
Apply 2-3 paint coats over the vinyl planks using a sprayer or roller. Wait until one coat dries before applying the next one.
Once the paint finish cures (dries fully), seal it with a floor sealer. The sealer produces a moisture-resistant layer (barrier) and protects the floor from moisture, water, scratches, and other damage.
Can You Stain Vinyl Floors?
You can’t stain vinyl floors as their protective top layer prevents wood stain from penetrating or adhering over them.
Wood stain must penetrate into the surface pores to adhere, but since vinyl planks are a synthetic material and don’t have pores, wood stain doesn’t adhere over it.
Also, wood stain isn’t formulated with protective additives and isn’t durable enough to protect vinyl floors or handle constant water or moisture exposure.
How Long Must Paint Dry Over Vinyl Floor Before Walking Over It?
Paint must dry between 24-48 hours over vinyl floor before walking over it. The exact dry time depends on the paint type and room temperature and humidity.
For instance, most water-based paint dries within 24 hours, while most oil-based paint dries within 48 hours.
If you seal the paint finish, you must wait until the sealer coating cures (fully dries) before walking over it. This means you must wait until the paint dries fully, then apply the sealer, and then wait until the sealer cures before walking over the floor.
The sealer cure time depends on the type. For instance, water-based polyurethane takes 24 hours to cure, while oil-based polyurethane takes 48 hours to cure.
Can You Change the Vinyl Planks Color?
You can change the vinyl plank color by sanding the protective top layer off and applying a new paint coating.
If the vinyl planks are already painted with floor paint, you must remove the existing finish by sanding, and then apply the new paint color shade.
You can also change the floor color shade by using a special vinyl dye. Vinyl dye is a spray can that is designed to be sprayed over the floor and change its color or shade.

