Whitewashing refers to a decorative technique applied to wood to create a rustic, dull, translucent, and lightened finish.
To whitewash stained wood, sand the wood, prepare the whitewash, and apply the whitewash.
If the stained wood is sealed with a sealer, such as polyurethane or lacquer, you must remove it before whitewashing. If you don’t, the paint won’t stick over it.
Can you Whitewash Stained Wood?
You can whitewash stained wood by sanding the finish with fine-grit sandpaper and applying a few coats of whitewash over it. This will give the stained wood a rustic finish.
Whitewash offers minimal protection to the surface, if exposed to water or footwork, the finish will get removed and expose the surface underneath to these elements.
Whitewash is a decorative finish that gives the surface a rustic, antique, and whitish tone but doesn’t protect it. But, you can seal the whitewash with a waterproof sealer, such as polyurethane. The sealer will produce a glossy clear coat that will protect the surface from moisture, scratches, and other damage.
Whitewash vs. White Paint (For Stained Wood)
The difference between whitewash and white paint is listed below.
The Formula
White paint is made from pigments, resins, solvents, and several additives. The formula of the paint is synthetic and gives the finish improved features and durability. On the other hand, whitewash has a natural formula made of water, masonry lime, and chalk.
Application
You can apply white paint using a roller, paintbrush, sprayer, or rag. However, if you aren’t experienced enough, you can get bad brush strokes in your finish.
On the other hand, you can apply whitewash with a paintbrush. You also have room for mistakes since whitewash contains zero resins and won’t show streaks or imperfections.
Durability
White paint is more durable than whitewash. That’s because white paint is formulated with extra additives that make the finish resistant to different elements.
But, whitewash requires less maintenance and can last for several years. That’s because it has a rustic appearance that doesn’t show imperfections. This means that even if most of the coating is removed, you wouldn’t notice.
Appearance
White paint offers a shiny and thick appearance. The white paint will completely cover the wood grain if used over stained wood. On the other hand, whitewash offers a rustic dull, and off-white appearance. If used over stained wood, it gives the stain underneath a rustic look/finish. It’s a perfect finish for antiques.
How Long Must Wood Stain Dry Before Whitewashing?
Water-based wood stain must dry fully (cure) for around 24 hours while oil-based wood stain must cure for around 48-72 hours before whitewashing. This gives wood stain enough time to dry and harden to withstand sanding and support additional coatings.
However, the exact wood stain dry time depends on the type of stain (oil or water-based), thickness of the coat, room temperature, and humidity levels. Wood stain will take longer to dry in moist conditions (high humidity) because its solvent takes longer to evaporate.
To know if the wood stain is dry enough for whitewashing, sand it with fine-grit sandpaper. If the sandpaper gets clogged, the coating isn’t dry enough. If the sandpaper moves freely, the coating is dry enough.
The finish won’t dry, will turn sticky, and have a patchy appearance if you apply whitewash before the wood stain is dry enough. A wet coating means its solvent hasn’t evaporated, so the solvent will prevent the new coatings from drying.
How To Whitewash Stained Wood?
To whitewash stained wood, do the following things.
- Sand the Wood.
- Prepare the Whitewash.
- Apply the Whitewash.
The tools you need for this project are listed below.
- A paintbrush
- Fine sandpaper
- White latex or chalk paint
- Masonry lime
- A paint bucket
- A turning stick or paint mixer
- Paint stripper (optional)
1. Sand the Wood

Sand the stained wood with fine-grit sandpaper (220-grit) to remove surface imperfections and bumps. If the stained wood is sealed, use coarse-grit sandpaper (40-grit) to remove the sealer coating.
2. Prepare the Whitewash
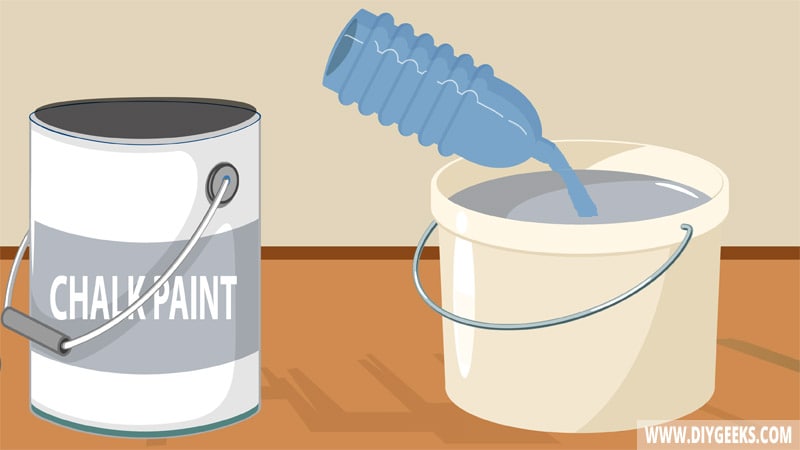
To prep the whitewash, do the following things.
- Mix 1 part of latex or chalk paint with 2 parts water.
- Stir until the mixture is loose and leave it to settle.
- You can also mix chalk paint with masonry lime and salt.
- Mix equal parts of chalk and masonry lime and dilute with water.
3. Apply the Whitewash
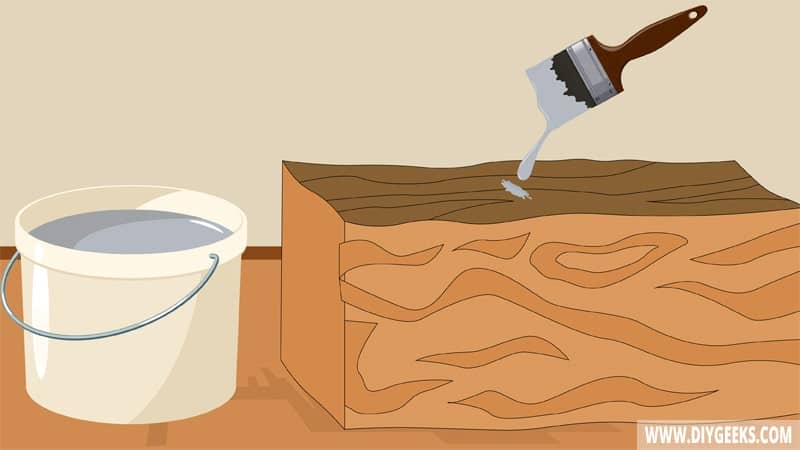
Apply 2-3 whitewash coats over the wooden surface using a paintbrush. Ensure to brush along the wood grain and not against it. Don’t use a roller or rag as it doesn’t offer good coverage.
Once the whitewash coats dry, seal the finish with a moisture-resistant sealer, such as polyurethane or varnish, to protect it from moisture, water, or weather elements.
Can You Whitewash Stained Wood With Any Color?
You can whitewash stained wood with any color such as grey, ash, off-white, cream, vanilla, or eggshell. But, traditionally, only white paints were used to achieve a whitewashed rustic appearance on wood.
The trick is to dilute the paint enough with water to become light and white before applying it to the wood. All these paints must have a flat or eggshell sheen. You can also add masonry lime to make the wood look better.
Bright-colored paints, such as blue, green, or yellow, can’t produce a whitewashed finish regardless of how well you dilute them. Also, oil-based paint can’t give a dull rustic appearance as they have too many oily deposits.

