Primers have thick coatings as their purpose is to cover imperfections from the surface and provide a smooth texture for the paint to stick to.
To remove primer from wood, sand it off, use a paint stripper (Remover), use a solvent-based remover, or use a power washer (for floors).
The method you use depends on the primer type. For instance, you can remove water-based primer with soapy water, but you can’t remove oil-based primer with it.
Oil-based vs. Water-based Primer Removal Method?
You can remove both oil-based and water-based primers by sanding. But, you must use different solvent-based products to remove them.
Sanding is the fastest and most effective way to remove primer as it works on both types and leaves a smooth surface behind. Organic paint strippers (removers), such as Citristrip, also remove both types.
To remove different types of primers, you must use different solvent-based products. The solvent-based product must be strong enough to dissolve the coating and liquefy it.
For instance, you can remove water-based primer with dish soap (mixed with water), but you can’t remove oil-based primer with dish soap. Oil-based finishes have a glossy sheen and will prevent most liquids from penetrating and liquefying their coating.
To remove oil-based primers, use petroleum-based solvents, such as mineral spirits, or alcohol-based solvents, such as acetone.
How To Remove Primer From Wood?
To remove primer from wood, do the following things.
- Sand it Off.
- Use a Paint Stripper (Remover).
- Use a Solvent-Based Remover.
- Use a Power Washer (For Floors).
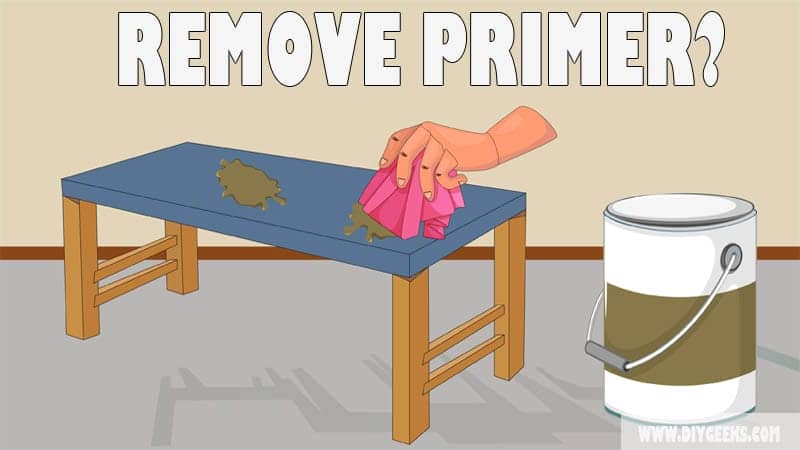
Note: To remove a wet primer coating, use a dampened rag (with water or rubbing alcohol) and wipe it off.
1. Sand it Off
Sanding is the fastest and most effective method to remove primer from wooden surfaces. This method doesn’t damage wood — instead, it smoothens the surface and makes it ready for the next finish immediately.
The tools you need for this method are listed below.
- 80-220 grit sandpaper.
- Orbital sander for large and vertical surfaces
- A shop or portable vacuum
- Liquid cleaner (or dish soap and water)
- Rags
- Safety goggles.
To sand off primer from wood, do the following things.
1. Wash The Surface
Wash the surface with a liquid cleaner to remove filth from the surface, especially if working on old furniture.
To wash wooden surfaces, damp a rag with liquid cleaner or dish soap (mixed with water) and use the dampened rag to wash off the dirt. Dry the surface as much as possible with a rag and then leave it to naturally dry.
2. Start Sanding
Use a power sander for large and vertical surfaces, such as walls or floors. For small furniture surfaces, such as cabinets or tables, sand manually with sandpaper.
Use coarse-grit (40-grit) sandpaper for old surfaces that are riddled with imperfections or cracks. Use medium-grit (100-grit) sandpaper for surfaces where primer has been applied recently.
Use the abrasive side of the sandpaper to directly scrub along the wood grain, finish on one spot before moving to the next. Stop sanding once you see wood shaving or sawdust as it means you removed the primer and reached the wood surface.
3. Clean the Surface
Once you remove the primer, clean the surface and use fine-grit sandpaper (220-grit) to smoothen out the wooden surface before re-painting it.
2. Use a Paint Stripper (Remover)
Paint strippers (or removers) are products used to remove primers, paint, varnish, and sealers from the surface. They work by softening (or liquefying) the coating or breaking down the layers, making it easier to scrape it off.
It’s recommended to use a biochemical or organic paint stripper like Citristrip to protect the wood from damage.
The tools you need for this method are listed below.
- Citristrip
- Safety goggles.
- A plastic paint scraper
- A paintbrush
- Mineral spirits or acetone
- A large nylon or plastic bag
- White vinegar
- Liquid cleaner
- Rags
To use paint strippers (or removers) to remove primer from wood, do the following things.
1. Clean The Surface
Clean the surface before applying the paint stripper, if you don’t the dirt and filth will prevent it from working properly.
To clean the surface, damp a rag with liquid cleaner or dish soap mixture. Use the dampened rag to wipe the surface, and wait for the surface to dry.
2. Apply The Paint Stripper
Apply the paint stripper directly over the wood surface — its coating must be thick so apply as much as you can. If you don’t apply enough paint stripper, its coating will dry before it can remove primer coatings.
After applying Citristrip, cover it with a nylon or plastic bag for at least 30 minutes. This improves the efficiency of the paint stripper compound.
The way paint strippers work is they absorb the primer coat from the surface and then dry over it. Once the stripping compound dries, you can scrape it off and the primer will come off too.
3. Cover The Floor
Before scraping, cover the floor with a garbage bag or big nylon to prevent a messy workplace. You don’t want to spend the next 2 hours cleaning up your space.
The nylon will collect the stripped primer as it falls off, making it easier to dispose of and clean up after.
4. Start Scraping
Scrape off the paint stripper and primer coating using a plastic putty knife. The primer coating will come off too since it has been already absorbed by the stripping compound.
Ensure to scrape gently, so you don’t gouge the wood.
4. Neutralize The Paint Stripper
After stripping the primer coat, you need to neutralize the paint stripper with white vinegar because the leftover stripping compound can damage the wood and prevent the paint from sticking later.
Pour some white vinegar into a clean bowl and mix with warm water. Then use a rag and the vinegar mixture to wipe the wooden surface. Leave it to dry.
3. Use a Solvent-Based Remover
A solvent-based remover, such as mineral spirits or turpentine, will remove oil-based primer from wood. For water-based primer, use a mixture of tablespoon of vinegar with dish soap and warm water. Acetone is a good choice for both types, too.
The tools you need for this method are listed below.
- A bottle of acetone
- Rags
- Paint scraper
- Plastic bags or nylon
- Liquid cleaner
- Safety goggles.
Here is a detailed guide:
- Clean the wooden surface.
- Pour some acetone (or another chosen solvent) into a clean bowl and dip a rag in the bowl.
- Use the damp rag to wipe the primed wood. Ensure to massage the solvent into the wood properly.
- Leave the solvent on the wood for 15-20 minutes.
- After 20 minutes, the primer will dissolve and you can scrape it off.
- Apply more solvent to the leftover and wait 20 minutes.
- Wipe and clean the wood to remove any solvent residue and leave it to dry.
4. Use a Power Washer (For Floors)
To remove multiple old primer coatings from a wooden floor, use a power wash. For this method, you’ll need a garden hose or pressure washer. The trick is to hose down the floor with water at high pressure. This will wash off the primer and paint coats.
Optionally, you can apply some vinegar on the floor and leave for about 30 minutes before you power wash. The vinegar will loosen the primer coat, so it comes off easily when you power wash.
When you complete this method, you should leave the floor to dry for at least 24 hours. You should also sand it with a power sander before repainting because power washing will raise wood fibers.
FAQ’s
Do You Need To Wipe Off Excess Primer?
You don’t need to wipe off excess primer after application as most primers are self-leveling meaning they will dry evenly on the surface.
You don’t need more than two (2) coats of primer on a surface, so the chances of the primer turning sticky with two (2) coats aren’t high.
However, you should follow the manufacturer’s instructions when applying it. If the instructions state to wipe off the excess after application, you should.
How Long After You Remove Primer You Can Re-apply it?
You can re-apply primer immediately if you remove it with sandpaper (or power sander). The sandpaper doesn’t wet the surface — instead, it smooths it and makes it ready for the next painting project.
You must wait 12-24 hours before re-applying primer if you removed it with a paint stripper (remover) or solvent-based product. This is because these two products will wet the surface and you must remove their residue from the surface, which takes time.
If you power washed the wood, it’s best to leave it for at least 24 hours because the surface needs to completely dry before you can re-paint it.

