
Thompson’s water sealer is a wood and masonry protectant designed to penetrate and seal different porous surfaces.
To apply Thompson’s water sealer, use a sprayer, roller, or brush. The sprayer applies thin coats that dry faster but require more experience. The roller or brush applies thick coats that dry slower but don’t require experience.
Sprayer vs. Roller (For Thompson’s Water Sealer)
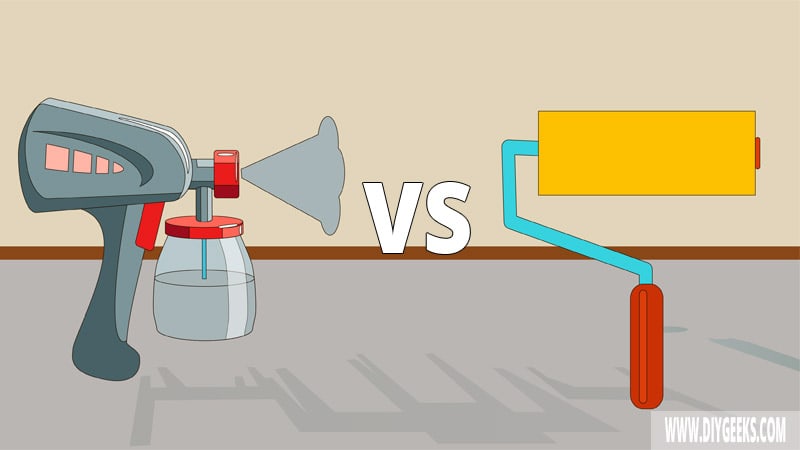
The differences between spraying or rolling Thompson’s Water Sealer are listed below.
Spraying
Spraying Thompson’s Water Sealer involves using an HVLP paint sprayer or spray guns to expel a fine mist of sealer to the surface. It applies faster thin and light coats, which makes the sealer dry faster.
However, you need experience before applying Thompson’s Water Sealer with a sprayer because you must load and prime the sprayer properly. If you don’t have any prior experience, you may find it difficult to apply the water sealer perfectly.
The advantages of applying Thompson’s water sealer with a sprayer are listed below.
- Good surface covers.
- Thinner coats.
- Faster dry time.
- Smoother finish.
- You can seal tight corners.
- Works for all surface types.
The disadvantages of applying Thompson’s water sealer with a sprayer are listed below.
- Requires experience and skill.
- Involves a lot of prep work since you need to mask the surface, assemble the tools, and prime the sprayer before application.
- It’s easier to over-apply the water sealer especially if you take too long spraying a spot.
Rolling
Rolling Thompson’s water sealer involved using a paint roller to spread the sealer across the surface. It offers good coverage and easier coating overlaps without worrying about streaks or brush marks.
However, a paint roller applied thick Thompson’s water sealer coatings that take longer to dry.
The advantages of applying Thompson’s water sealer with a roller are listed below.
- Good coverage.
- Beginner-friendly.
- Doesn’t require too much prep work.
- Cheaper.
The disadvantages of applying Thompson’s water sealer with a roller are listed below.
- Applies thicker coats.
- Longer dry time.
- It can create a bubbled finish.
- Works for smooth and flat surfaces only.
- They apply thicker coatings.
- It takes longer to complete it.
- They can cause bubbles in the finish.
- They only work on smooth and flat surfaces.
Do You Have To Mix Thompson’s Water Seal Before Applying?
You don’t have to mix or shake Thompson’s water sealer before application unless you are using a sprayer. The manufacturers advise against mixing, thinning, or diluting the sealer with any other type of solvent.
If you mix Thompson’s water sealer, the protective additives will be reduced and the sealer won’t produce a protective water-resistant coating over the surface.
If the sealer is too thick, use a paint sprayer to apply thinner coats, but don’t thin it before applying as it will reduce its protective qualities and can ruin it.
You need to shake the Thompson’s water sealer before application if you are using a sprayer. The purpose of shaking the sealer is to mix its content so you can get an even and smooth spray on the surface.
How To Spray Thompson’s Water Sealer?

Spraying Thompson water sealer is an easy task as long as you follow the right steps and use the right tools and attachments.
Here are the tools you need:
- An airless or a high-volume, low-pressure paint sprayer
- A plastic or brass nozzle or extension
- Masking tape
- Paintbrushes
- Clean rags
- Mineral spirits or acetone
- A pair of gloves
- A paint shield
- A pair of scissors
- Water
- A vacuum or duster
To spray Thompson’s water sealer, do the following things.
- Remove the existing finish.
- Clean the surface to remove dust and debris that can prevent the sealer from properly adhering.
- Sand the surface with fine-grit sandpaper (220-grit).
- Remove the dust.
- Prep the paint sprayer — follow the user’s guide on how to do this.
- Load the Thompson’s water sealer in the cup of the spray gun – if the sprayer has a suction hose, put the hose into the sealer container and put the return hose in an empty bucket.
- Prime the paint sprayer by switching the control knob to prime and ensure that the sealer comes out of the nozzle.
- Apply a maximum of two (2) Thompson’s water sealer coats.
- Wait around two (2) hours between coats.
- Dissolve and clean the paint sprayer with mineral spirits or acetone.
- Allow the sealer to dry.
Tip: When spraying the sealer, keep the nozzle 10-12 inches from the surface.
How To Roll Or Brush Thompson’s Water Sealer?
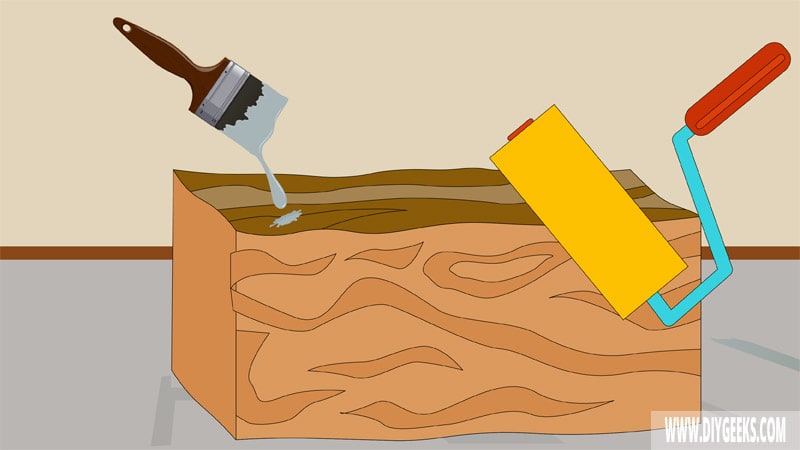
You need a microfiber paint roller or a 4-inch paintbrush to apply Thompson’s water sealer. You can also use a short and synthetic bristled paintbrush but this requires more skill and experience
To roll or brush Thompson’s water sealer, do the following things.
- Clean the Surface.
- Sand the Surface.
- Prep the Thompson’s Water Sealer.
- Use a Roller or Brush to Spread the Sealer.
1. Clean the Surface
Clean the surface to remove dust or debris that can prevent proper adhesion. If you don’t clean the surface, the dust and dirt will prevent the sealer from penetrating or adhering to the surface.
To clean the surface, use warm soapy water, a degreaser, or Trisodium phosphate (TSD).
Note: Ensure the surface isn’t already sealed with another sealer.
2. Sand the Surface
Sand the surface with medium-grit sandpaper (100-grit) to remove imperfections, and bumps, and smoothen the surface. If the surface isn’t riddled with imperfections, use fine-grit sandpaper (220-grit).
3. Prep the Thompson’s Water Sealer
Prep the Thompson’s water sealer by shaking it before application. If possible, pour the needed sealer amount into a clean bucket.
4. Use a Roller or Brush to Spread the Sealer
If you are using a paintbrush, dip the brush into the water sealer, shake off the excess sealer gently, and apply it to the wood.
Ensure to apply the sealer in the direction of the wood grain and not against it. Don’t draw back strokes of the brush or you’ll create scratches and brush marks in the finish. Instead, start the application from one end of the surface and run the paintbrush to the other end. Apply enough coats for good coverage.
If you are using a roller, pick a short extension pole so you can have more control over each coat of the sealer. To apply the sealer, dip the roller into the sealer and roll the applicator on the inner part of the bucket to remove the excess sealer.

