Enamel paint is oil-based and is known for its impressive bonding qualities, while plastic is a non-porous material that doesn’t allow penetration.
To apply enamel paint on plastic, clean and sand the plastic, apply paint primer, apply enamel paint, and seal it.
Enamel paint takes around 6 hours to dry between coats and around 48 hours to cure (dry fully) over plastic surfaces.
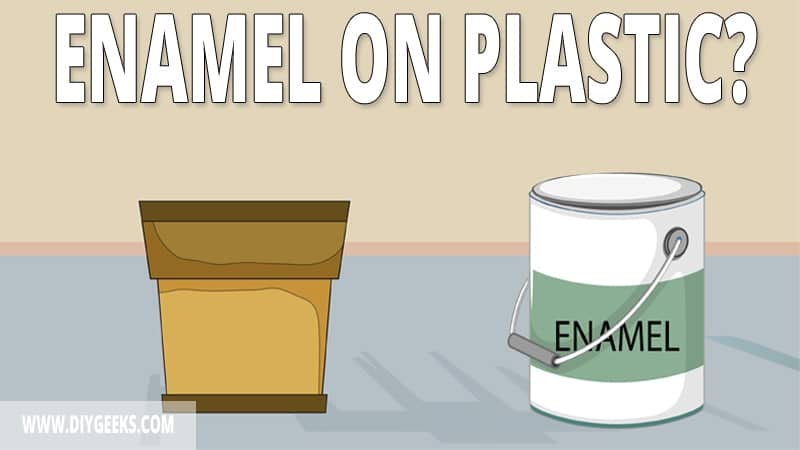
Does Enamel Paint Adhere to Plastic?
Enamel paint does adhere to plastic because it’s an oil-based paint that contains strong chemicals, additives, and alkyd resins that help it stick to non-porous surfaces.
Plastic is a non-porous material with no grain, fiber, or pores, so paints won’t stick over it since they can’t penetrate the surface. However, enamel paints are formulated with alkyd resins, such as glycerol, that are paint-modified polyester compounds and improve the adhesive qualities.
Some alkyd resins contain thermoplastic composition which are polymers that harden when exposed to cool air. They have similar characteristics to plastic material, allowing the paint to stick better.
You can also improve the adhesion by applying an oil-based primer before painting.
Does Engine Enamel Paint Stick to Plastic?
Engine enamel paint does stick to plastic as it’s designed with extra binders since it’s used on cars and motor engines.
Car and motor engines though largely metallic, also have a few plastic parts. The engine’s block, cam covers, fuel lines, and oil pump are made from thermoset plastics or thermoplastics (thick plastic materials). You can paint these plastic surfaces with engine enamel as long as you clean and degrease them.
How To Paint Plastic With Enamel Paint?
To paint plastic with enamel paint, do the following.
- Clean the Plastic.
- Apply Rubbing Alcohol.
- Sand the Plastic.
- Apply Primer.
- Apply Enamel Paint.
- Seal the Finish.
The tools you need for this project are listed below.
- Dish Soap
- Water
- A Soft Sponge
- Fine-Grit Sandpaper
- Rags or Tack Cloth
- Rubbing Alcohol
- Painter’s Tape
- Spray Enamel
- Natural Bristled Paintbrush
- Primer
- Polyurethane Sealer
1. Clean the Plastic
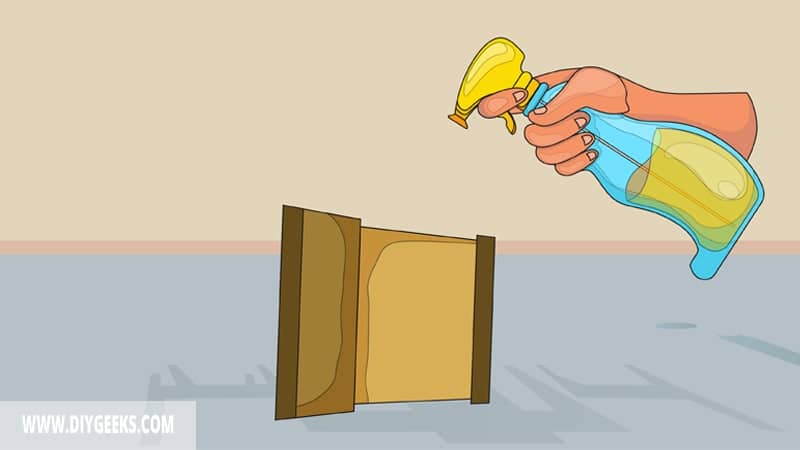
Clean the plastic to remove dirt, dust, and grime that can prevent paint adhesion. Plastic hides dirt well, so clean its surface even if you don’t see the dirt.
To clean plastic, do the following things.
- Mix dish soap with water.
- Soak a soft sponge (or rag) into the mixture.
- Use the soft sponge (or rag) to scrub the plastic.
- Once the surface is clean, rinse it with clean water and let it dry.
2. Apply Rubbing Alcohol
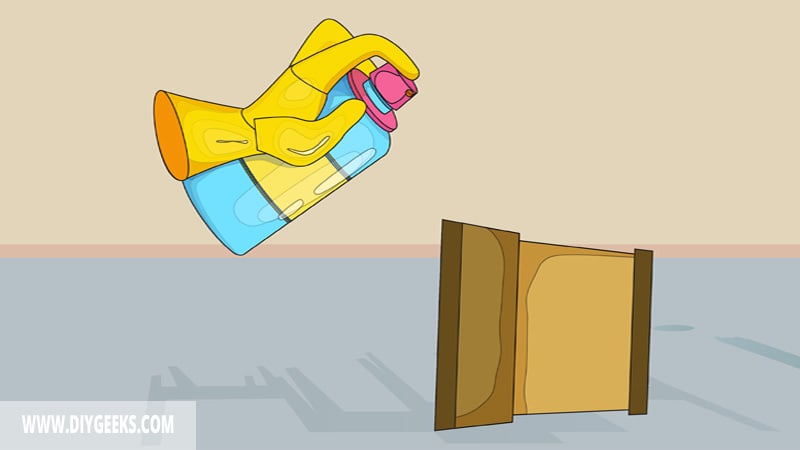
Use rubbing alcohol to remove stubborn stains from plastic that soapy water didn’t remove.
Douse a rag with rubbing alcohol and use the dampened rag to wipe (or clean) the plastic surface. For hard greasy stains, pour rubbing alcohol directly over the plastic, wait a few minutes, and wipe it off with a clean rag.
3. Sand the Plastic
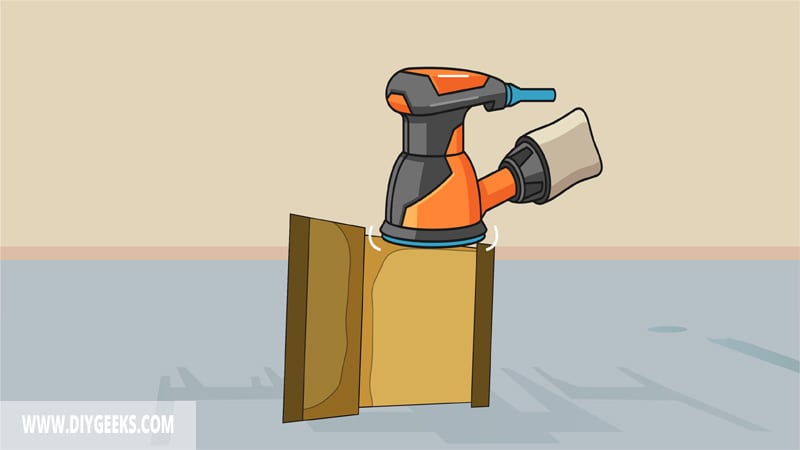
Sand the plastic surface with extra fine-grit sandpaper (400-grit) to remove imperfections and bumps, and make the surface ready for paint. Use swirls or circulation motion while sanding it.
Avoid using medium or coarse-grit sandpaper as it will damage or scratch the plastic surface.
4. Apply Primer
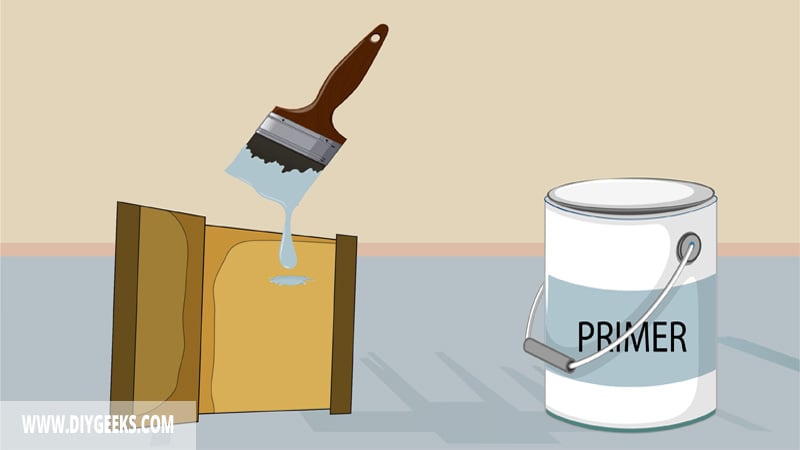
Plastic is a slick and non-porous material, so you must apply primer before painting it. The purpose of the primer is to cover imperfections and adhere to the plastic surface to produce a dry textured layer for the paint to penetrate.
While spray enamel paint will stick without a primer, oil-based primer will help it stick better.
To apply primer, use a paintbrush or a sprayer. Apply 2 coats of primer. Wait for the first coat of primer to dry before applying the next one.
Tip: Don’t apply more than 2 coats of primer on the plastic.
5. Apply Enamel Paint
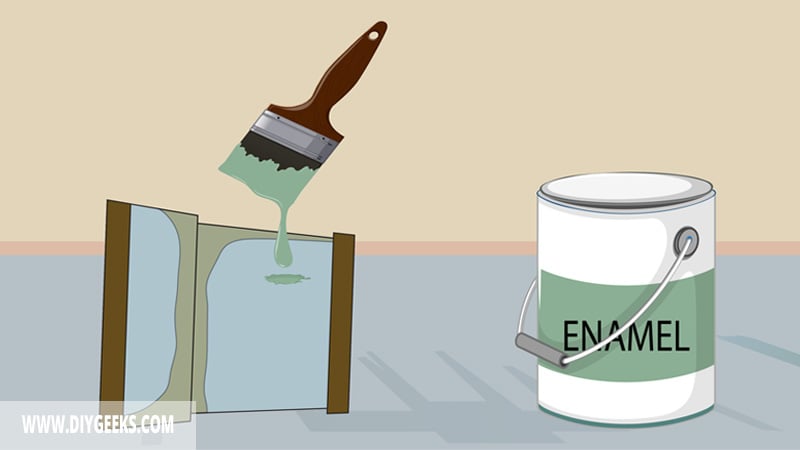
Apply two (2) thin coats of enamel paint on plastic using a brush, roller, or sprayer. Wait until one coat dries before applying the next one. Enamel paint takes around 6 hours to dry between coats.
Thin enamel paint coats are easier to control and penetrate the plastic surface better compared to thick coats.
6. Seal the Finish

Seal the enamel paint finish if the plastic material is placed outdoors. The sealer produces a glossy moisture-resistant layer that protects the enamel paint and plastic from water, moisture, scratches, and outdoor weather elements.
Unsealed enamel paint won’t last long outdoors since it isn’t formulated with extra additives that make its finish durable.
Use oil-based or exterior polyurethane, wax, acrylic clear coat, or spar varnish as a sealer.
How Long Does Enamel Paint Take Dry on Plastic?
Enamel paint takes around 6 hours to dry between coats and 48 hours to cure (fully dry) on plastic. The exact dry time depends on the ambient temperature, humidity levels, moisture levels, and surface preparation.
For instance, the paint will take longer to dry in humid conditions as the paint solvent will take longer to evaporate from the coating. In comparison, the paint will dry faster in low humid conditions and high temperatures as the paint solvent will evaporate faster.
Enamel paint dries faster on plastic because the paint doesn’t have to penetrate the material to stick. So, the paint drying process starts immediately after the paint has been applied. The solvent evaporates faster since all the paint is on the top layer.
Related Read: Can You Use Enamel on Wood Surfaces?
[sc name=”enamelpainttoplastic”]

