Varnish is a durable topcoat used to protect surfaces and paints from moisture, water, scratches, and other damage. But, can you apply varnish over old varnish?
You can apply varnish over old varnish, but you must either sand the old varnish coating or apply a paint primer between the two.
Since cured varnish has a glossy and moisture-resistant coating, you can’t paint directly over it as the paint (or sealer) won’t adhere.
Can You Apply Varnish over Old Varnish Without Sanding?
You can apply varnish over old varnish without sanding by applying a primer coating between them. The primer will cover the old varnish coating and provide a smooth coating for the new varnish coating to stick to.
However, the primer coating will cover the natural wood grain and the finish will have the same color shade as the primer.
Varnish has a glossy moisture-resistant finish that prevents other paints or sealers to adhere over it. You must either sand the old varnish coating or apply a primer to cover it before applying a new paint or sealer coating.
While varnish might adhere directly over an old varnish coating, the adhesion won’t be good and the new coating may peel off eventually.
It’s best to lightly sand the old varnish coating with medium-grit sandpaper (100-grit) before applying a new coating over it.
Related Read: How To Apply Varnish With a Roller?
How To Apply Varnish Over Old Varnish?
To apply varnish over old varnish, do the following things.
- Clean and Sand the Varnish Finish.
- Apply Paint Primer (Optional).
- Choose the Varnish Gloss.
- Apply the Varnish.
1. Clean And Sand The Varnish Finish.
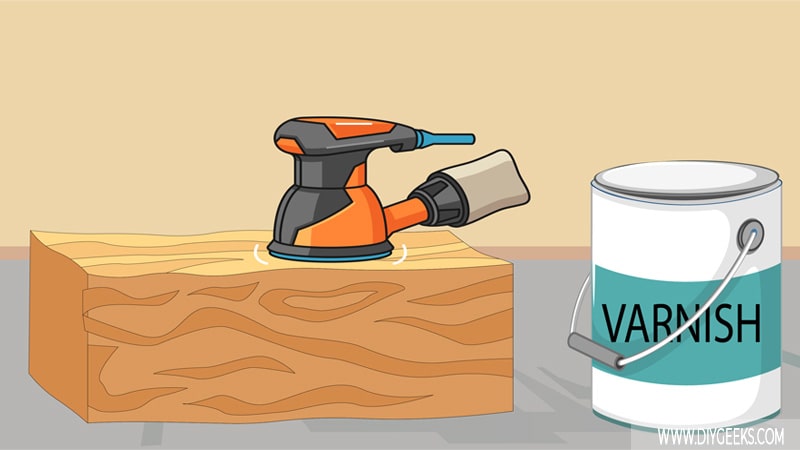
Clean the varnish finish with warm soapy water to remove dirt, dust, and debris that can prevent a new coating from adhering. Since varnish is transparent (colorless), the dirt and dust will show once the new coating dries.
Sand the varnish finish with medium-grit sandpaper (100-grit) to remove imperfections and create tiny pores (holes) that the new coating can penetrate.
Sanding will also remove small parts of the old coating where the new coating can penetrate and stick.
Re-clean the varnish finish after sanding with a dampened lint-free rag to remove the produced dust.
Related Read: Should You Paint Over Chalk Paint?
2. Apply Paint Primer (Optional)
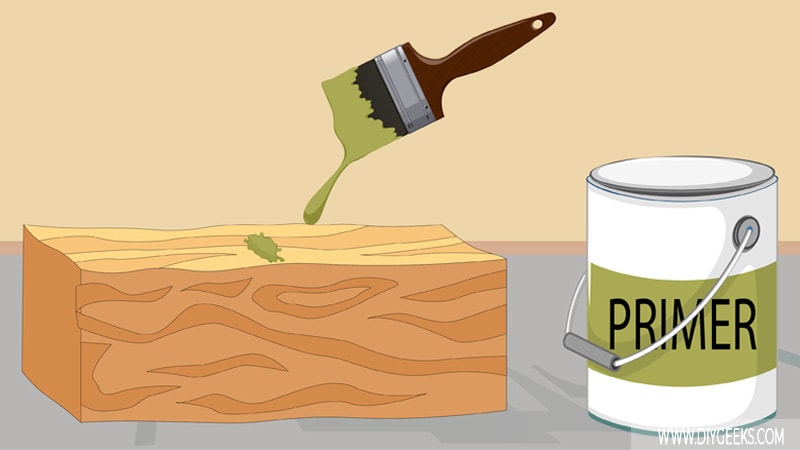
If you don’t want to sand the old varnish coating, apply a paint primer to cover the old coating and allow the varnish coating to adhere.
The primer coating will also cover the paint or surface underneath the varnish, and the finish will have the same color as the primer.
Apply two (2) stain-blocking primer coats using a paintbrush or sprayer. Wait around 60 minutes for one primer coat to dry before applying the next one.
3. Choose The Varnish Gloss
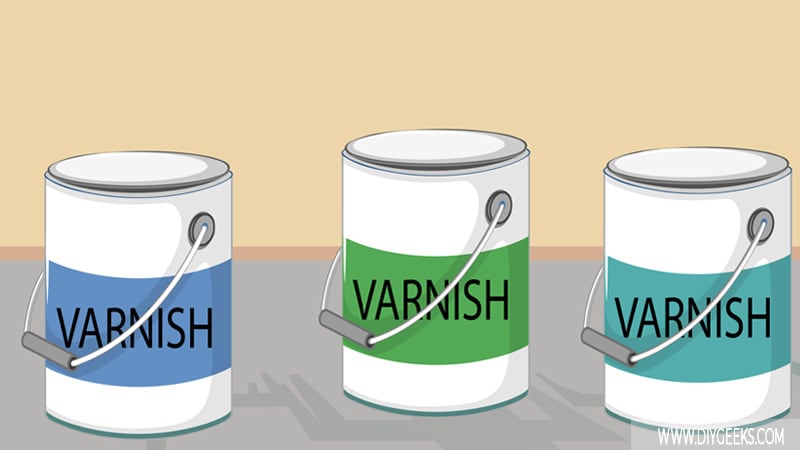
You can use high-gloss, semi-gloss, or satin varnish. High-gloss varnish produces a glossy and moisture-resistant layer and protects the surface best.
Semi-gloss and stain varnish have less gloss on their formula and don’t produce a glossy layer.
4. Apply The Varnish
Apply the new thin varnish coating with a paintbrush or sprayer. The number of varnish coats depends on how many old varnish coats are on the surface.
It’s recommended to add a maximum of three (3) varnish coats in total (including the old coats).
Wait until one varnish coat dries before applying the next one if you apply more than 1 coat. Water-based varnish takes 6 hours to dry enough for a re-coat. While oil-based varnish dries within 24 hours.
Do You Have To Sand The Final Varnish Coating?
You don’t have to sand the final varnish coating as sanding will remove the glossy topcoat and expose the surface underneath to water, moisture, and other damage.
The varnish glossy topcoat protects the surface and paints underneath from different elements. But, if you remove the glossy topcoat, the surface underneath will be exposed to these elements.
If the final varnish coating has imperfections, you can sand with extra fine-grit sandpaper (440-grit or higher). Don’t use coarse or medium-grit sandpaper as you will remove the entire finish.
You have to sand between varnish coats only.
[su_youtube url=”https://www.youtube.com/watch?v=qnBn3Sgodl8″]
Can You Apply Dark Varnish Over Light Varnish?
You can apply dark varnish over light varnish finish, but you must sand the existing coating to remove the glossy finish that can prevent paint adhesion.
To sand the existing light varnish coat, use medium-grit sandpaper (100-grit). Sand until a few parts of the finish are removed.
You can apply a dark primer coating over the existing light varnish coating to cover it and help the new coating to adhere better. Since the finish will have a dark color shade, a primer coating will only help with adhesion.
Related Read: How To Paint Over Varnished Wood?

