Polyurethane forms a glossy moisture-resistant layer, but sometimes its finish will develop bubbles.
To apply polyurethane without bubbles, prep the surface, sand the surface, thin the polyurethane, and then apply it.
It’s better to spray the polyurethane than roll it to avoid bubbles. To fix bubbles in a polyurethane finish, sand the finish with fine-grit sandpaper (320-grit).
Why Does a Polyurethane Finish Develop Bubbles?
A polyurethane finish develops bubbles if you use a bad roller (or brush) to apply it, if you apply it over a porous or wet surface (without an undercoat), if you stir (or shake) the polyurethane container too hard, or if you don’t leave enough dry time between coats.
A bad paint roller (or brush) will trap air pockets in the coating as you roll the sealer over the surface. These air pockets become evident in the coating, and as the sealer dries, the air pockets will form bubbles in the finish.
The wrong brush will develop bubbles in the finish — use synthetic bristles brushes for water-based polyurethane, and natural bristled brushes for oil-based polyurethane.
A porous or wet surface, such as fresh wood, will cause bubbles in the polyurethane finish as these surfaces have small air pockets trapped in the wood grain. The air pockets will lift the coating and cause bubbles.
Stirring or shaking the polyurethane coating too much before applying will cause bubbles. Bubbles will also form if you apply don’t leave enough dry time between coats.
So in summary, you must do a good prep job before applying the sealer.
Will Small Bubbles in Polyurethane Finish Disappear?
Small bubbles will disappear as the finish dries if they are produced by trapped air pockets. Once the finish starts to dry and harden, the bubbles will disappear.
The drying process of polyurethane will cause the tiny bubbles to pop and disappear. On average, they will go away within 10 minutes.
Large bubbles won’t disappear as they contain a mixture of paint and air — they will dry into the finish and create a bump. To remove the large paint bubbles, scrape them off and sand the polyurethane coating to even out the finish. After sanding, you must touch up the affected areas.
How To Apply Polyurethane Without Bubbles?
To apply polyurethane without bubbles, do the following things.
- Prep the Surface To Be Sealed.
- Sand the Surface.
- Thin Polyurethane.
- Apply Polyurethane.
The tools you need for this project are listed below.
- Medium and fine-grit sandpaper
- Wire brush
- A portable vacuum
- A spray gun or a bristled paintbrush
- Paint thinner (mineral spirits or water)
- Polyurethane
1. Prep the Surface To Be Sealed
Polyurethane will develop bubbles if the surface isn’t prepped, is wet, has holes, or is dirty.
If the surface is wet, wait until it dries before sealing it. If the surface has holes or cracks, there will be air pockets inside these holes that will cause bubbles in the finish. You must repair the cracks or holes by covering them — use wood filler to cover holes in a wooden surface and concrete paste for concrete surface holes.
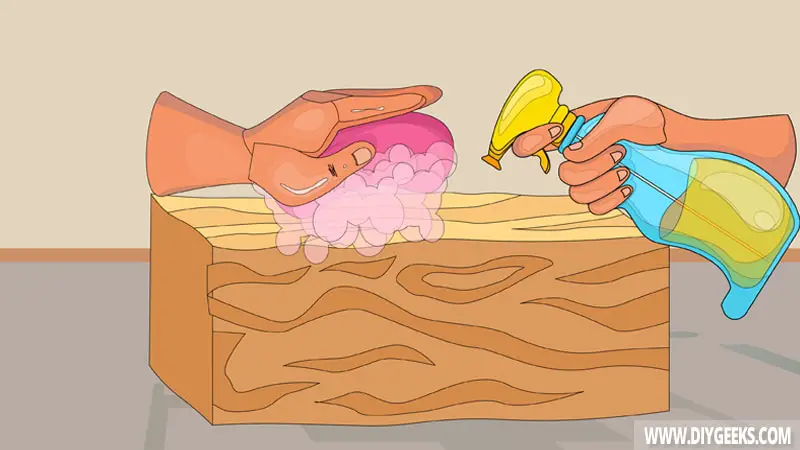
Clean and scrub the surface with a brush or portable vacuum to get rid of dust and dirt.
2. Sand the Surface
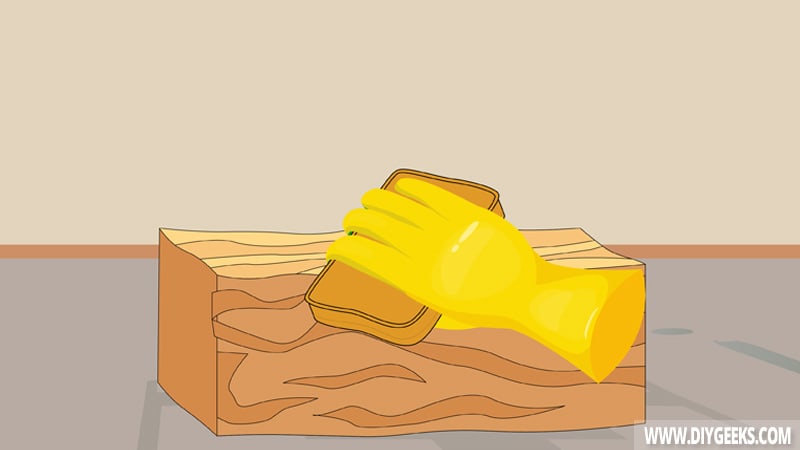
Sand the surface with medium-grit sandpaper (100-grit) to remove bumps and imperfections, and with fine-grit sandpaper (220-grit) to smooth the surface.
Sand painted surfaces (before sealing) with an ultra fine-grit sandpaper. Don’t use coarse or medium-grit sandpaper over painted surfaces as you will remove the paint.
Clean the surface after sanding.
3. Thin Polyurethane
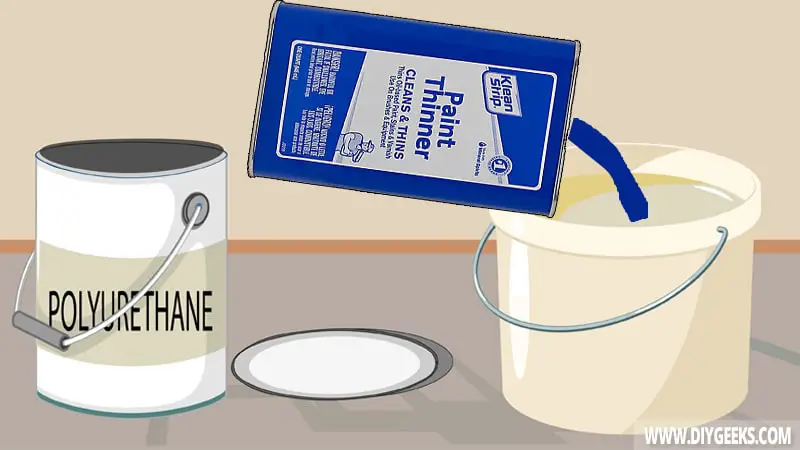
Polyurethane is more likely to develop paint bubbles if the coating is too thick. So, to prevent them, thin the sealer.
If you use a sprayer, thin polyurethane in a ratio of 4:1 (4 parts poly, 1 part paint thinner). For a brush or roller, thin it in a ratio of 3:1. To thin oil-based polyurethane, use mineral spirits. To thin water-based polyurethane, use water as a paint thinner.
- Pour it into a large plastic container (measure how much you poured).
- Add paint thinner (mineral spirits or water, depending on the type of polyurethane).
- Use a turning stick or paint mixer to mix it and the paint thinner.
- Don’t stir too hard, as it can cause bubbles.
- After stirring for 5-10 minutes, check the flow of polyurethane.
- If it has a consistent flow and color, you can use it. If it doesn’t, stir again.
4. Apply Polyurethane
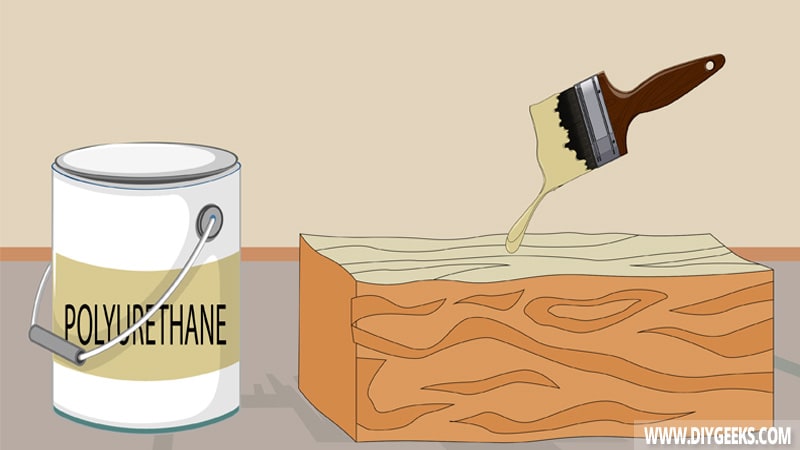
To apply polyurethane:
- Use a paintbrush or sprayer.
- Apply 3 coats of polyurethane for proper coverage.
- Wait until one coat dries before applying the next one.
- Sand between coats (except for the final coat) with 320-grit sandpaper.
- Allow the final coat to dry fully (cure) before using the surface.
Should You Roll or Spray To Avoid Polyurethane Bubbles?
You should spray polyurethane to avoid bubbles in the finish as it’s applied at a high-speed and sticks to the surface better. To spray polyurethane, you must thin it — since the coating is thin there are fewer chances of bubbles developing.
You can purchase spray-on polyurethane paints that come in aerosol spray cans or load the polyurethane into a spray gun. If you use a spray gun, thin it before spraying it (ratio of 4:1).
Rolling polyurethane can cause bubbles because the roller can trap air pockets in the coating and lay thicker coats. This means the finish will develop bubbles because of the air trapped in the roller. To avoid them while rolling poly, thin it or apply it slowly.
How To Fix Bubbles in a Dried Polyurethane Finish?
To fix dried bubbles in a polyurethane finish, sand them off with fine-grit sandpaper (320-grit). Sanding will remove them and leave behind a smooth coating. Here’s how to do it:
- Wipe the finish with a clean rag to remove dust nibs that can damage the sandpaper.
- Use 320-grit sandpaper to wipe the finish.
- Vacuum dust from the finish.
- Spray a coat of polyurethane to touch up affected areas.
- Polish the finish with linseed oil.

