
You can apply polyurethane (water-based and oil-based) with a paint roller. You can use lambswool, foam, or microfiber paint rollers.
To apply polyurethane with a roller, prep the surface, sand the surface, apply the polyurethane, and preserve the paint roller.
Paint rollers offer a faster application, fewer brush marks, and faster dry time than using a brush. But, paint rollers can cause polyurethane bubbles, and are harder to use in corners.
Key Takeaways:
- You can apply water-based and oil-based polyurethane with a paint roller.
- You shouldn’t use foam paint rollers for water-based polyurethane.
- Rolling on polyurethane is better for larger surfaces, as paint rollers can’t reach corners.
Can You Apply Oil-based Polyurethane Using a Roller?
You can apply oil-based polyurethane using a paint roller. You can use foam, microfiber, and lambswool paint roller because oil-based polyurethane is thick so it can be absorbed well by rollers.
Its thick nature allows polyurethane to be spread smoothly without brush (or roller) marks.
However, always leave extra time for the oil-based polyurethane to dry when applied with a roller.
Can You Apply Water-based Polyurethane Using a Roller?
You can apply water-based polyurethane using a paint roller, but you can only use fiber and lambswool rollers.
Don’t use a foam paint roller to apply water-based polyurethane because foam rollers are porous and can absorb more sealer than needed. This results in uneven coats.
What Paint Rollers Can You Use To Apply Polyurethane?
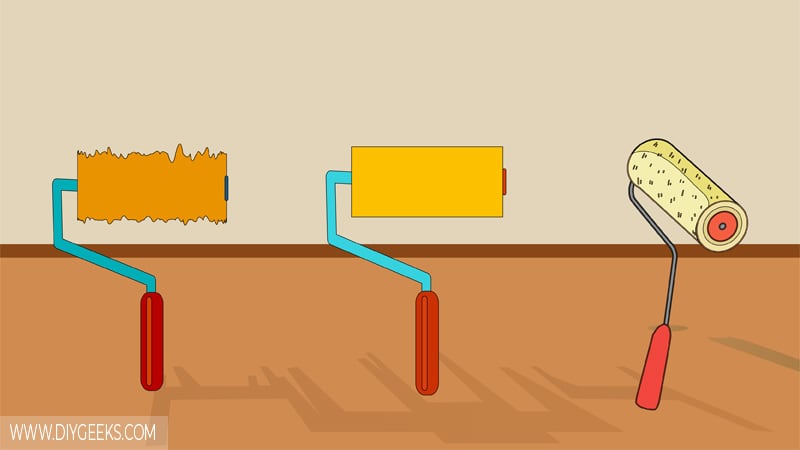
You can use foam, microfiber, and lambswool paint rollers to apply polyurethane. The roller must be lint-free, absorb the sealer evenly, and not leave paint streaks behind.
| Roller Type | Water-Based Polyurethane | Oil-Based Polyurethane |
|---|---|---|
| Synthetic Rollers | Yes | Yes |
| Foam Rollers | No | Yes |
| Lambswool Rollers | No | Yes |
| Mohair Rollers | Yes | Yes |
| Microfiber Rollers | Yes | Yes |
Synthetic Rollers
Synthetic paint rollers are made of synthetic materials such as nylon or polyester. They work well for oil-based and water-based polyurethane.
Foam Rollers
Paint foam rollers are tools designed to hold and distribute paint (including polyurethane) evenly without drips. They are made of high-density foam material that is known to hold and release paint effectively.
A paint foam roller comes in different nap thicknesses, such as 3-5mm nap, 7-9mm nap, 10-15mm nap, and 18-26mm nap.
The 3-5mm nap is thinner and provides a smoother finish, especially for water-based polyurethane. The 7-9mm nap paint roller is thicker than the 3-5mm nap and is used if you want a really smooth finish. It’s the “all-purpose” roller that you can use on any type of material or surface.
The 10-15mm nap foam paint roller is used to apply polyurethane on walls or ceilings as they are designed to hold a large amount of paint and provide a flat or low-sheen finish. The 18-26 nap foam roller is used to apply polyurethane for rough surfaces that require a large amount.
However, foam rollers are not ideal for water-based polyurethane as they will cause streaks and drips. Also, they aren’t very durable.
Lambswool Rollers
Lambswool paint rollers have a cover or sleeve made of natural lambswool fibers, which are known for their softness, durability, and excellent polyurethane absorption and application.
Their wool is made of lamb wool and it is knitted together to prevent the layers from separating or pulling apart.
Lambswool paint rollers are known to provide a smooth finish because of their soft material nature. So, if you want a textured polyurethane finish, choose a different paint roller.
Lambswool paint rollers aren’t recommended for water-based polyurethane.
Mohair Rollers
Mohair rollers, which have a nap made of mohair fibers, are known for applying water-based and oil-based polyurethane well. They are suitable for high-gloss finishes.
Microfiber Rollers
Microfiber paint rollers feature a microfiber fabric cover with synthetic fibers (polyester/nylon blend) woven together. The microfiber material soaks liquids, such as polyurethane or paint, into its fabric and releases them evenly without leaving marks behind.
You can use microfiber paint rollers for both, oil-based and water-based polyurethane. For polyurethane, a short nap (3/16 to 1/4 inch) of microfiber rollers is recommended for a smoother finish. Use a longer nap, if you want a textured finish.
Advantages of Applying Polyurethane With a Roller
The advantages of applying polyurethane with a roller are as follows.
- Faster Coverage. Applying polyurethane with a roller is faster than applying it with a brush. This is important if you are applying polyurethane on a large surface, such as floors. Plus, a roller helps you to get a smoother finish because it offers evenly application and prevents you from applying too many coats.
- Fewer Brush Marks. Polyurethane applied with a paint roller shows fewer or no brush marks. This is because the paint roller applies the sealer evenly resulting in a flawless finish. Lambswool rollers are better at preventing brush marks than foam rollers. However, you can buff polyurethane to remove the brush marks, if they appear.
- Less Waste. Paint rollers will minimize waste as they hold more polyurethane than brushes. For instance, lambswool rollers are known for their high absorption of liquid.
- Faster Dry Time. Rolling polyurethane means applying thin coats, and thin coats always dry faster than thick coats. Water-based polyurethane dries enough for a re-coat in 6-8 hours, while oil-based polyurethane needs 24 hours to dry enough for a re-coat.
- Easy to Clean. Compares to brushes, rollers are easier and faster to clean. Depending on the type of polyurethane used, the paint roller can be cleaned with mineral spirits or water.
Disadvantages of Applying Polyurethane With a Roller
The disadvantages of applying polyurethane with a roller are listed below.
- Texture Limitation. Paint rollers offer a smoother finish compared to other application methods. If you want a textured finish, paint rollers aren’t the best choice.
- Hard To Avoid Bubbles. A paint roller can develop bubbles in a polyurethane finish, if not used properly. The bubbles are created if the paint roller traps air between two coats of polyurethane. Use sandpaper or the end of the roller to remove the bubbles from the finish, if they appear.
- Difficult to Reach Corners. Paint rollers aren’t ideal for applying polyurethane on tight corners, crevices, hard-to-reach areas, or small surfaces. Rollers are too big, especially if using a large nap size, so only use them for large areas, such as floors.
- Expensive. Paint rollers are expensive, especially lambswool rollers. Also, you have to replace the rollers if you use them frequently, so the overall project can become more expensive.
How to Apply Polyurethane With a Paint Roller?
To apply polyurethane with a paint roller, do the following things.
- Prep the surface
- Sand the surface
- Apply the polyurethane
- Preserve the Paint Roller.
The tools you need for this project are listed below.
- Mineral spirits
- A clean paint bucket or plastic container
- Painters tape
- Rags
- Sandpaper
- Polyurethane
- Roller
- Lacquer thinner
1. Prep the Surface
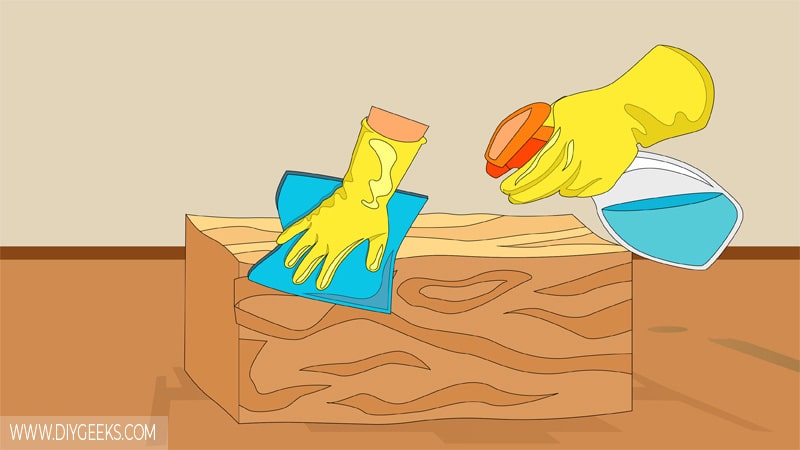
Prep the surface you will paint. If you want to paint a wall, remove all objects on the wall (wall sockets, photo frames, etc.). To paint a floor, remove all the furniture. If it’s a wooden surface, clean it.
Cover or tape objects with painter’s tape for objects you can’t move.
2. Sand the Surface
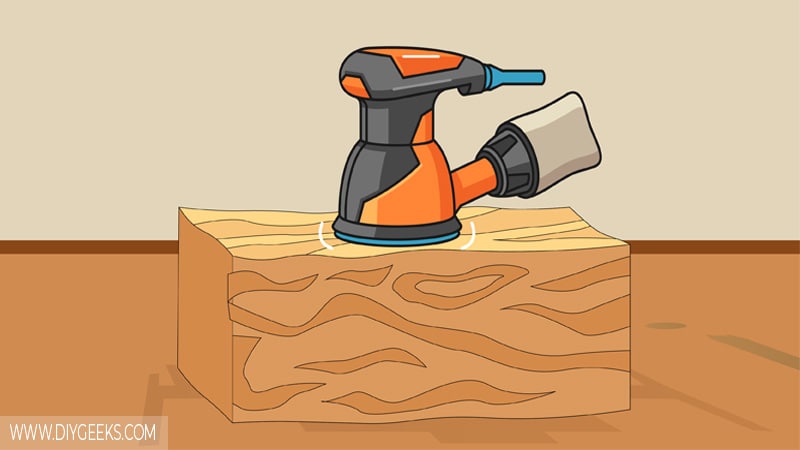
Sand the surface with fine-grit sandpaper (220-grit) to remove surface imperfections and bumps, and allow the sealer to adhere better.
Ensure to clean the surface after sanding to remove the dust.
3. Apply the Polyurethane
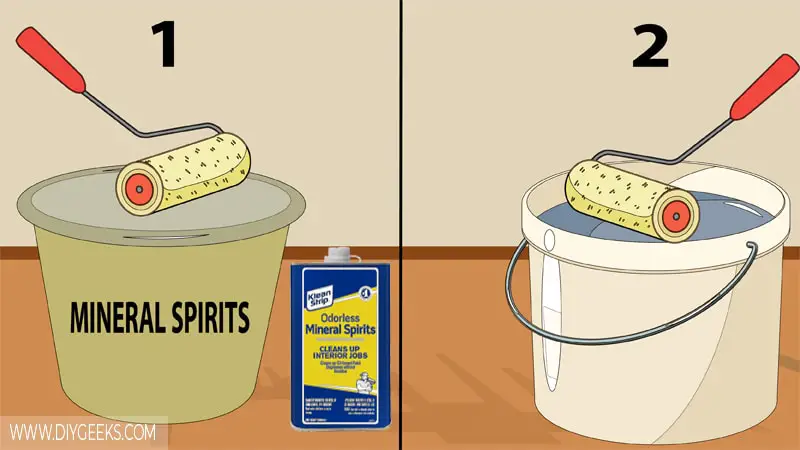
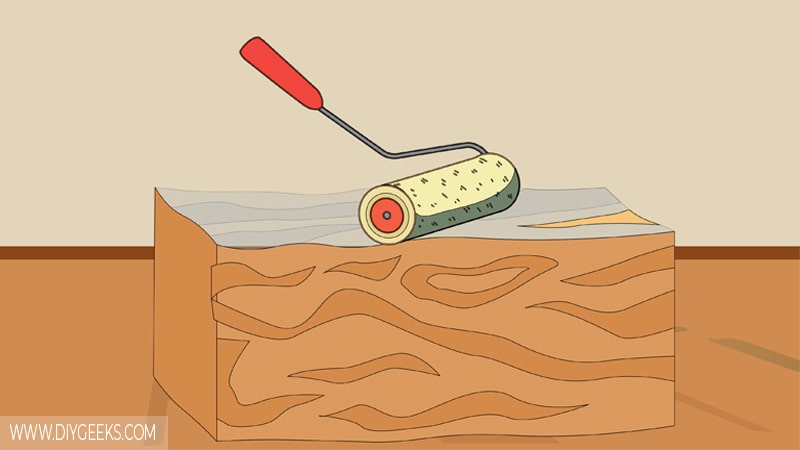
To apply polyurethane with a roller, pour polyurethane into a large paint bucket, and dip the paint roller into the bucket for a few seconds before taking it off. Use the paint roller to apply polyurethane in even coatings.
Optionally, you can pour mineral spirits into the roller first before dipping it.
Here’s a step-by-step guide:
- Dip the roller into mineral spirits.
- Shake it to remove excess mineral spirits.
- Put it into the container and allow it to absorb the sealer.
- After a few seconds, take it out and apply the polyurethane.
Don’t press the paint roller into the surface as it can create finish bubbles and streaks. Instead, move the roller back and forth until you apply the sealer. Once you apply the absorbed polyurethane, dip the roller into mineral spirits, wait a few seconds, and dip it back into the paint bucket to absorb more polyurethane.
5. Preserve the Paint Roller
Once you apply the first polyurethane coating, wait around 6-8 hours for the sealer to dry before applying the next coating.
While polyurethane is drying, put the paint roller into a plastic bag and then into a fridge. This prevents the paint roller from drying or turning sticky. Once you need a second coat, remove it from the fridge and re-use it.
Before applying the second polyurethane coat, dip the paint into mineral spirits again. You need 3-5 polyurethane coats for proper coverage.
Does Polyurethane Spread Equally Using a Roller?
Polyurethane does spread equally using a roller because the roller applies it evenly across the surface regardless of which direction you roll. The use of the roller also prevents you from over applying the sealer in some areas.
When you roll the polyurethane on a surface, the wide nature of the roller allows you to cover more areas of the surface in one roll while applying the polyurethane equally.
How To Clean a Polyurethane Roller?
To clean a polyurethane roller, do the following things.
- Shake off excess polyurethane off the roller. You can use a roller squeezer for this.
- Mix dish soap with warm water and soak the roller in the soap mixture.
- After a few minutes, remove it and wash off the residue.
- Dip it in mineral spirits and use a metal comb to clean and untangle it. This will also remove stuck polyurethane.
- When it is clean, rinse it in cold water and store it properly.
- If the roller isn’t completely clean, you can repeat the steps.

