
You can seal outdoor painted wood with exterior sealers, water sealers, or wax to protect them from water damage and preserve the paint finish.
To seal outdoor painted wood, clean the wooden surface, sand the paint finish, apply the sealer, and allow the finish to dry.
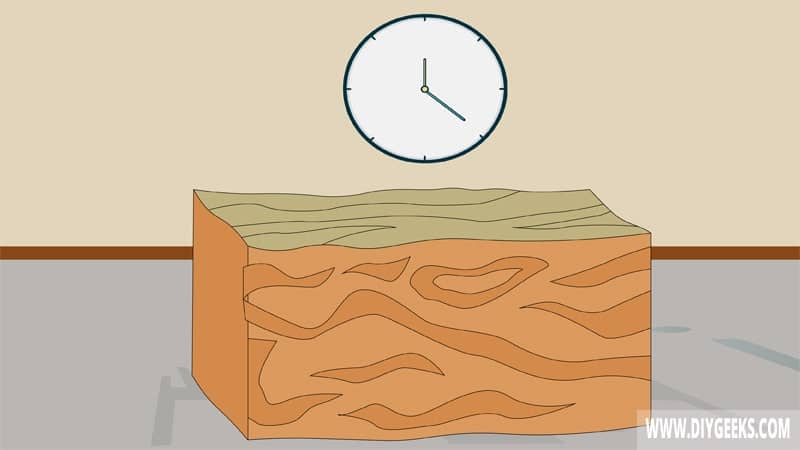
You don’t need to seal the wood if it’s already sealed, has waterproof paint, or a unique finish.
What Are The Benefits of Sealing Outdoor Painted Wood?
The benefits of sealing outdoor painted wood include the following.
- Water Damage Protection.
- Preserve the paint finish.
- Prevents Mold Growth.
- Produces a Glossy Finish.
1. Water Damage Protection.
A sealer coating protects outdoor wood from water damage by producing a moisture-resistant layer over it.
If you don’t seal outdoor painted wood, constant water or rainfall will remove the paint finish and damage the underlying wooden surface.
Outdoor wood is exposed to constant water (or moisture) and weather elements, such as rain.
2. Preserve the Paint Finish
A sealer coating preserves the wood paint finish and color shade longer. The sealer’s glossy finish prevents dirt, dust, or stains from accumulating and affecting the paint finish.
You can wipe the dust and dirt off the sealed paint finish with a damp rag and use solvent-based cleaners.
3. Prevents Mold Growth
A sealer coating prevents mold growth as it protects the wooden surface from moisture, contaminants, and air.
3. Produces a Glossy Finish
A sealer coating produces a transparent glossy finish that reflects light and reveals the underlying paint finish color shade.
Which Sealer Types To Use For Outdoor Wood?
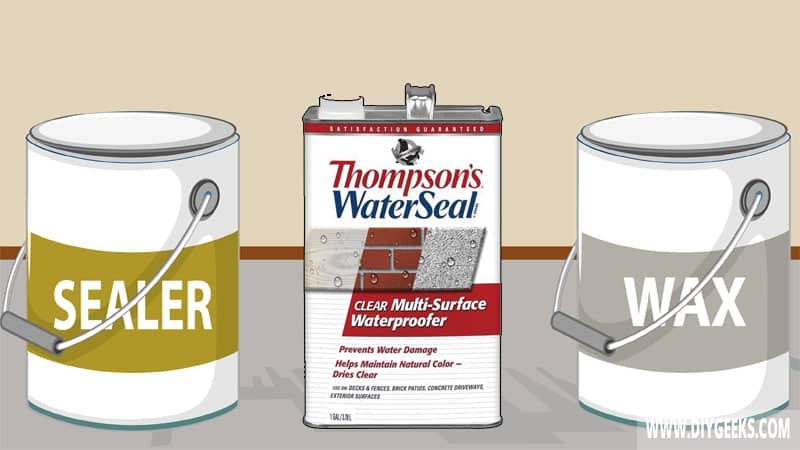
The sealer types to use for outdoor wood are listed below.
1. Exterior Sealers
Exterior sealers are protective coatings applied over outdoor wooden surfaces to protect them from moisture, water, scratches, UV rays, and weather elements.
They are formulated with extra additives, such as UV blockers or urethane compounds, to make their finish more durable and flexible for weather elements.
Exterior sealers include the following.
- Exterior polyurethane.
- Lacquer.
- Exterior Varnish.
- Spar Urethane.
2. Water Sealer
Water sealers are designed to protect different surfaces, including wood, from water and moisture damage. They create a protective barrier over the paint finish and wood and prevent water from penetrating its surface.
3. Wax
A wax coating is applied over several surfaces, including wood, to enhance their appearance and provide protection. Compared to other sealers, wax doesn’t offer as much protection from water and moisture, but it enhances the natural beauty of wood.
How To Seal Painted Wood For Outdoor Use?
To seal painted wood for outdoor use, do the following things.
- Clean the Wooden Surface.
- Sand the Paint Finish.
- Apply the Sealer.
- Allow the Finish to Dry.
The tools you need for this project are listed below.
- Fine-grit sandpaper
- Wood filler
- Sealer
- Clean rags
- Paintbrushes
- A pair of gloves
- Mineral spirits
- Paint
1. Clean the Wooden Surface
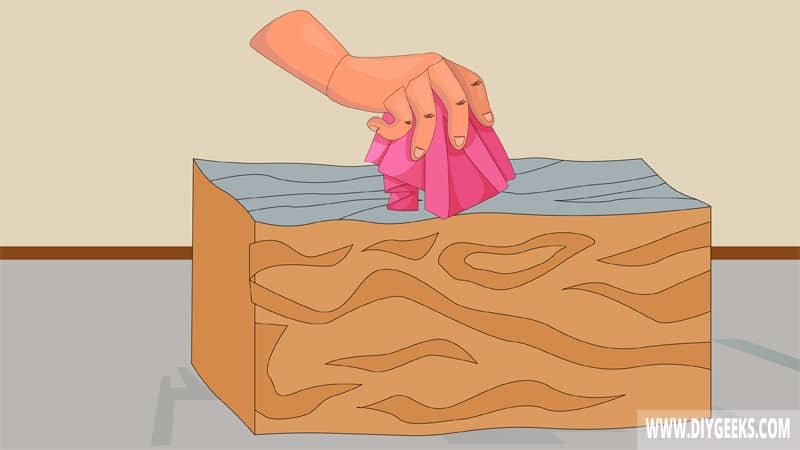
Clean the wooden surface with a damp rag to remove dust, dirt, debris, and stains that can prevent the sealer from adhering. A sealer coating shows and highlights surface dust and dirt if you don’t clean the surface.
Inspect the surface for dents, holes, or damages and fix them with wood filler. If the paint finish is discolored, touch up the finish with a paint coating.
2. Sand the Paint Finish
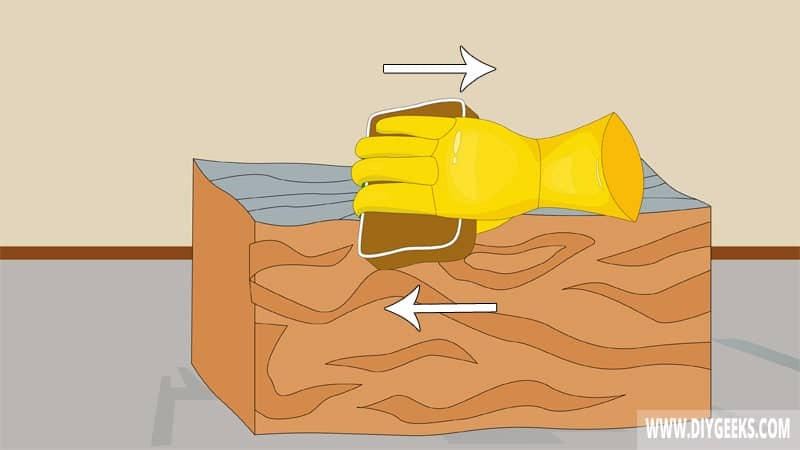
Sand the paint finish with extra fine-grit sandpaper (440-grit) to remove imperfections, bumps, and stubborn stains. Most sealers are transparent and highlight surface imperfections if you don’t remove them.
Don’t use coarse-grit or medium-grit sandpaper as they can remove the entire paint finish.
3. Apply the Sealer
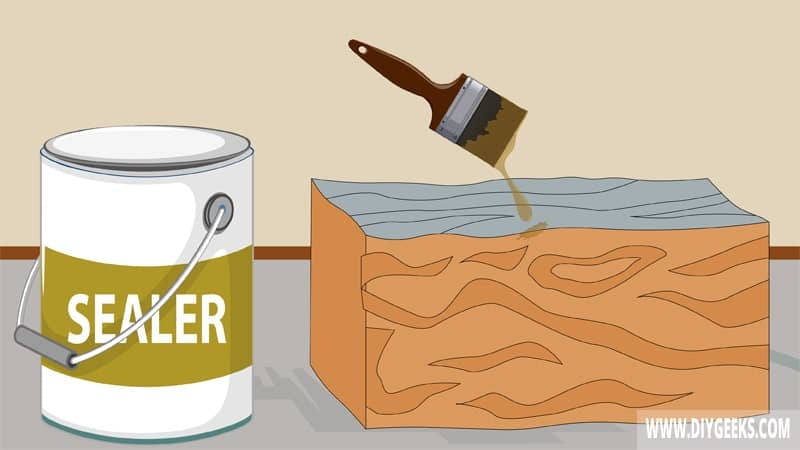
Apply 2-3 sealer coats over the wooden surface. Wait until one coat dries before applying the next one. Optionally, you can sand between sealer coating with extra fine-grit sandpaper (440-grit) to improve the adhesion and finish quality.
4. Allow the Finish to Dry
Allow the sealer finish to dry before exposing it to constant water or weather elements. Wood sealers take between 2-5 days to cure (dry fully), depending on the sealer type.
When Should You Avoid Sealing Outdoor Wood?
You should avoid sealing outdoor wood for the following cases.
- If the Wood is Already Sealed.
- If the Wood has Waterproof Paint.
- If the Wood has a Unique Finish.
1. If the Wood is Already Sealed
You don’t need to seal wood if it’s already sealed unless the sealer coating is damaged or old. An existing sealer coating protects the wooden surface from damage and prevents a new sealer coating from penetrating or adhering to it.
However, if the existing sealer coating is damaged or old, remove it completely and re-apply it.
To know if wood is already sealed, pour water over it. The wooden surface isn’t sealed if it absorbs the water. If the wooden surface doesn’t absorb the water, it’s sealed and you don’t need to seal it.
2. If the Wood has Waterproof Paint
You don’t need to seal wood if you apply waterproof paint over it because the paint has similar protective qualities as a sealer and protects the wood from moisture, water, and scratches.
3. If the Wood has a Unique Finish
You don’t need to seal wood if it has a unique paint finish as the sealer can ruin the existing finish. For instance, if the wood has a unique dull finish applying a sealer coating over it creates a reflective glossy finish.
Can You Seal Any Wood Type?
You can seal any wood type as most sealers are topical finishes and don’t need to penetrate a surface to adhere. Topical finishes stay over the surface top layer, dry there, and form a protective barrier that protects the underlying surface.

