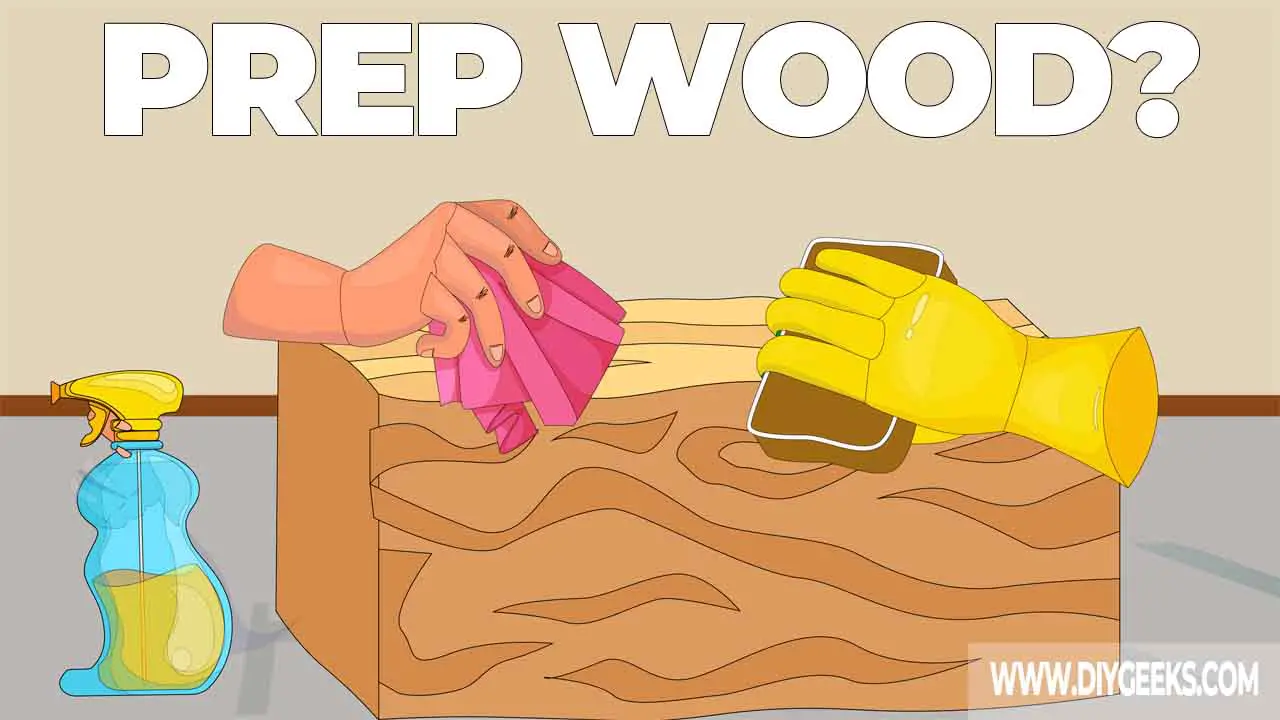
Prepping wood before staining or painting refers to the process of cleaning, sanding, fixing, and patching the wooden surface before applying a finish over it.
You must prep (or clean) the wooden surface to ensure the finish comes out well and to remove dust, dirt, and imperfections.
If you don’t prep the wood, the imperfections and dust will clog the pores and prevent the paint from sticking properly.
Why Should You Prep (or Clean) Wood Before Painting or Staining it?
You should prep or clean wood before painting or staining it to ensure the finish comes out well, to remove dust, dirt, bumps, and imperfections, and to ensure the surface is ready for a new finish.
A wooden surface is porous and prone to dust ingress, water rings, oily stains, and other contaminants. You must clean the wood to remove these contaminants so the new paint can stick and dry properly.
Prepping or sanding wood before painting ensures the surface is smooth and ready to accept a new finish. Sanding removes imperfections, such as pencil marks, stuck debris, metal nails, and bumps from the surface and helps the material absorb paint evenly.
What Happens if You Don’t Prep Wood Before Painting or Staining?
If you don’t prep wood before painting or staining, the imperfections, oily stains, grime, dust, and dirt will clog the pores and prevent the material from accepting a new finish.
The finish will appear patchy where some parts will look darker or lighter than others, it will have bumps because of the imperfections or dust and may peel off if you don’t prep the surface first.
The new paint won’t stick at all if the surface is already finished with a waterproof sealer. You must remove the previous finishes (especially sealers) before applying a new finish.
In most cases, you must remove the entire finish, prep the wood by cleaning and sanding, and re-apply the paint to achieve a high-quality finish. To avoid doing all of this, prep the wood first.
How to Prep Finished Wood for Primer?
To prep finished wood before priming, do the following things.
- Clean the Wood.
- Sand the Wood.
- Remove the Dust (Again).
The tools you need for this project are listed below.
- Sandpaper of different grits
- Dish soap
- A soft microfiber cloth
- A portable vacuum
- Water-based or oil-based wood primer
- Wood filler
- Orbital sander
- Moisture meter (optional)
- Paint (optional)
- Drop sheets
- Paintbrushes
1. Clean the Wood
Use a microfiber rag to clean the wood and remove dust and leftover stains.
To remove stubborn old stains, use dish soap mixed with warm water. Dip the cloth in the soapy water and use it to dab and wipe off the surface.
2. Sand the Wood
Sand the wood with fine-grit sandpaper (220-grit) to remove imperfections, bumps, dirt, and dust. Fine-grit sandpaper will only remove imperfections and not the existing finish.
Avoid using coarse-grit sandpaper unless you want to remove the existing finish off the wood. Apply a light coat of paint if you notice that the existing finish is peeling or defective and you want to keep it.
3. Remove the Dust (Again)
Remove the dust after sanding by using a vacuum or a clean lint-free cloth (with water). Allow the surface to fully dry before applying primer.
Note: Don’t use rubbing alcohol to clean the wood as it will remove the existing finish (unless the finish is oil-based).
How to Prep Bare Wood for Primer?
To prep bare wood for primer, do the following things.
- Check if the Wood is Dry.
- Check the Wood Condition.
- Sand the Wood.
- Clean the Wood.
1. Check if the Wood is Dry
The wooden surface must be fully dry before you prime or paint over it. Bare wooden surfaces often have high moisture and cap content that will prevent the primer from adhering properly.
To check moisture levels in bare wood, use a moisture meter. The moisture level must be lower than 15% for wood to accept a primer coat or finish.
The coating won’t stick properly, may peel off, and moisture will bleed through the finish if you apply primer over wet wood.
2. Check the Wood Condition
Check for nail holes, dents, imperfections, or bumps in the wood surface and fix them. Use wood filler to fill nail holes and dents, and sand the imperfections and bumps off the surface.
Replace defective boards.
3. Sand the Wood
Sand wood with medium-grit sandpaper (200-grit) to remove imperfections and bumps, and create a smooth texture for primer to stick to.
Use coarse-grit sandpaper (100-grit) if the fresh wood is riddled with lots of splinters, nails, and ridges.
You can manually sand or use a power sander, such as an orbital sander.
4. Clean the Wood
Clean the wood with soapy water and lint-free cloth after sanding. Use a vacuum if there’s too much dust on the surface.
Wait until the surface is fully dried (after cleaning) before you apply the primer.
How to Prep Wood Before Painting or Staining?

To prep wood before painting or staining, do the following things.
- Repair the Wood.
- Sand the Wood.
- Wipe Down the Wooden Surface.
- Apply Wood Conditioner.
The tools you need for this project are listed below.
- Painter’s tape
- Sandpaper of different grits
- Orbital power sander
- Drop cloths
- WD-40 or denatured alcohol
- Microfiber cloth
- Dish soap
- Hammer
- Wood filler
- Plastic putty knife
- Wood conditioner or primer paint
1. Repair the Wood
Repair imperfections in the wood, such as nail holes, dents, cracks, slits, or other openings before applying paint or wood stain. These imperfections will over-absorb paint or wood stain if you don’t fix them.
Use a hammer to drive metal nails into the board or remove them completely. Use wood filler to fill (or fix) holes dents, and other openings. Simply fill the holes with a wood filler, wait for the wood filler to dry, and sand the excess off.
Hardwoods with open grain structures, such as Oak or Mahogany, are riddled with lots of openings and imperfections.
2. Sand the Wood
Sand the wood with medium-grit sandpaper (100-grit) if the surface is riddled with imperfections or bumps.
Sand the wood with fine-grit sandpaper (220-grit) if the surface is in good condition. If the wood has an existing finish, sand it with coarse-grit sandpaper (40-grit) to remove it.
Ensure to sand along the wood grain and wipe down the board between each sanding. For small pieces of furniture, use a sanding block or wrap the sandpaper around a pad. For larger surfaces, use an orbital sander — avoid using a belt sander.
Tip: Ensure to work in a well-ventilated area.
3. Wipe Down the Wooden Surface
After sanding, wipe down the wooden surface with a lint-free cloth. If you notice the cloth is hanging on to something, it means there are splinters or raised grain on the surface. You need to sand with a finer-grit sandpaper to get rid of the raised grain.
Alternatively, you can wet-sand. To do this, dip your sandpaper or sanding sponge into a bowl of water, squeeze it, and use the damp sandpaper to sand down the board. Wet sanding gives a smoother result than dry sanding but be prepared to deal with the mess. Wipe down the wood one last time, so it’s clean.
4. Apply Wood Conditioner
Apply wood condition over highly porous wood surfaces, such as Oak Wood, to prevent over-absorption of paint or wood stain.
Some parts of the wood will absorb more stain while other parts will absorb less stain, resulting in an uneven finish, if you don’t apply a wood conditioner.
Use 1-2 coats of primer instead of wood conditioner if you are painting highly porous surfaces. The primer coat will cover the wood pores, prevent over-absorption, and create a smooth undercoat for the paint to adhere to.
Note: Wait until the wood conditioner or primer fully dries before applying wood stain or paint.
How to Prep Wood Before Sealing?
To prep wood before sealing, do the following things.
- Clean the Wood.
- Repair the Wood.
- Touch up the Existing Finish.
The tools you need for this project are listed below.
- Fine-grit sandpaper 220-grit and above
- A portable vacuum
- Your choice of wood sealer
- Paintbrushes
- Clean cloth
- Paint (for touch-ups)
- Orbital sander (for large surfaces)
Sealers, such as polyurethane or varnish, produce a colorless moisture-resistant layer over the wood and protect it from moisture, water, scratches, and other outdoor weather elements.
1. Clean the Wood
Clean the wood surface (bare or painted) with a clean rag damped with water to remove dirt, dust, grime, and stains. This will also allow you to see patchy or broken spots that need repairs.
2. Repair the Wood
Repair defective spots in wood such as holes, dents, or other imperfections.
Use wood filler to fill (or fix) all dents on the surface, and sand down the dents or imperfections. Use medium-grit sandpaper (100-grit) to remove imperfections off the surface.
Clean the surface after repairing and sanding to remove dust or dirt.
Note: If you don’t clean or repair the wood, the imperfections, dust, and dirt will show once the sealer dries.
3. Touch up the Existing Finish
Touch up the existing finish by applying another coat if you are sealing painted (or stained) wood.
If the finish is patchy, dull, or old even after cleaning, re-touch it with a light coat of the existing paint to make the finish more colorful. Lightly sand the new coat with extra fine-grit sandpaper (400-grit).
Sealers, such as polyurethane or varnish, are colorless (have no pigments) and will highlight all the imperfections on the surface.

